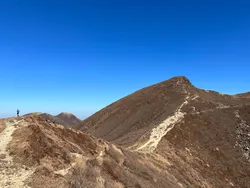
The fourth and final mountain in our Hokkaido roadtrip was Mt Asahi (旭岳, asaki-dake). Located in Daisetsuzan National Park, this Hundred Famous Mountain is also the highest peak in Hokkaido at 2291m. Thanks to its ropeway, it’s a very scenic mountain that can be done as a short dayhike.
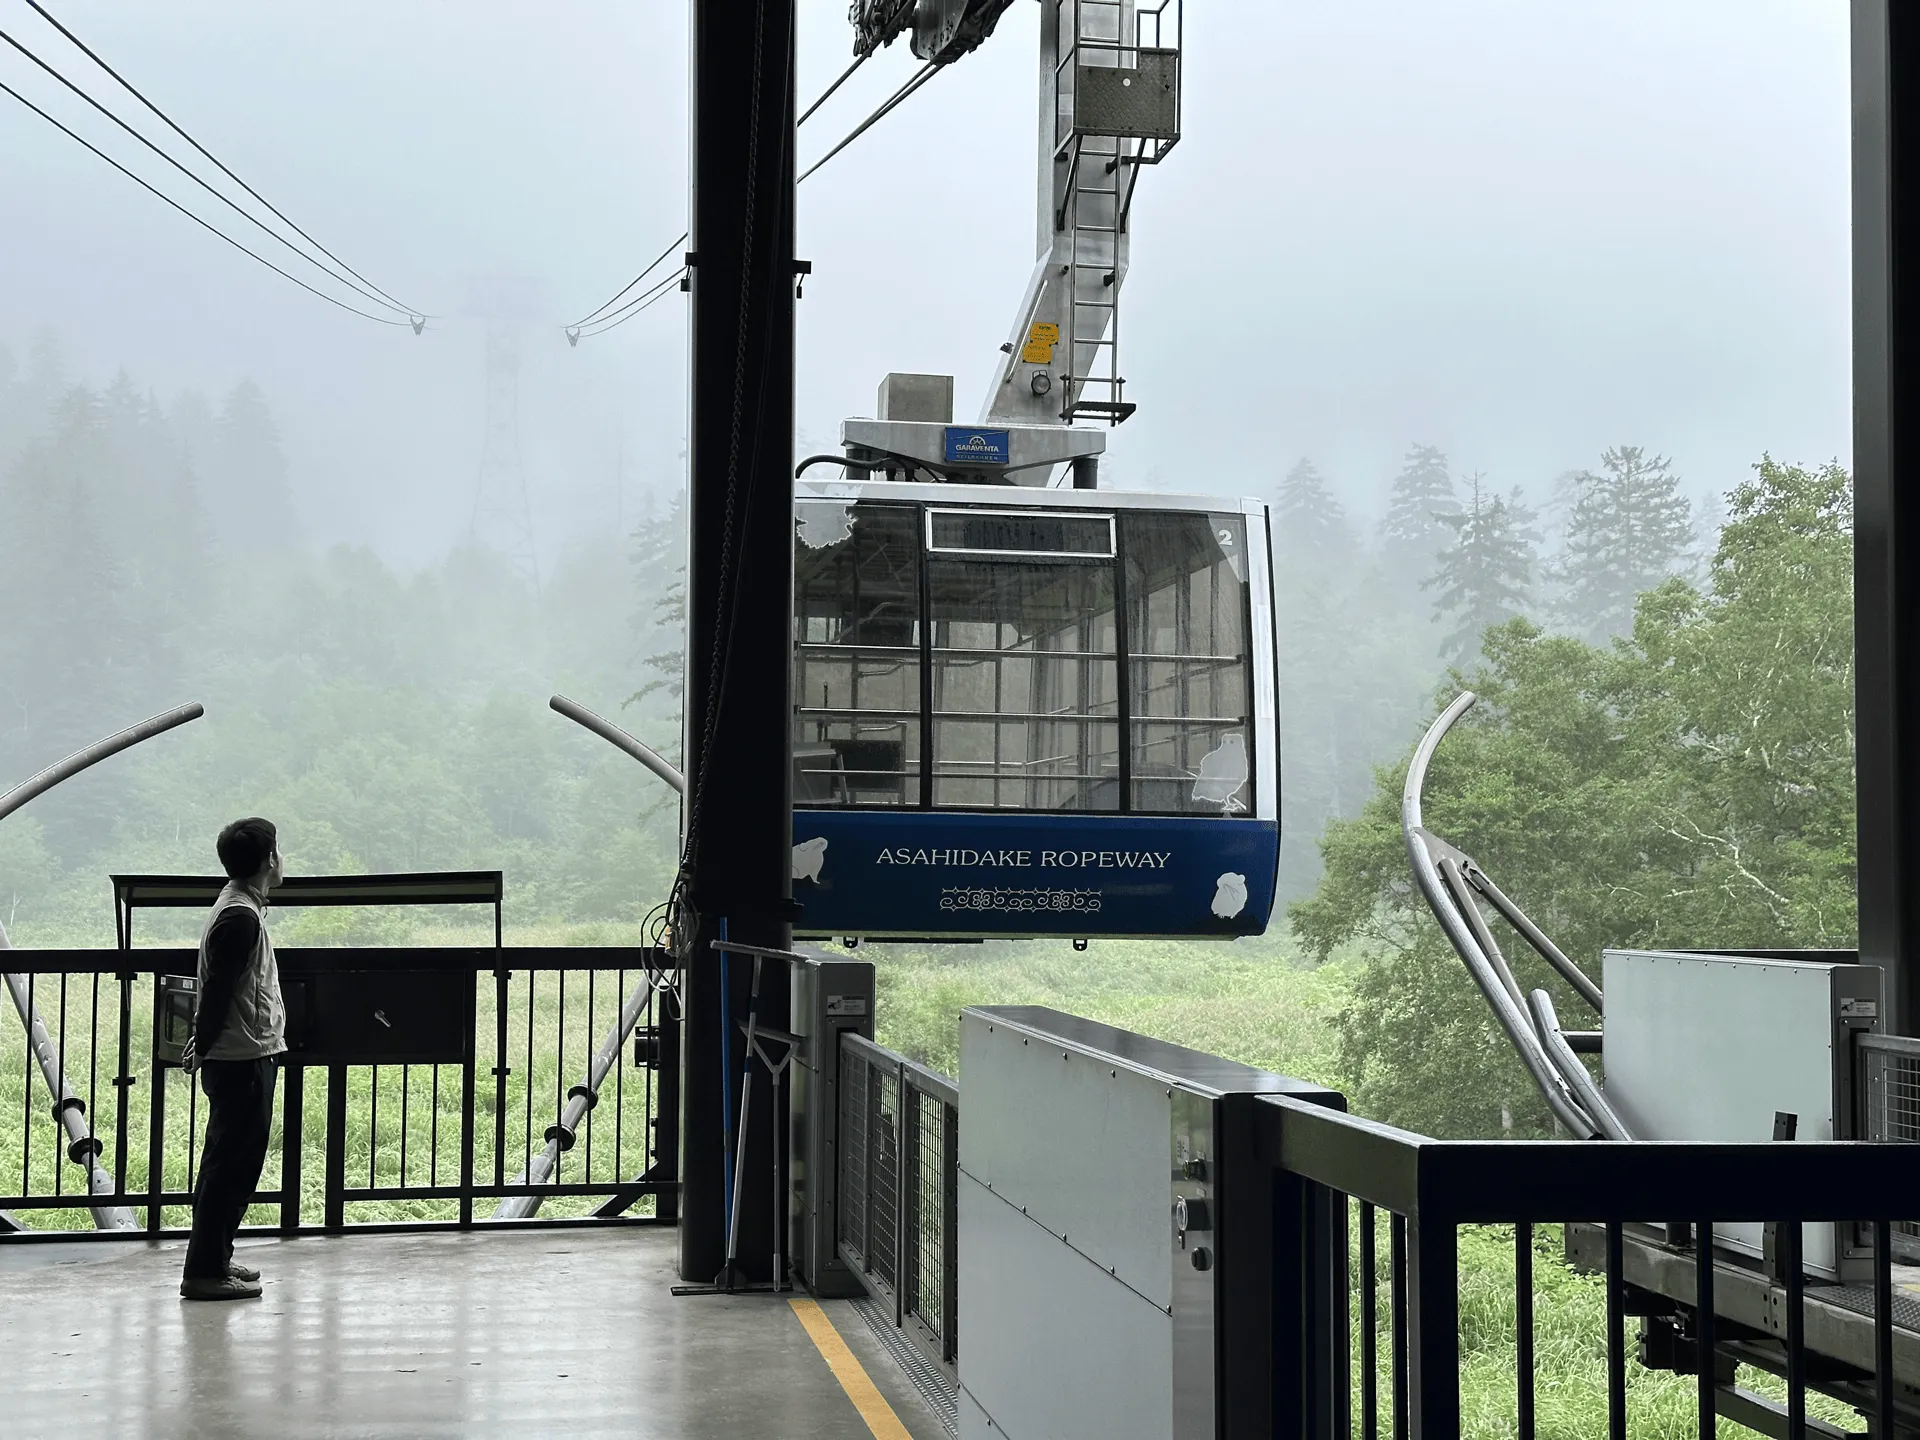
Once getting off the ropeway, we had to listen to a short safety lecture at the station before we could begin. This doesn’t usually happen on mountains in Japan, but I imagine being such a popular tourist destination, Mt Asahi must get a lot of underprepared visitors to warrant this.
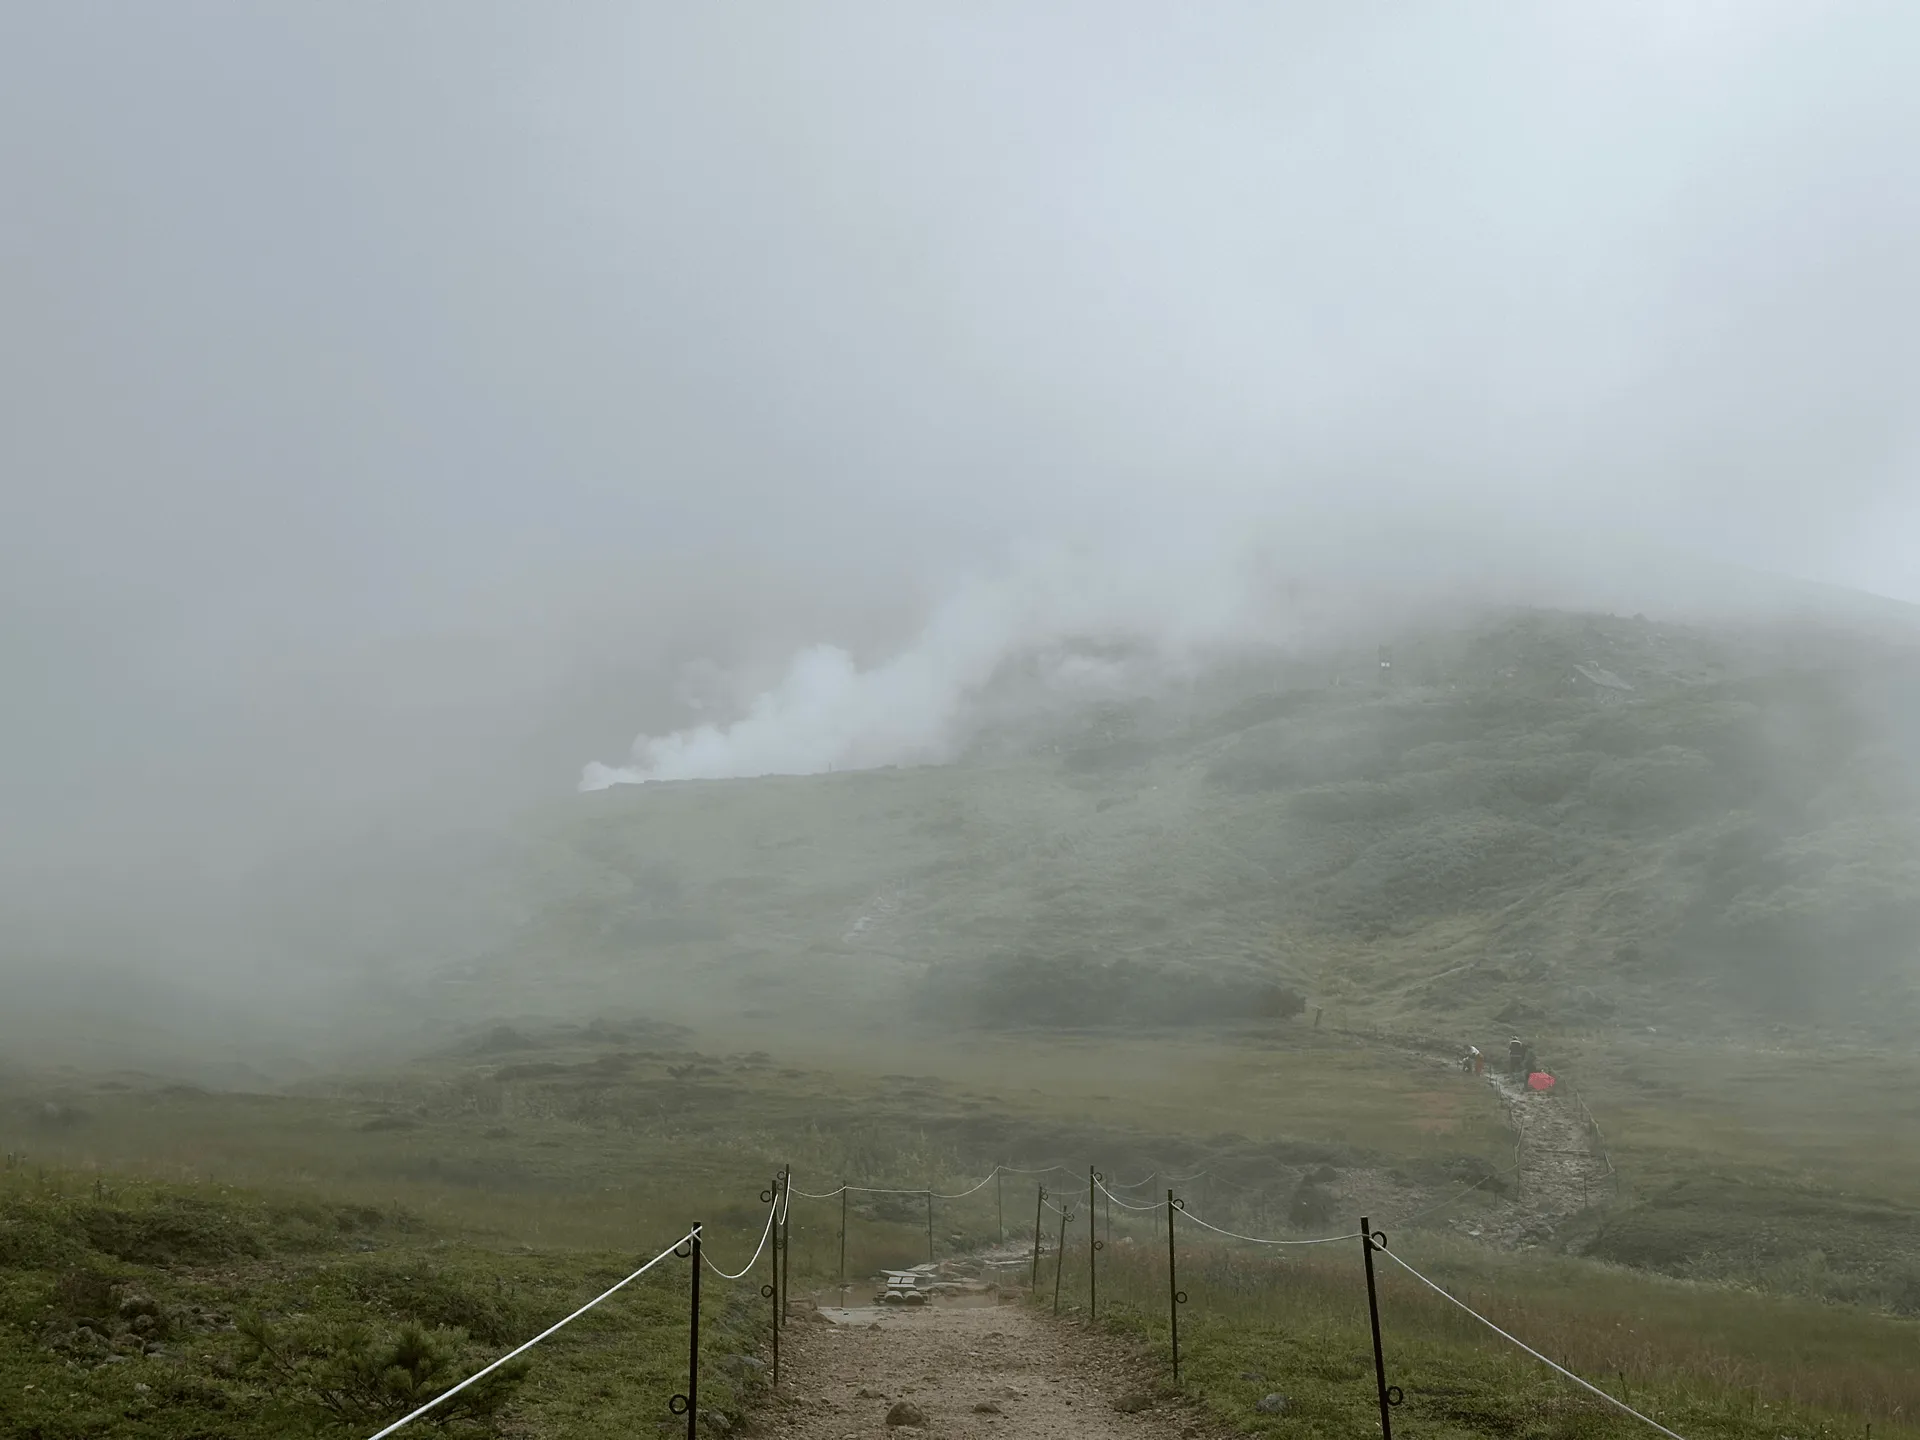
As we began our hike there was a tiny bit of rain, but mostly just a lot of fog.
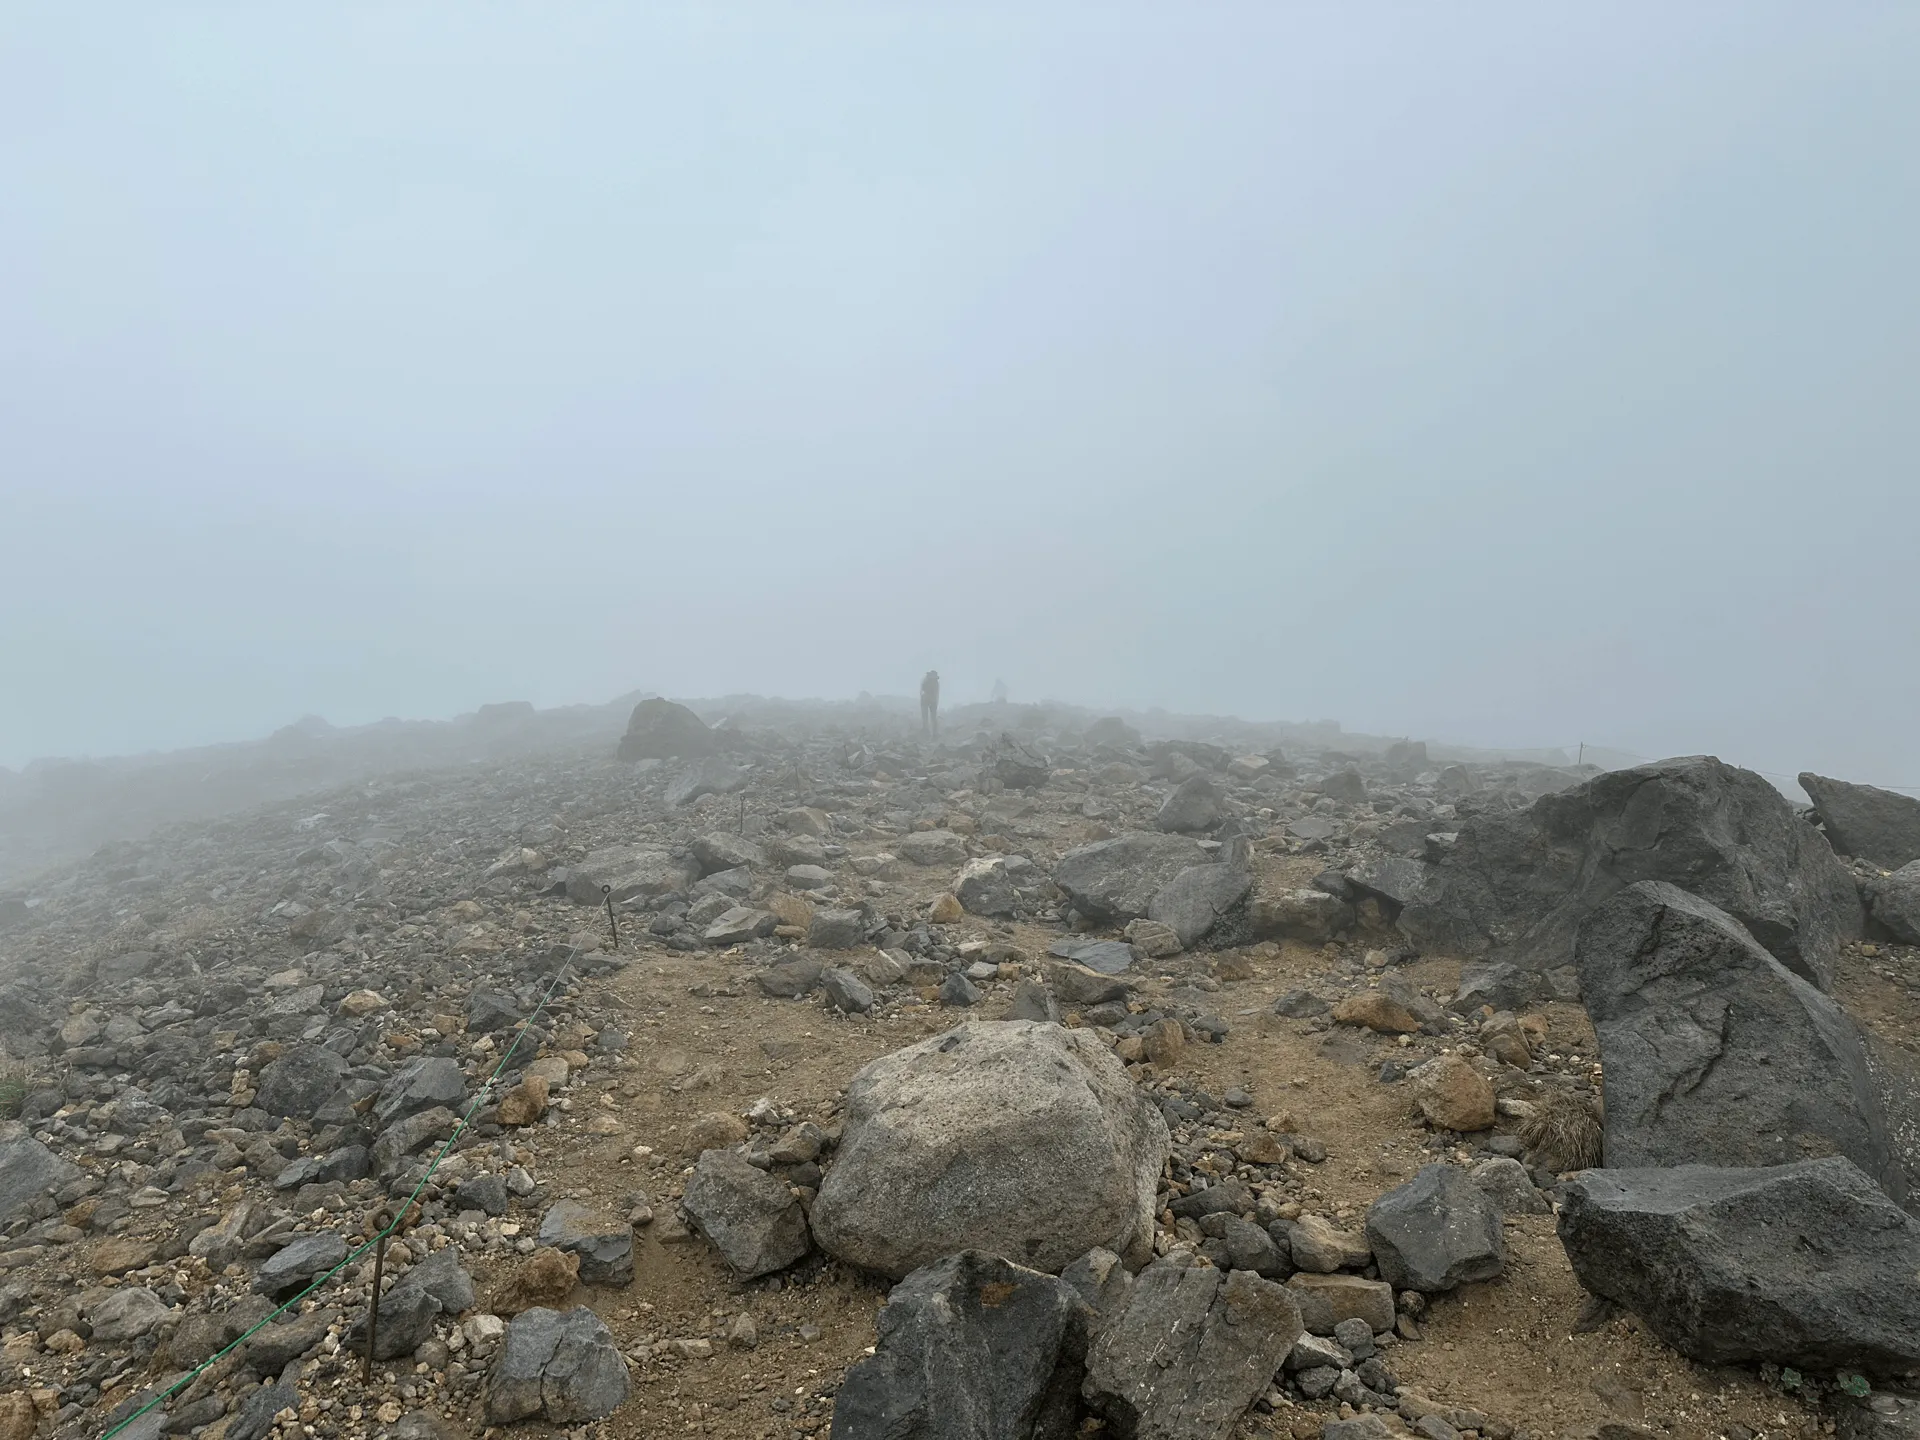
Since Mt Asahi is a volcano, the entire trail is up along a long ridge, with a lot of rocks and gravel.
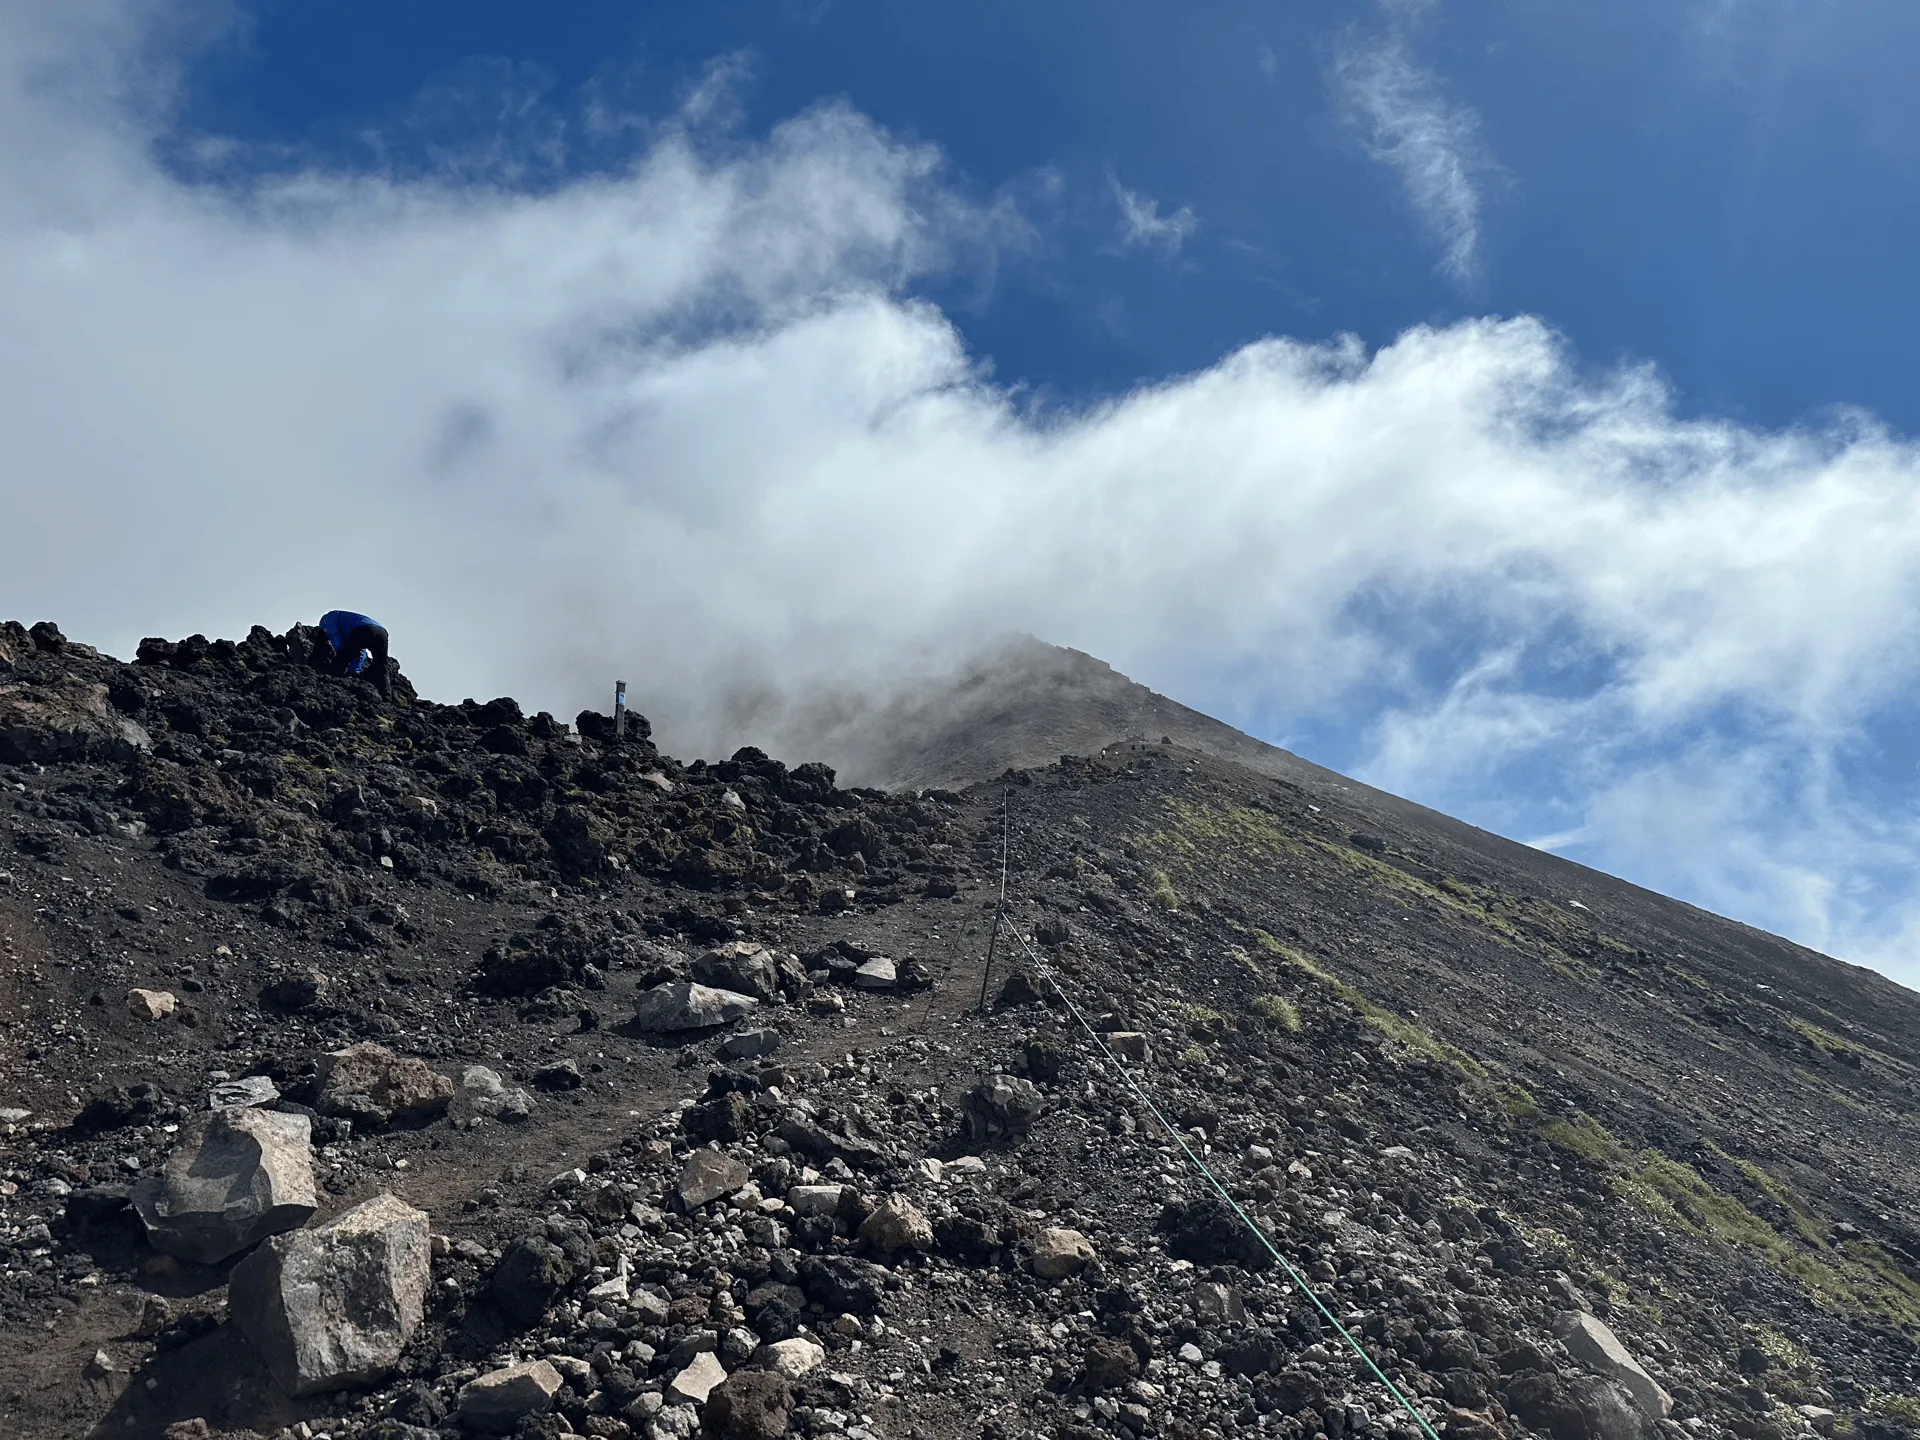
After about 100 minutes, we reached the peak of Mt Asahi.

Coincidentally, there was also a SEA TO SUMMIT event on, which is a sort of triathlon held across Japan that involves kayaking, cycling and finally running to the peak of the mountain. I was a bit worried whether this would make the trail crowded with participants rushing to the finish line, but as it turned out, the runners were all quite spread out, and it was entertaining more than anything else.
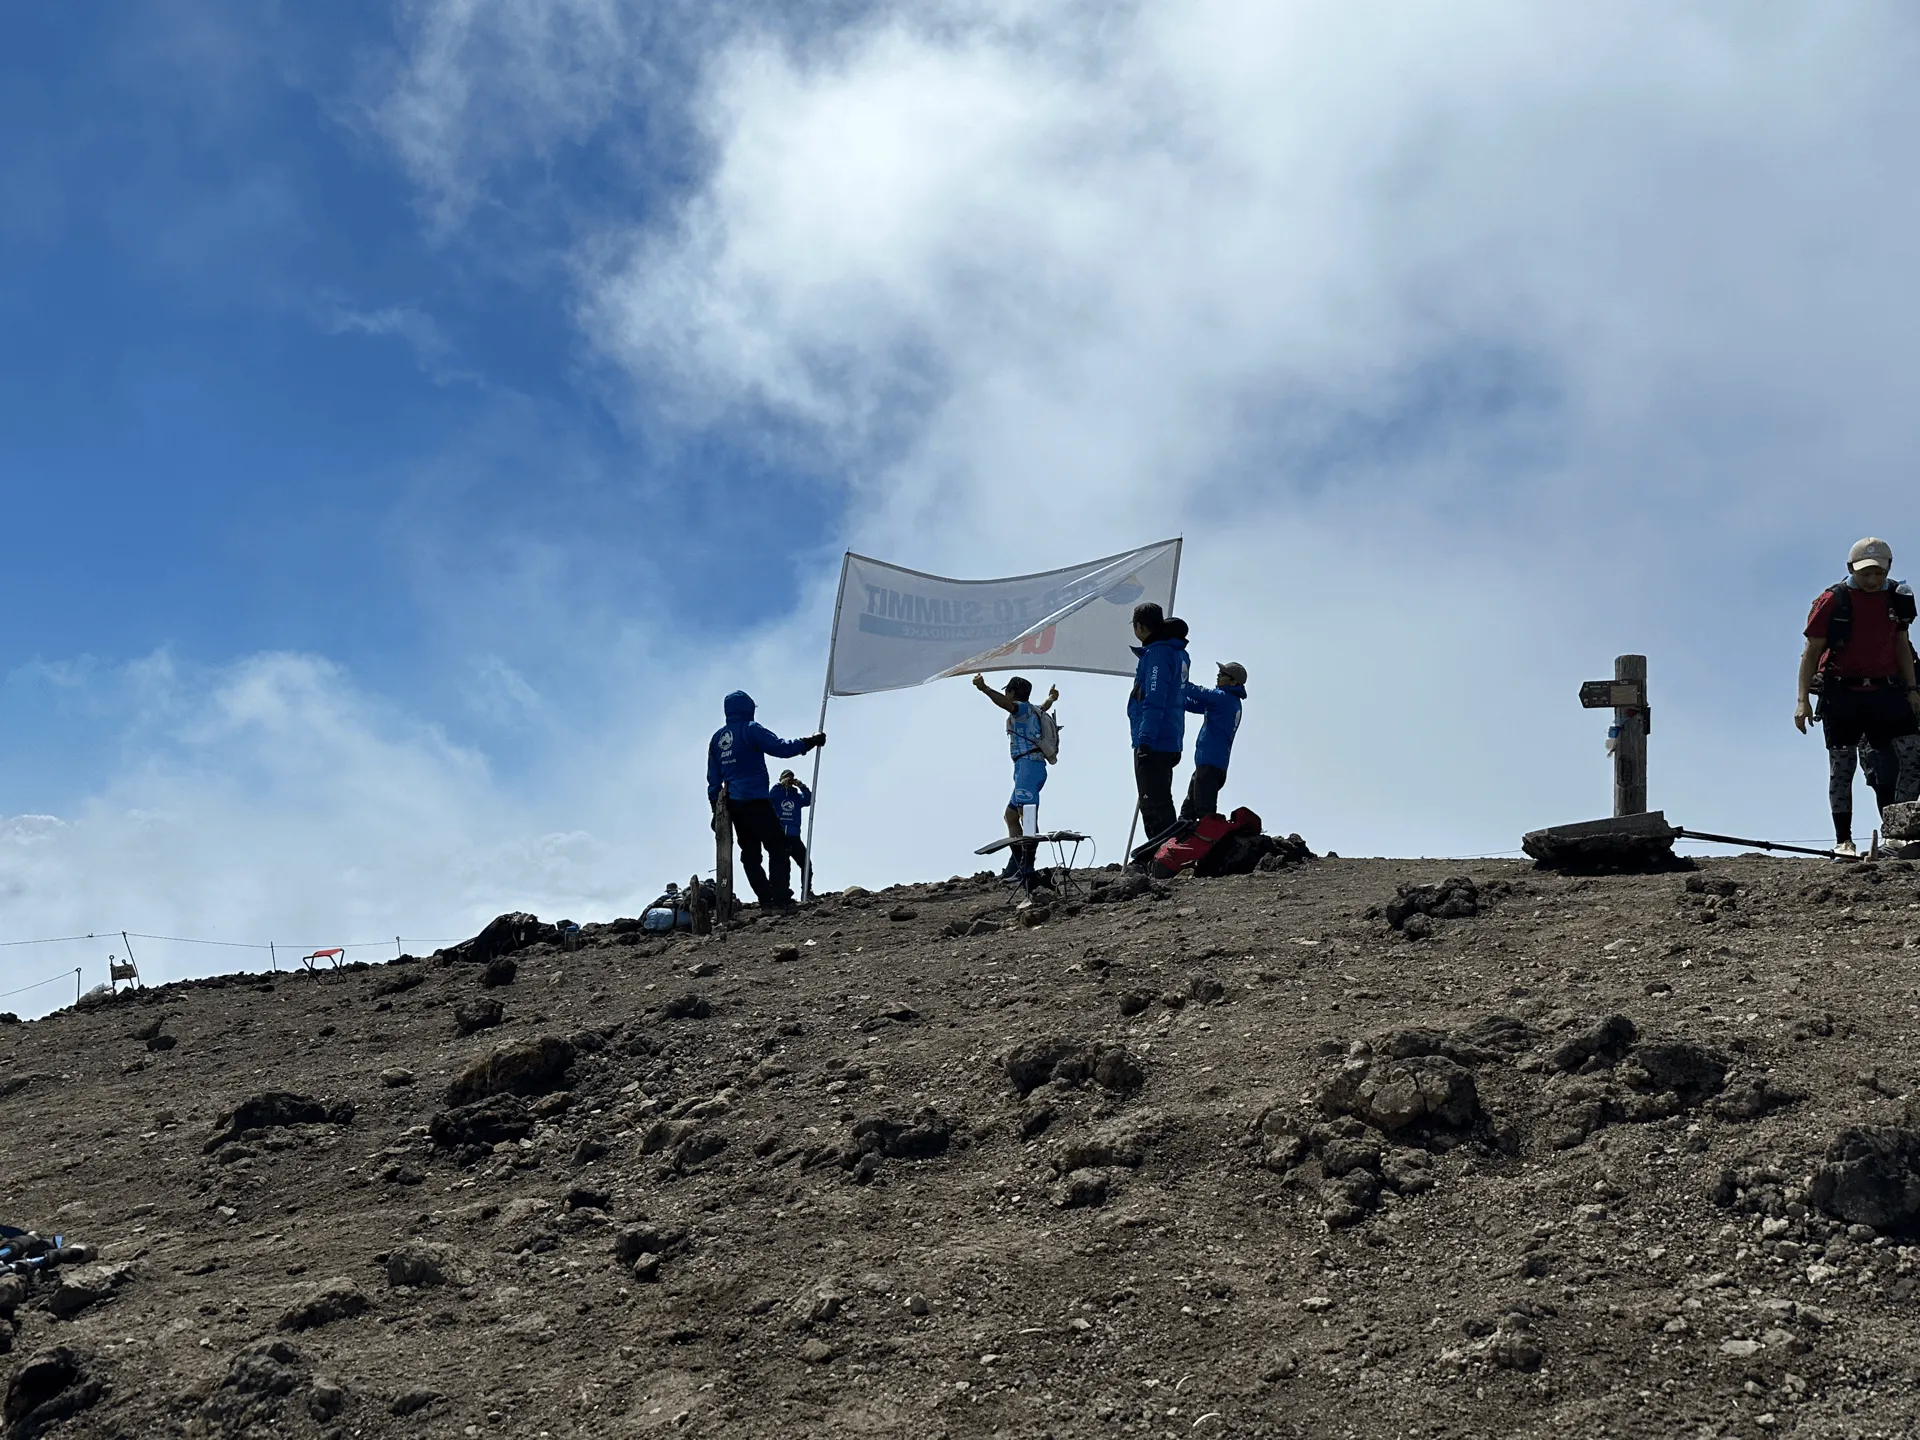
Since we were in no rush to get off the mountain, and with all the fog, we thought that we might rest a little while to try and see if it would clear up. However, even though it was mid-September and the height of summer, the summit was pretty cold, and probably 15°C at most. So after some lunch, we gave up on this idea and started our descent.
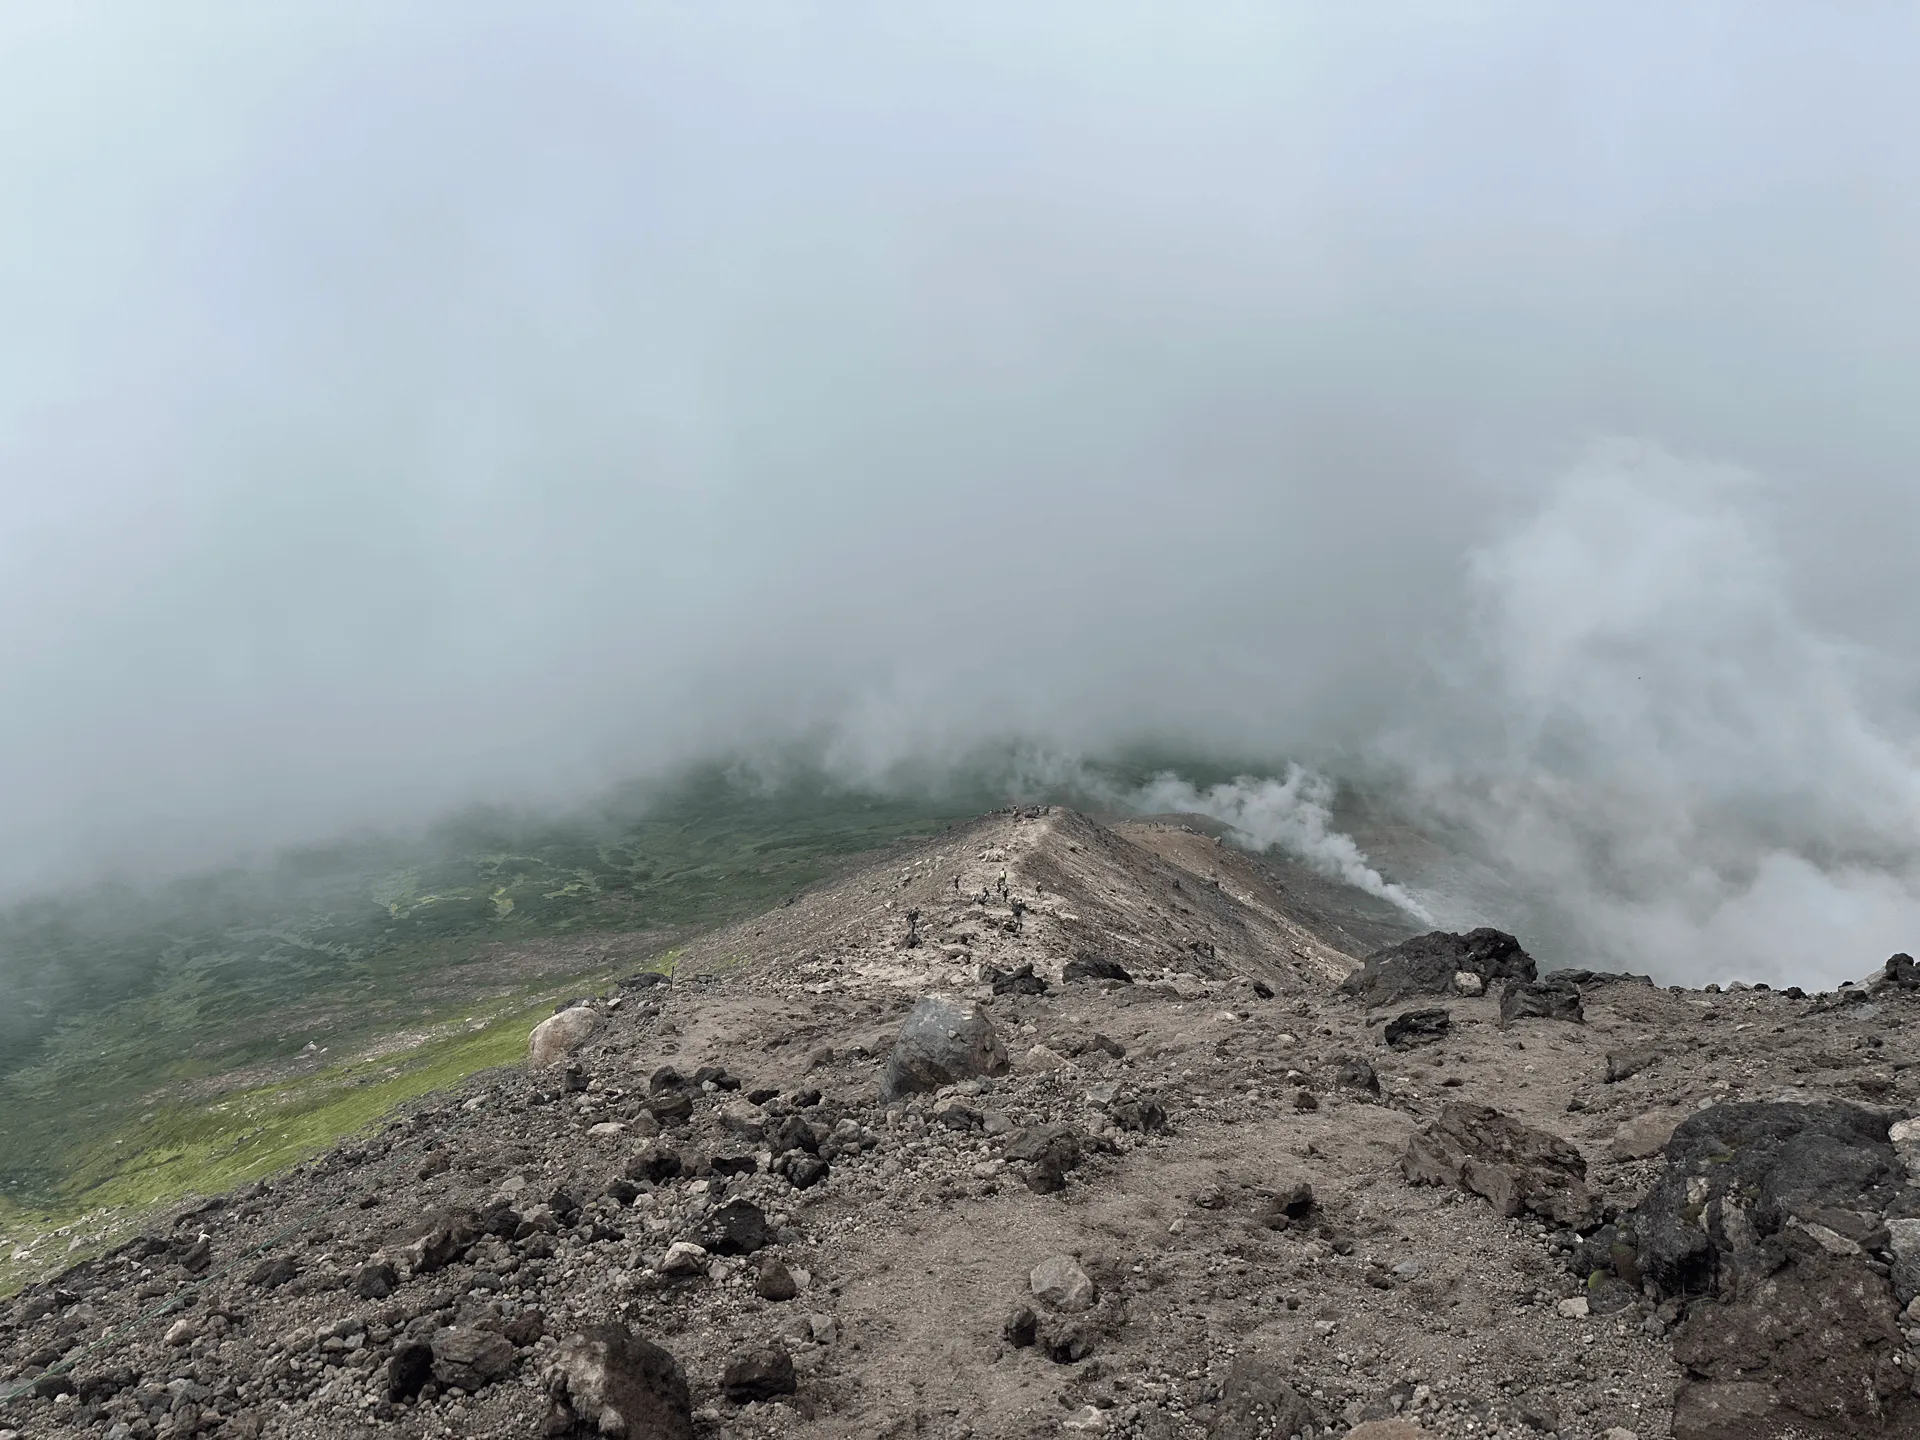
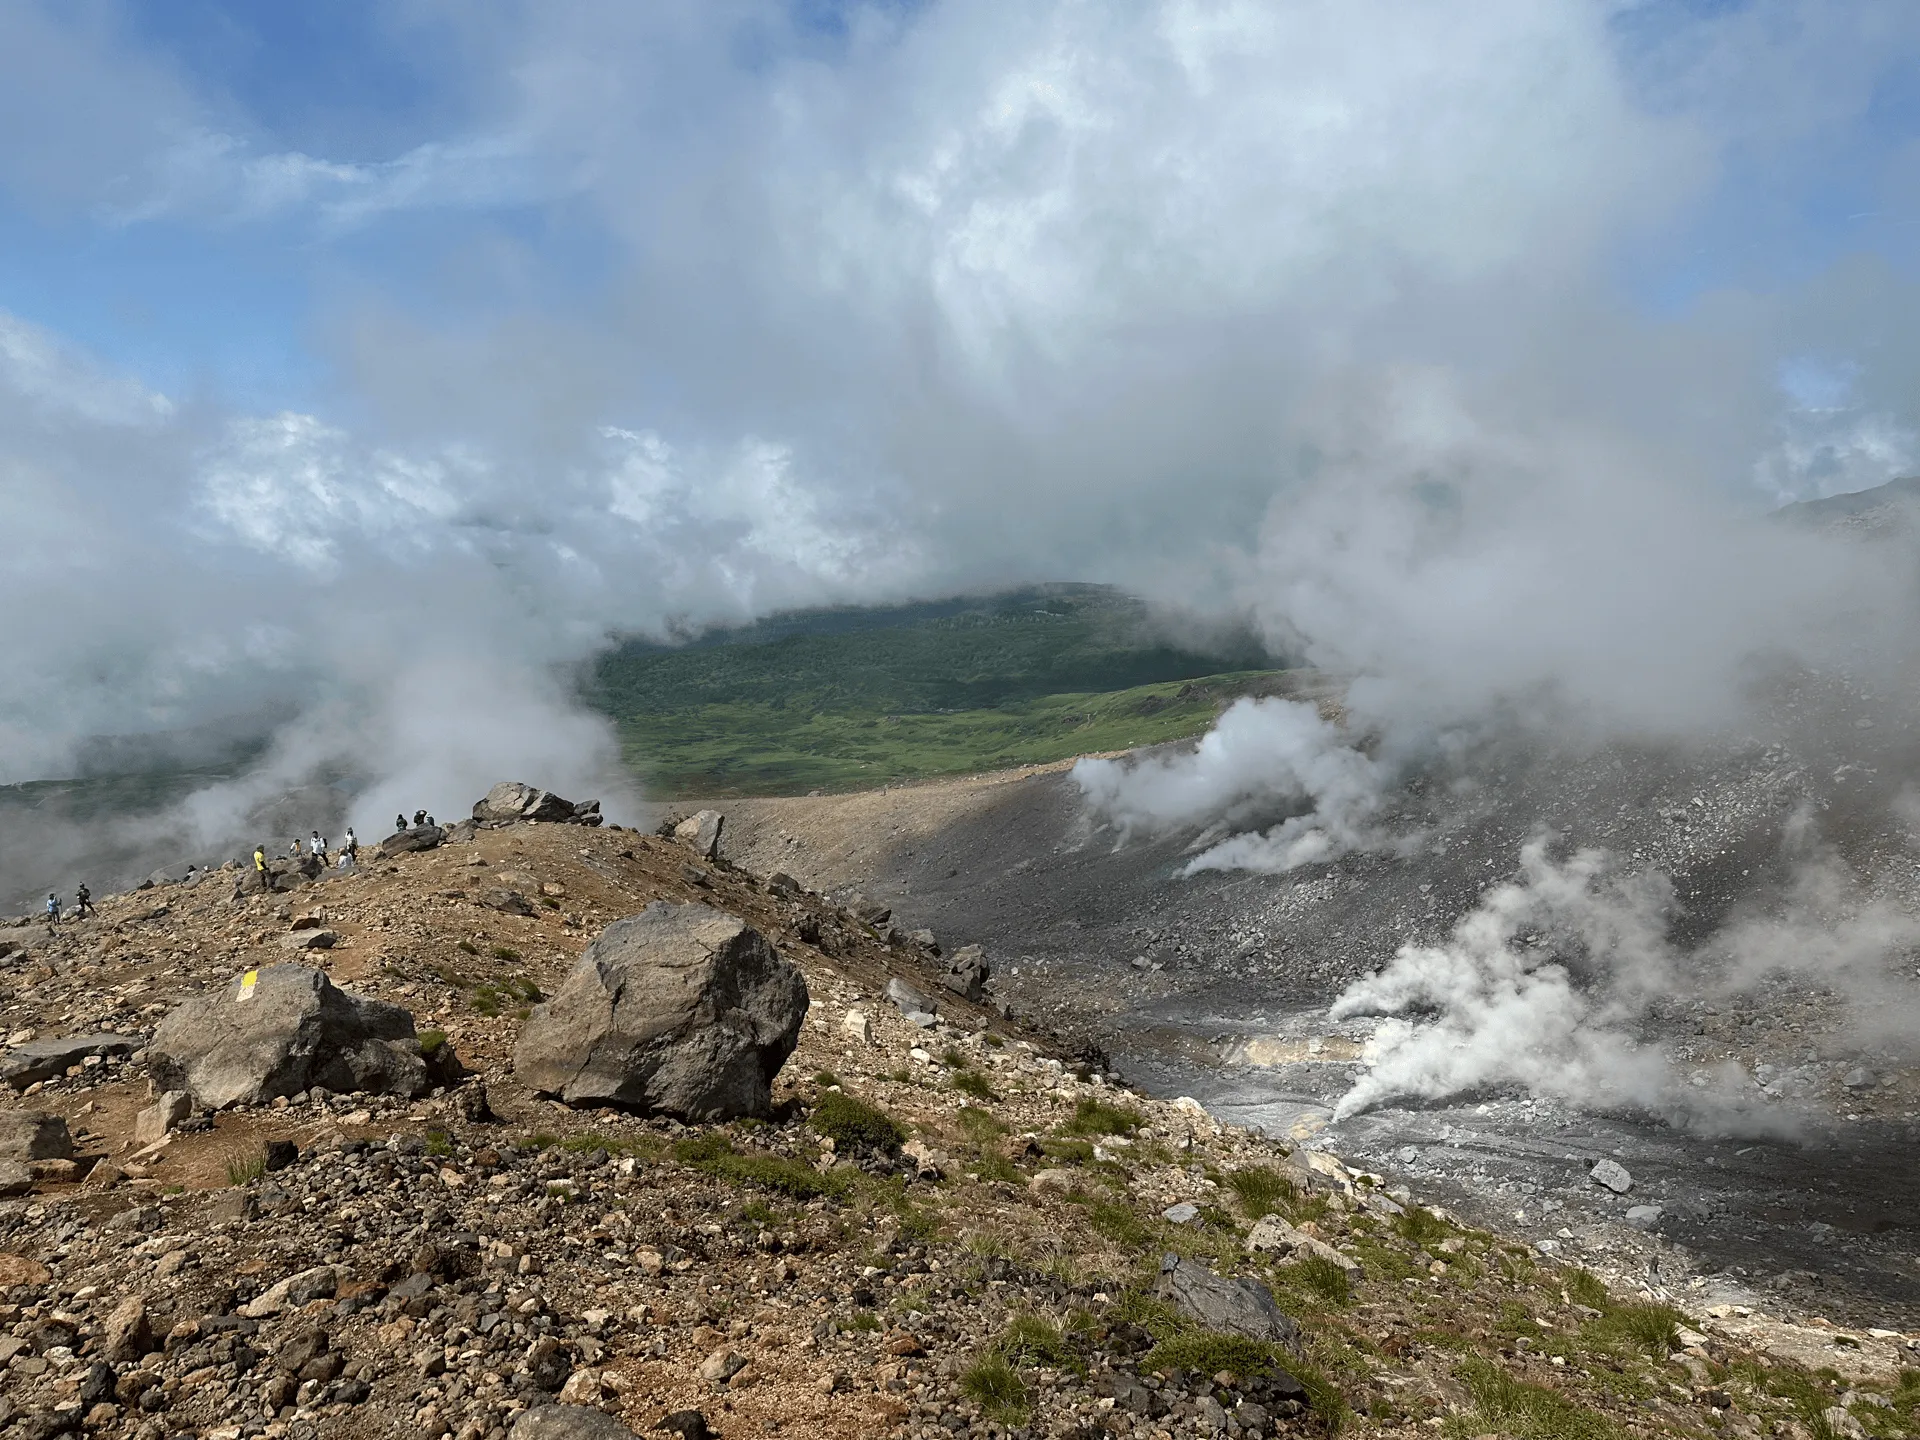

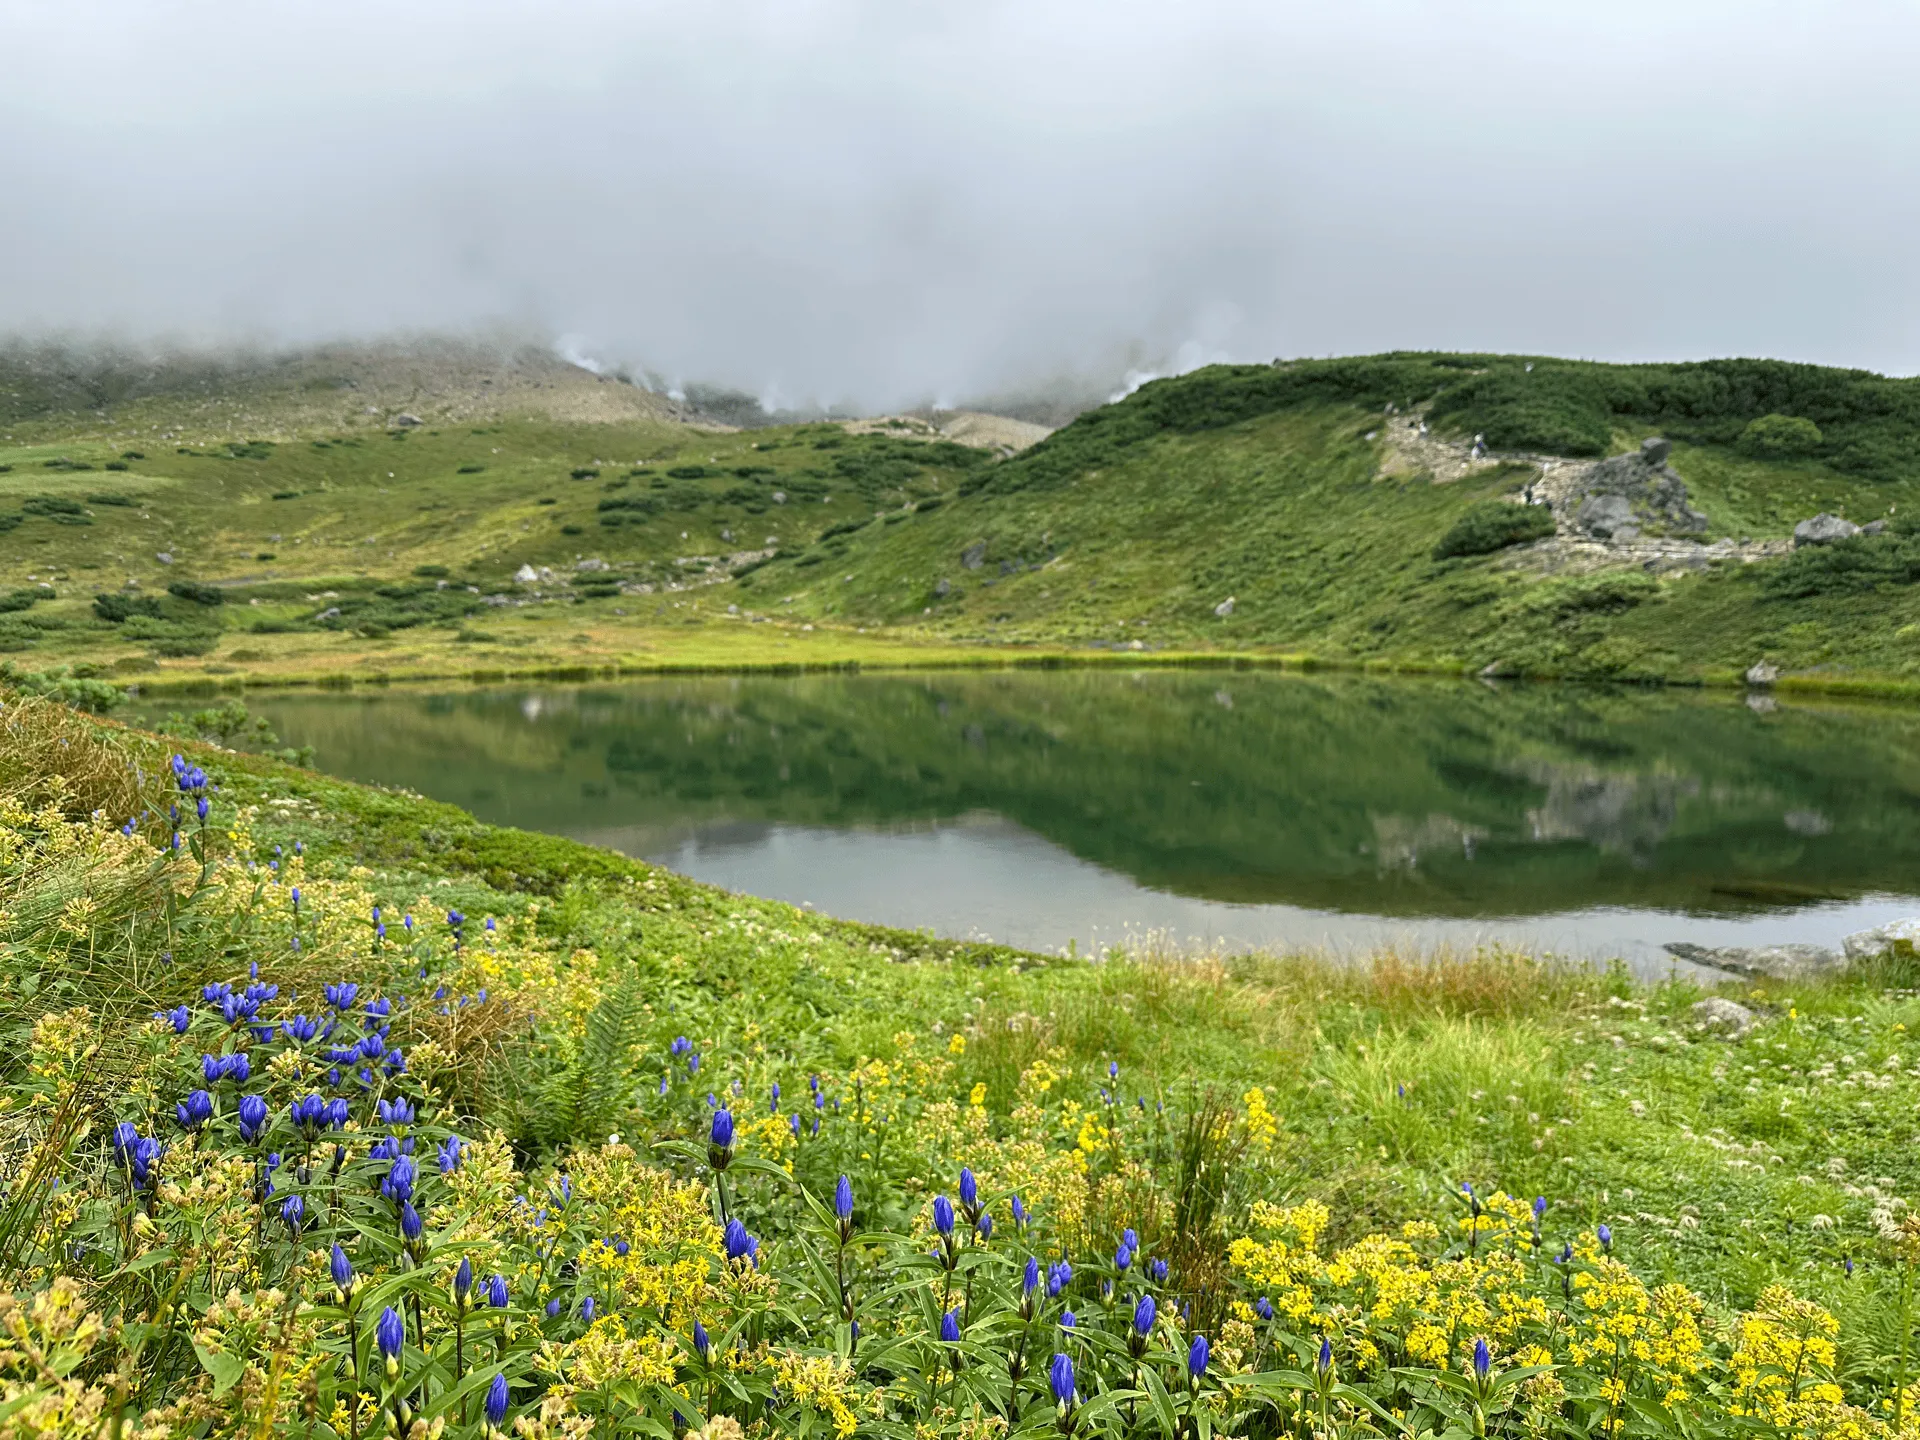
As we approached the ropeway station, we could see Sugatami Pond (姿見の池, sugatami-no-ike). The fog had mostly obscured it from view on the way up, so I was glad to finally get a proper glimpse.
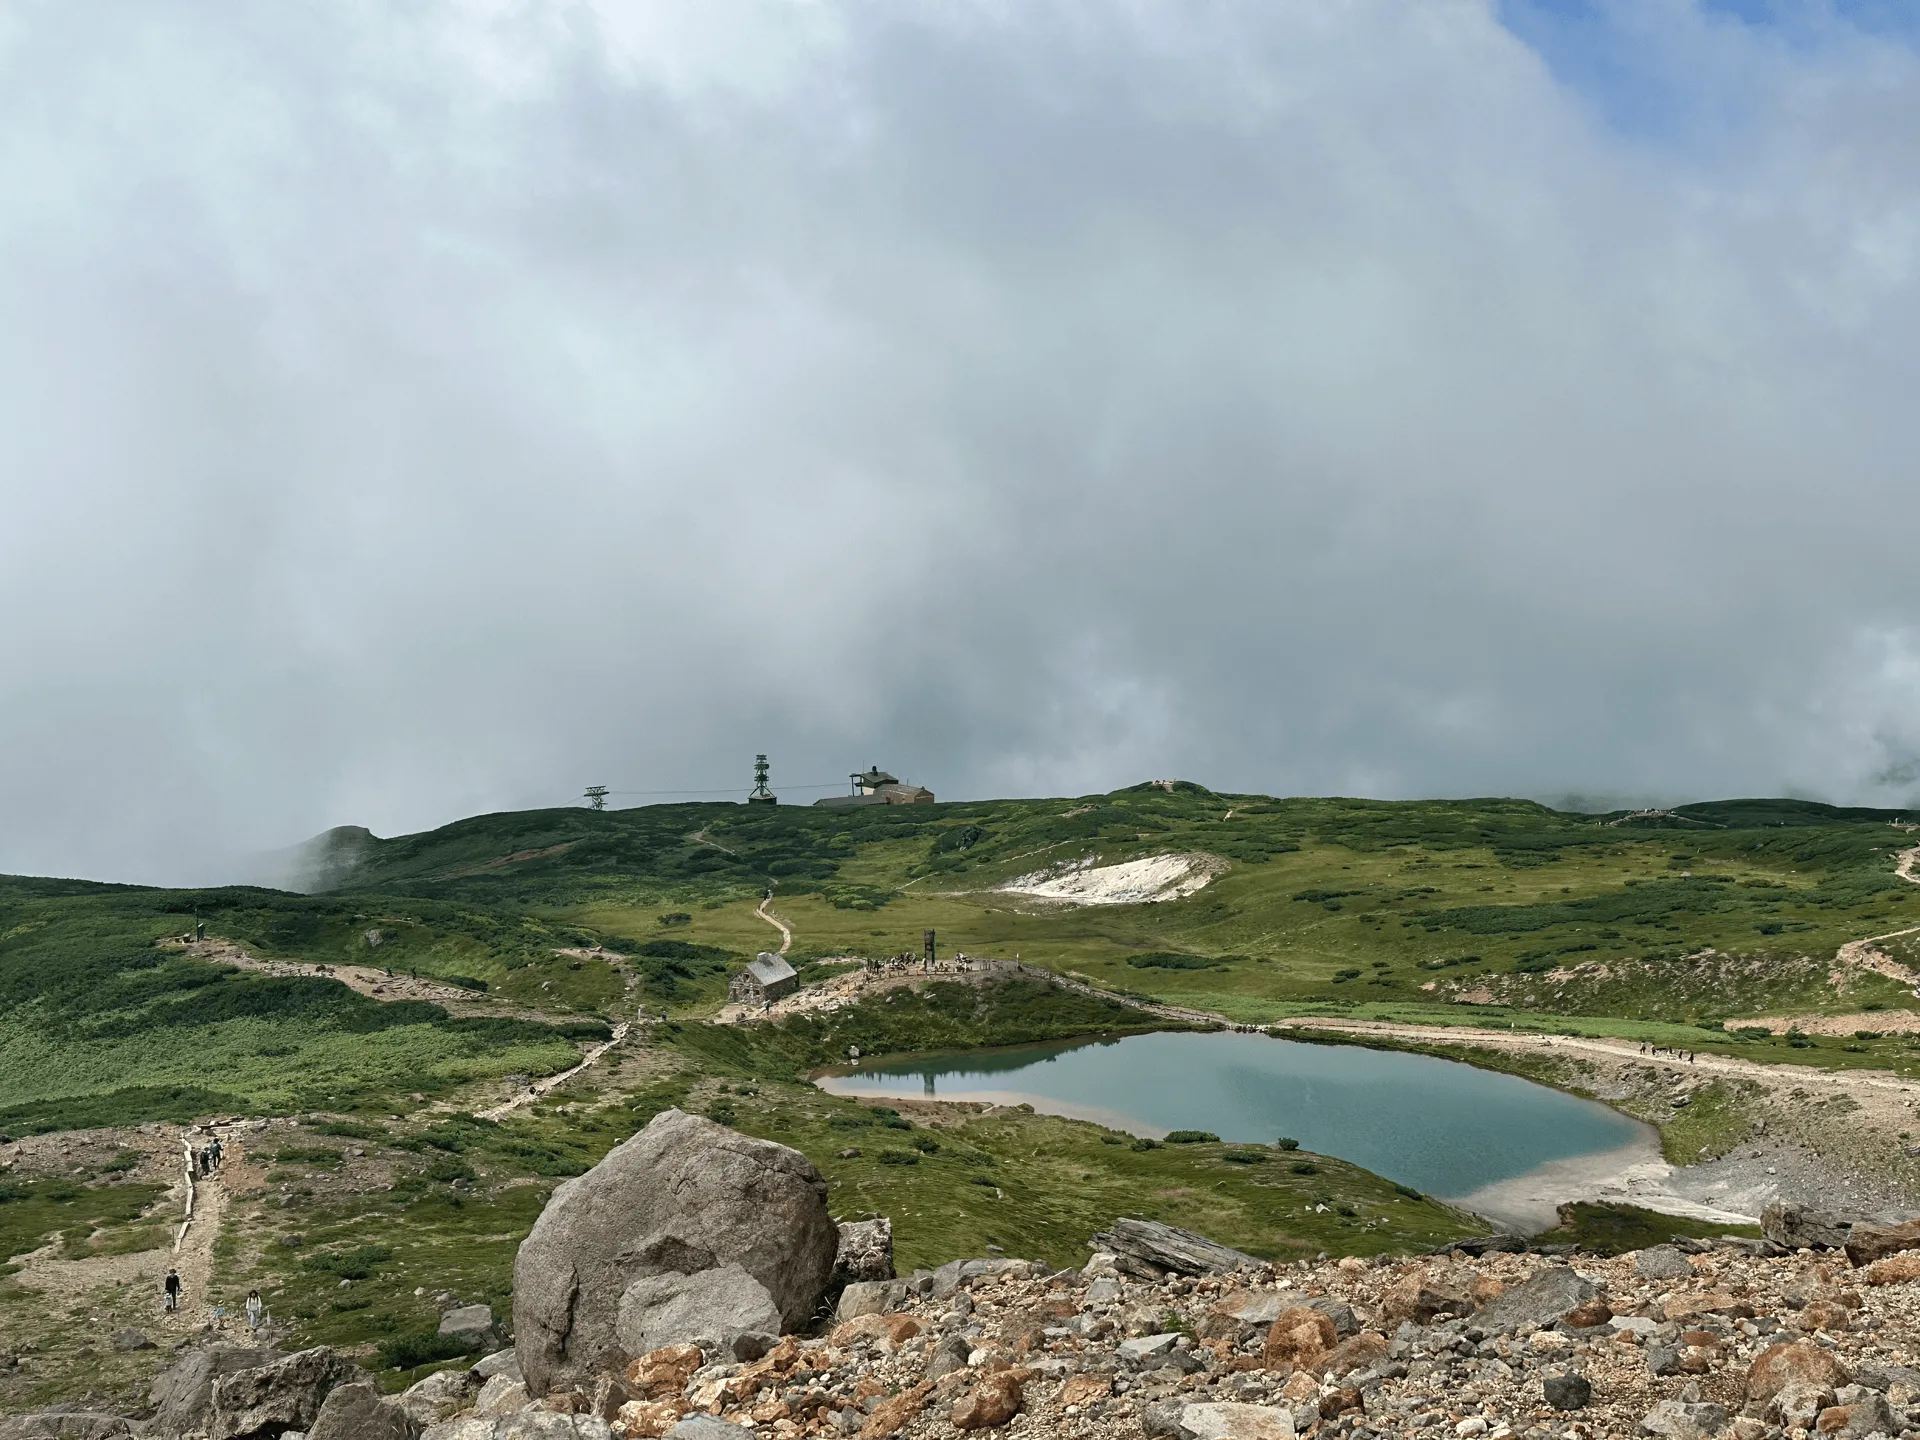
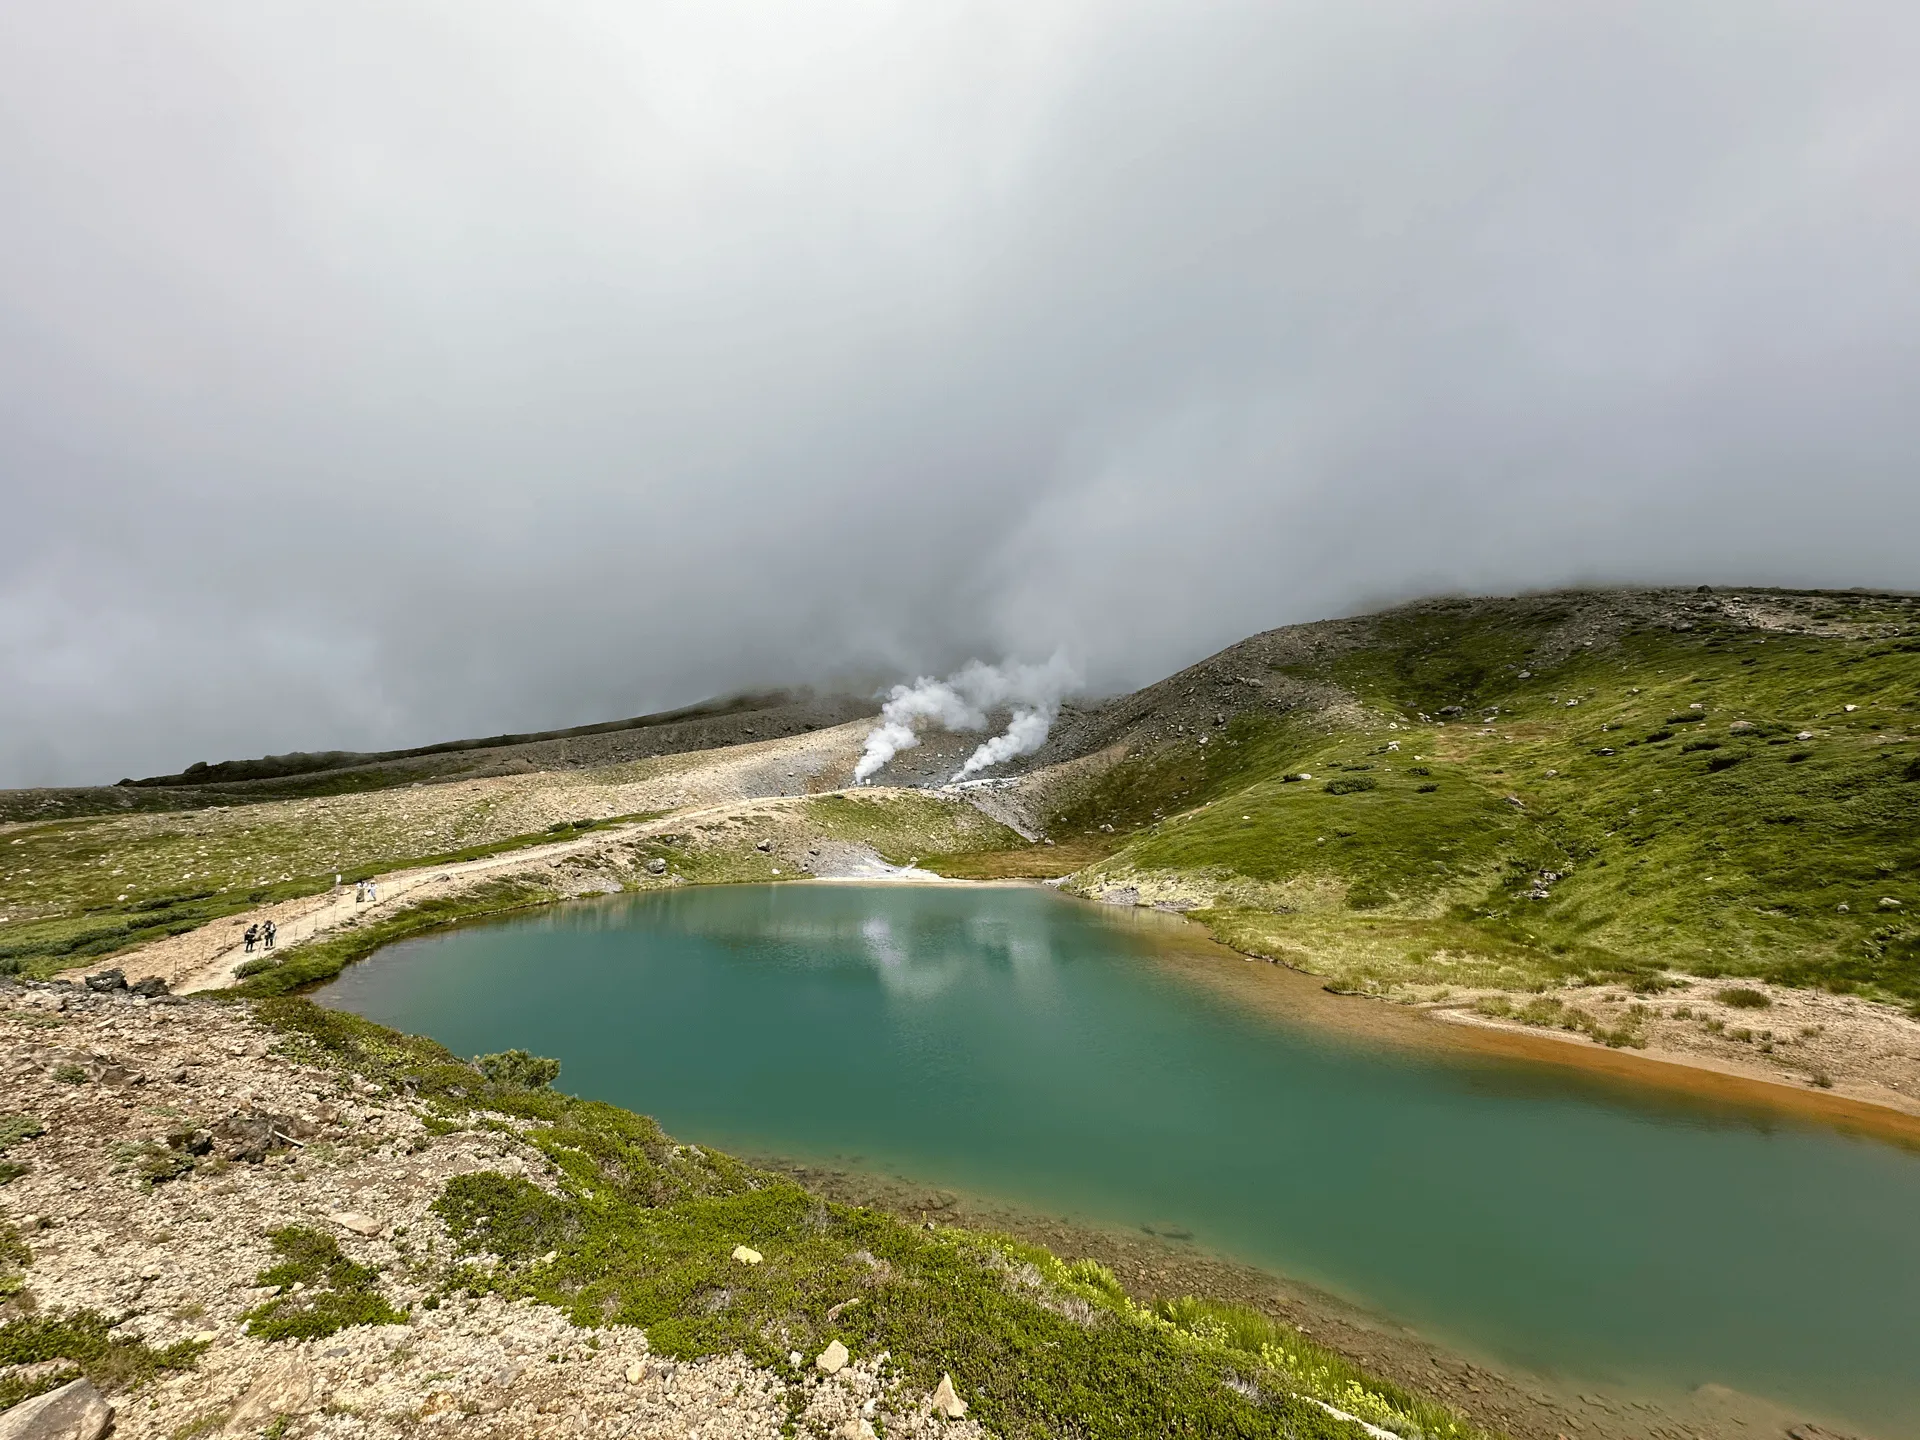
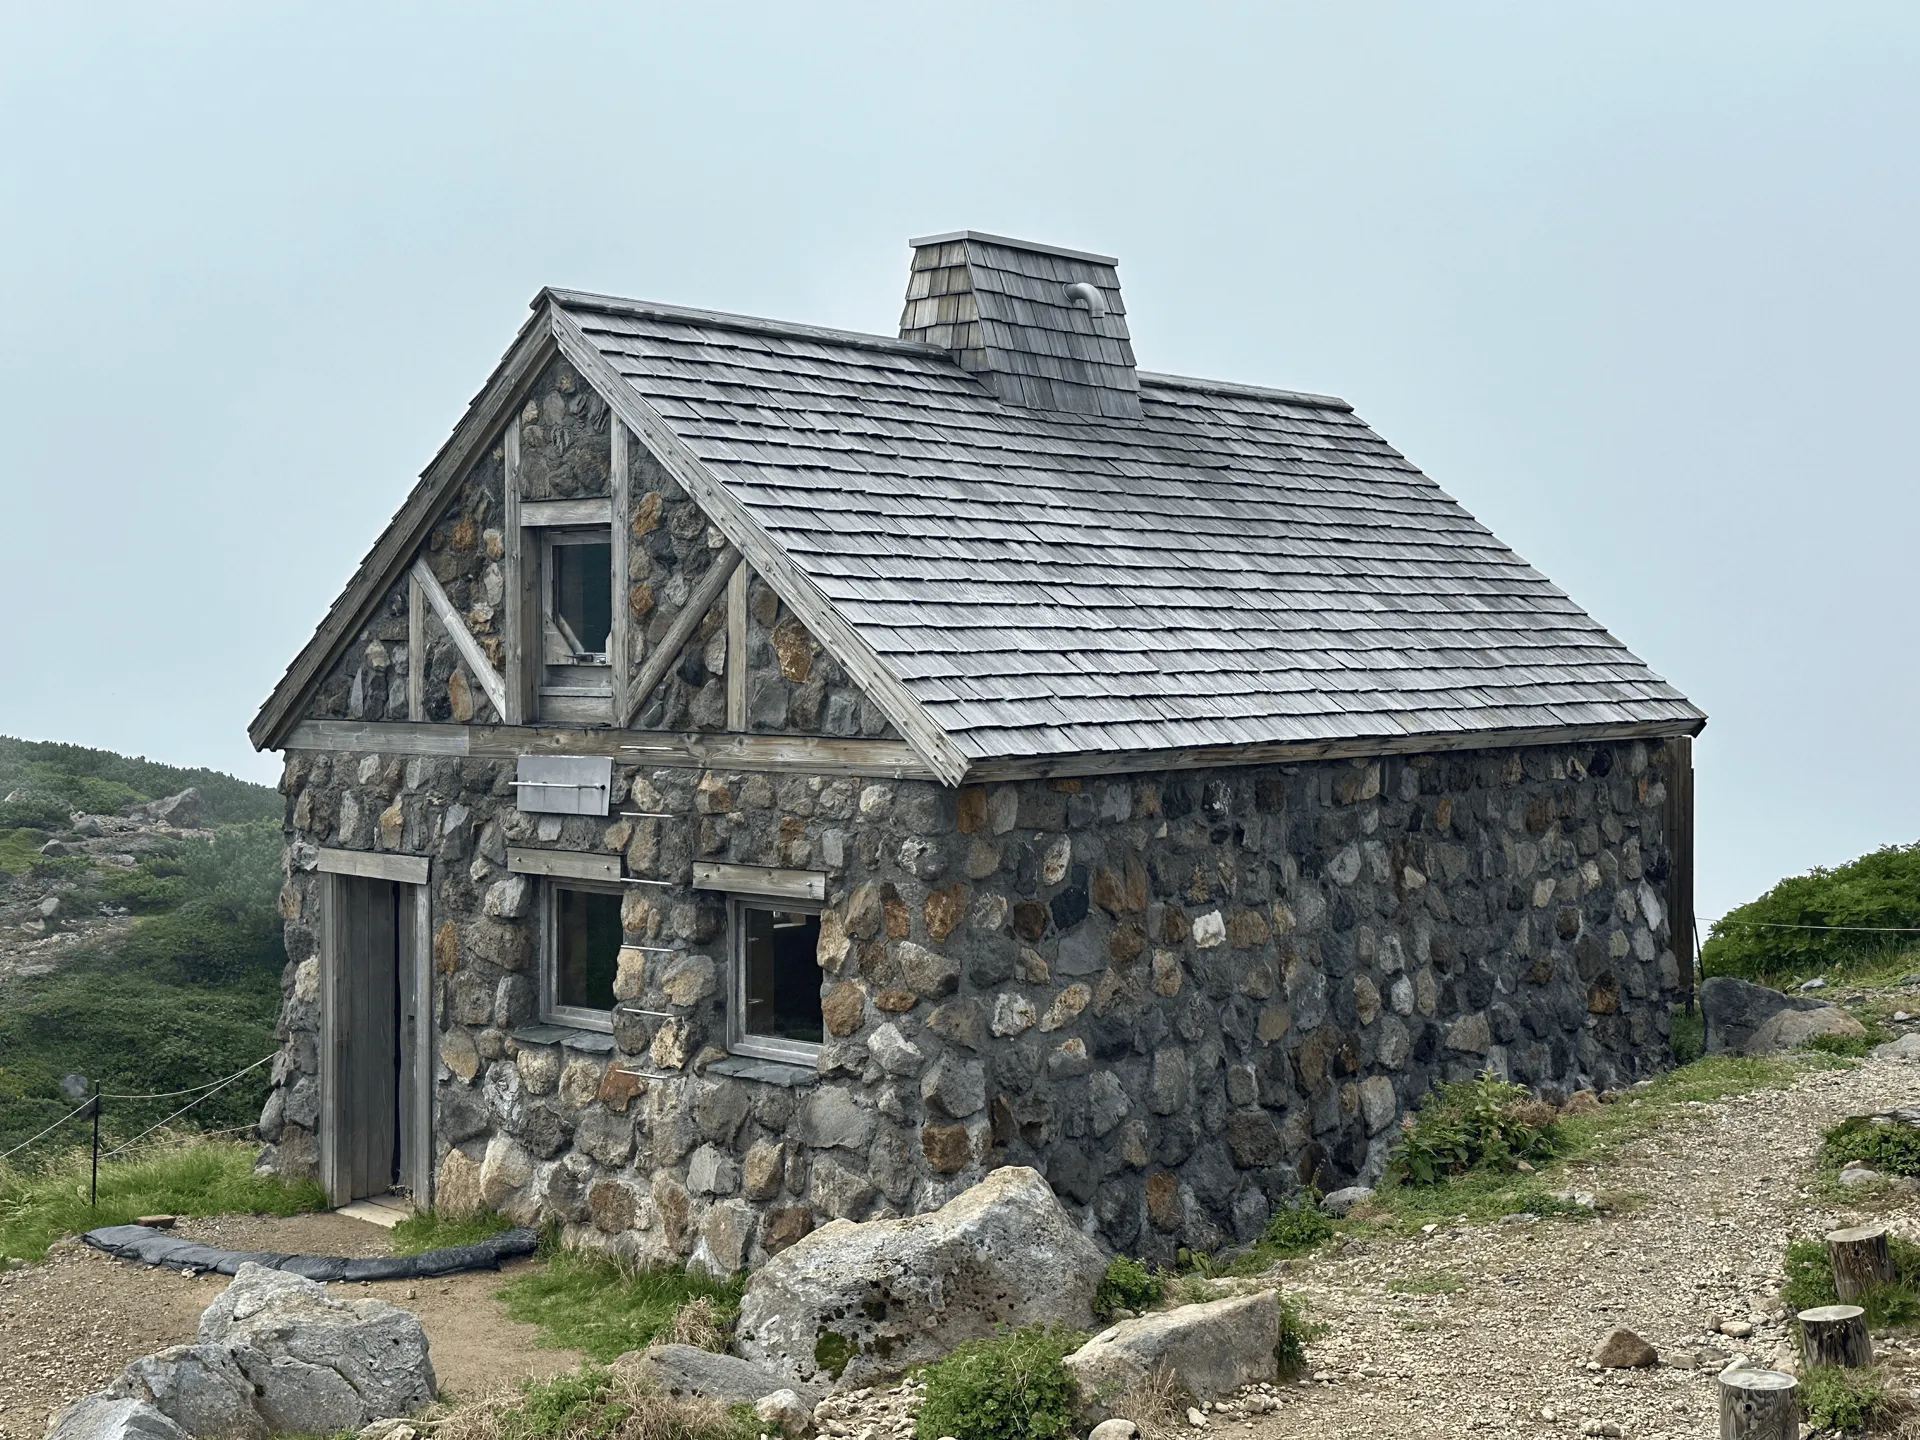
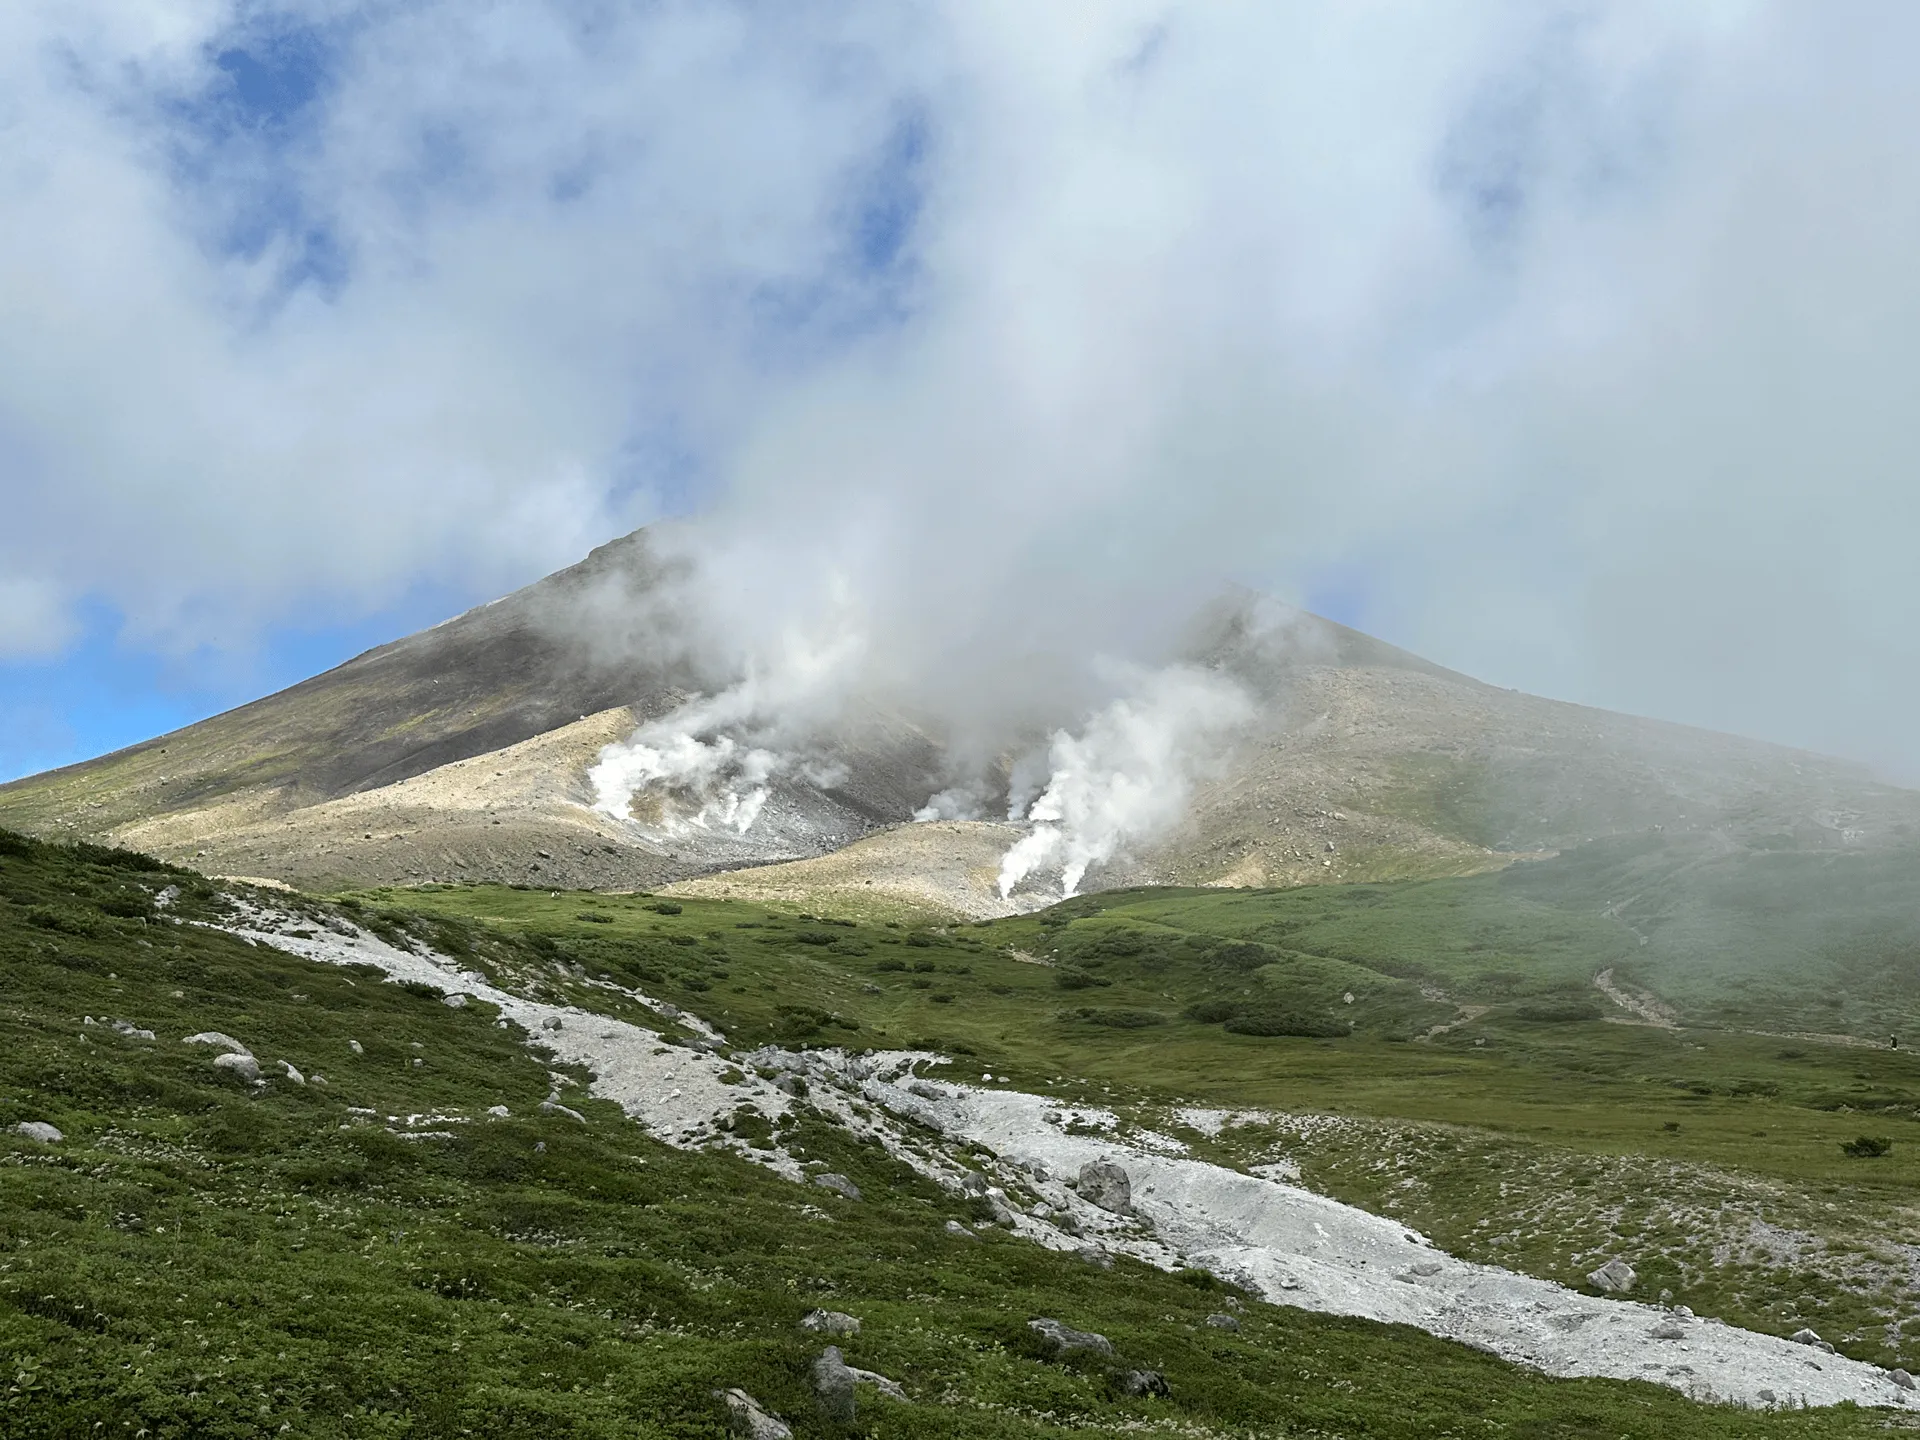
We decided to take a more scenic route back to the ropeway station in the hopes that while we were walking, the fog might clear and we could get a clearer view of the summit.
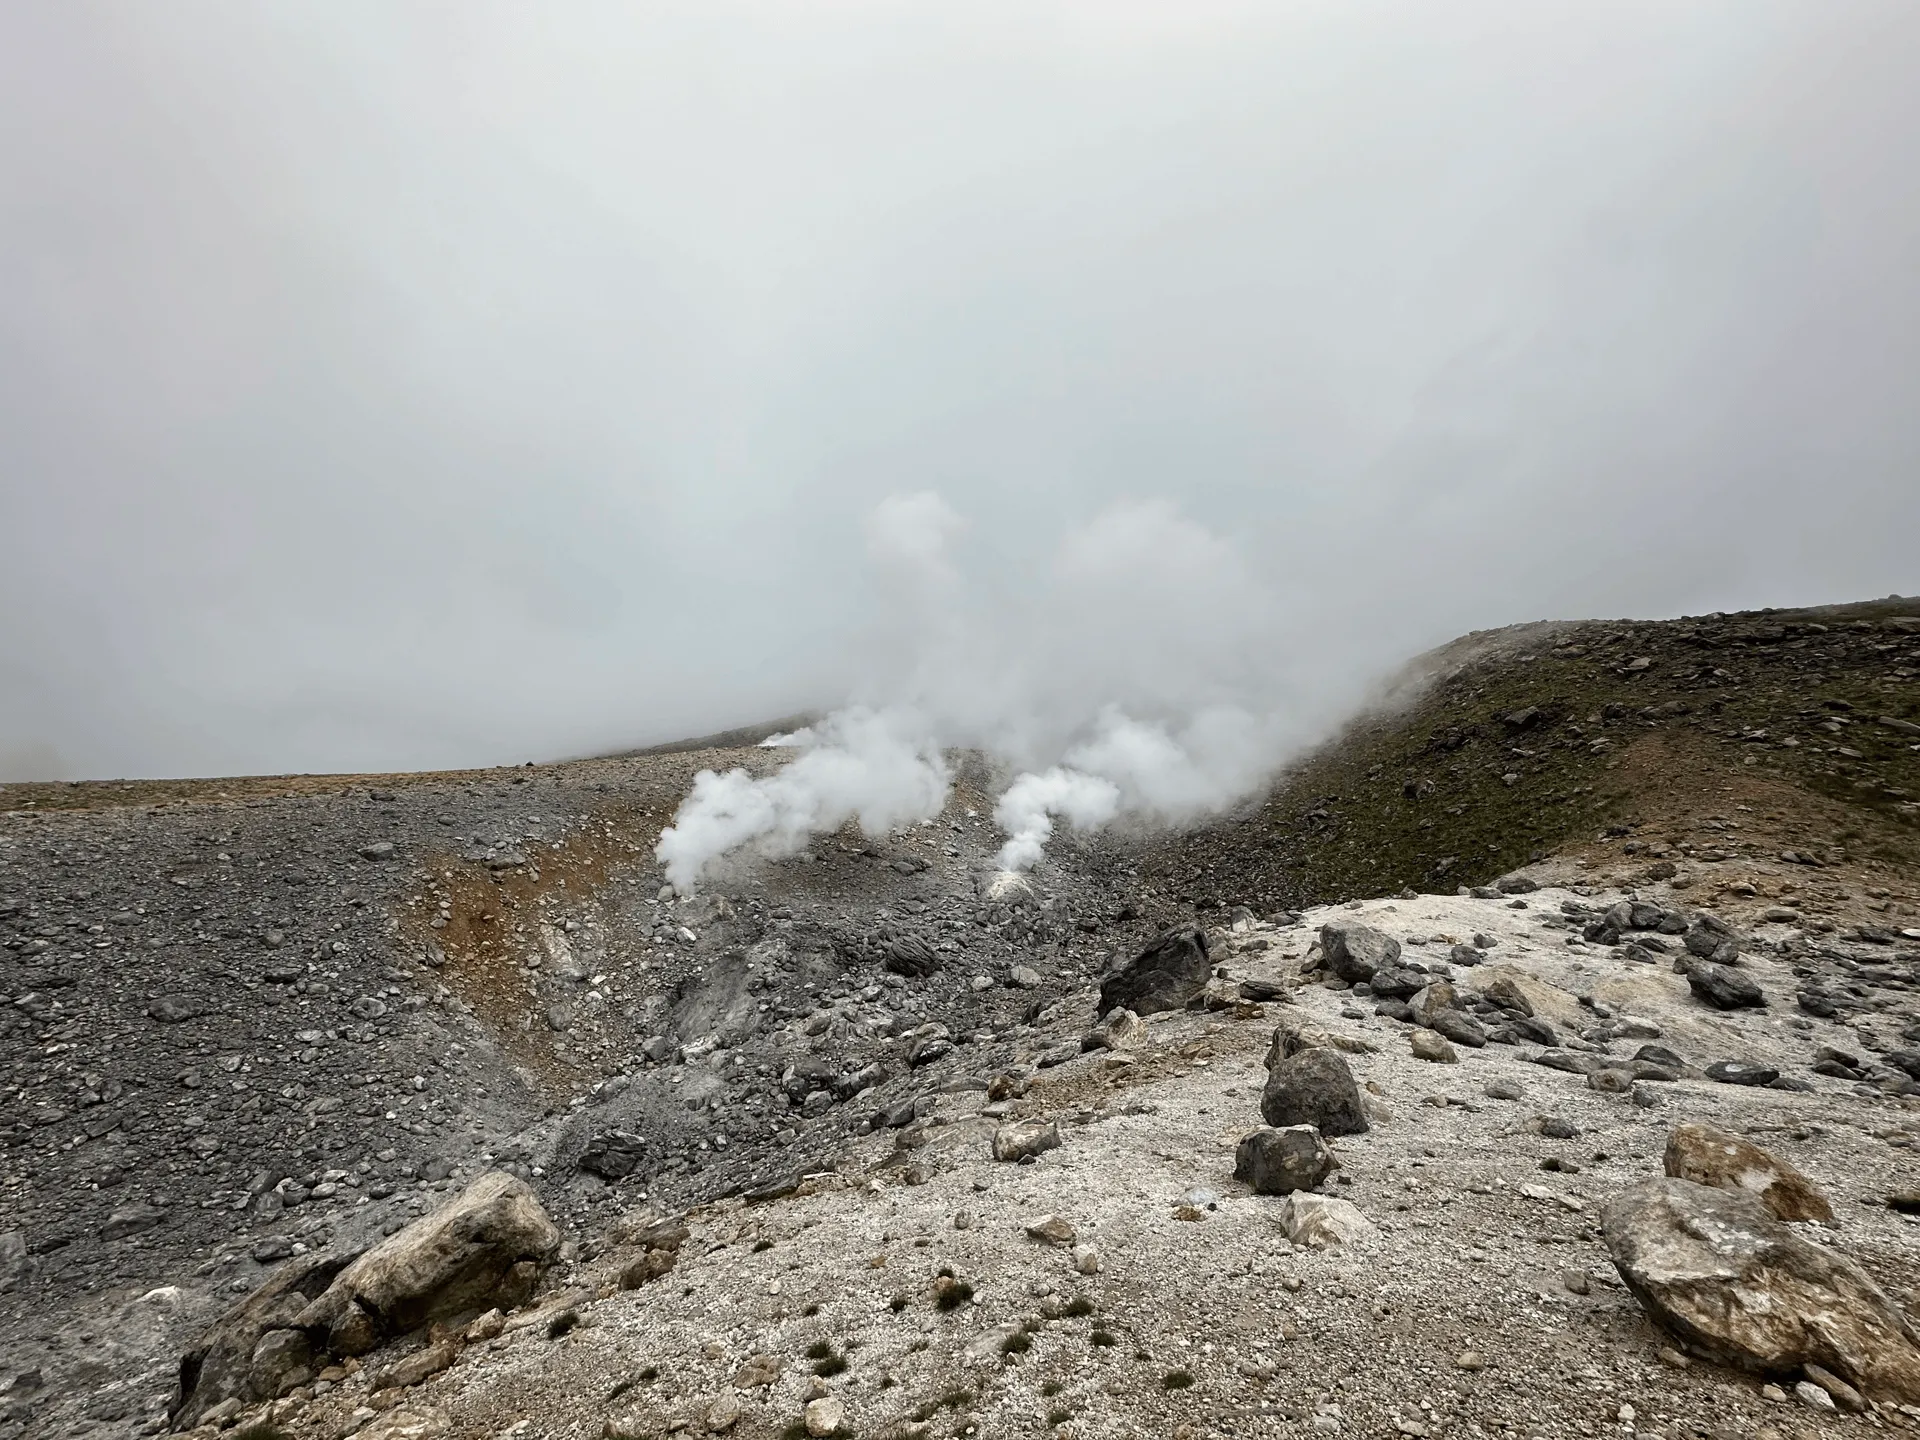
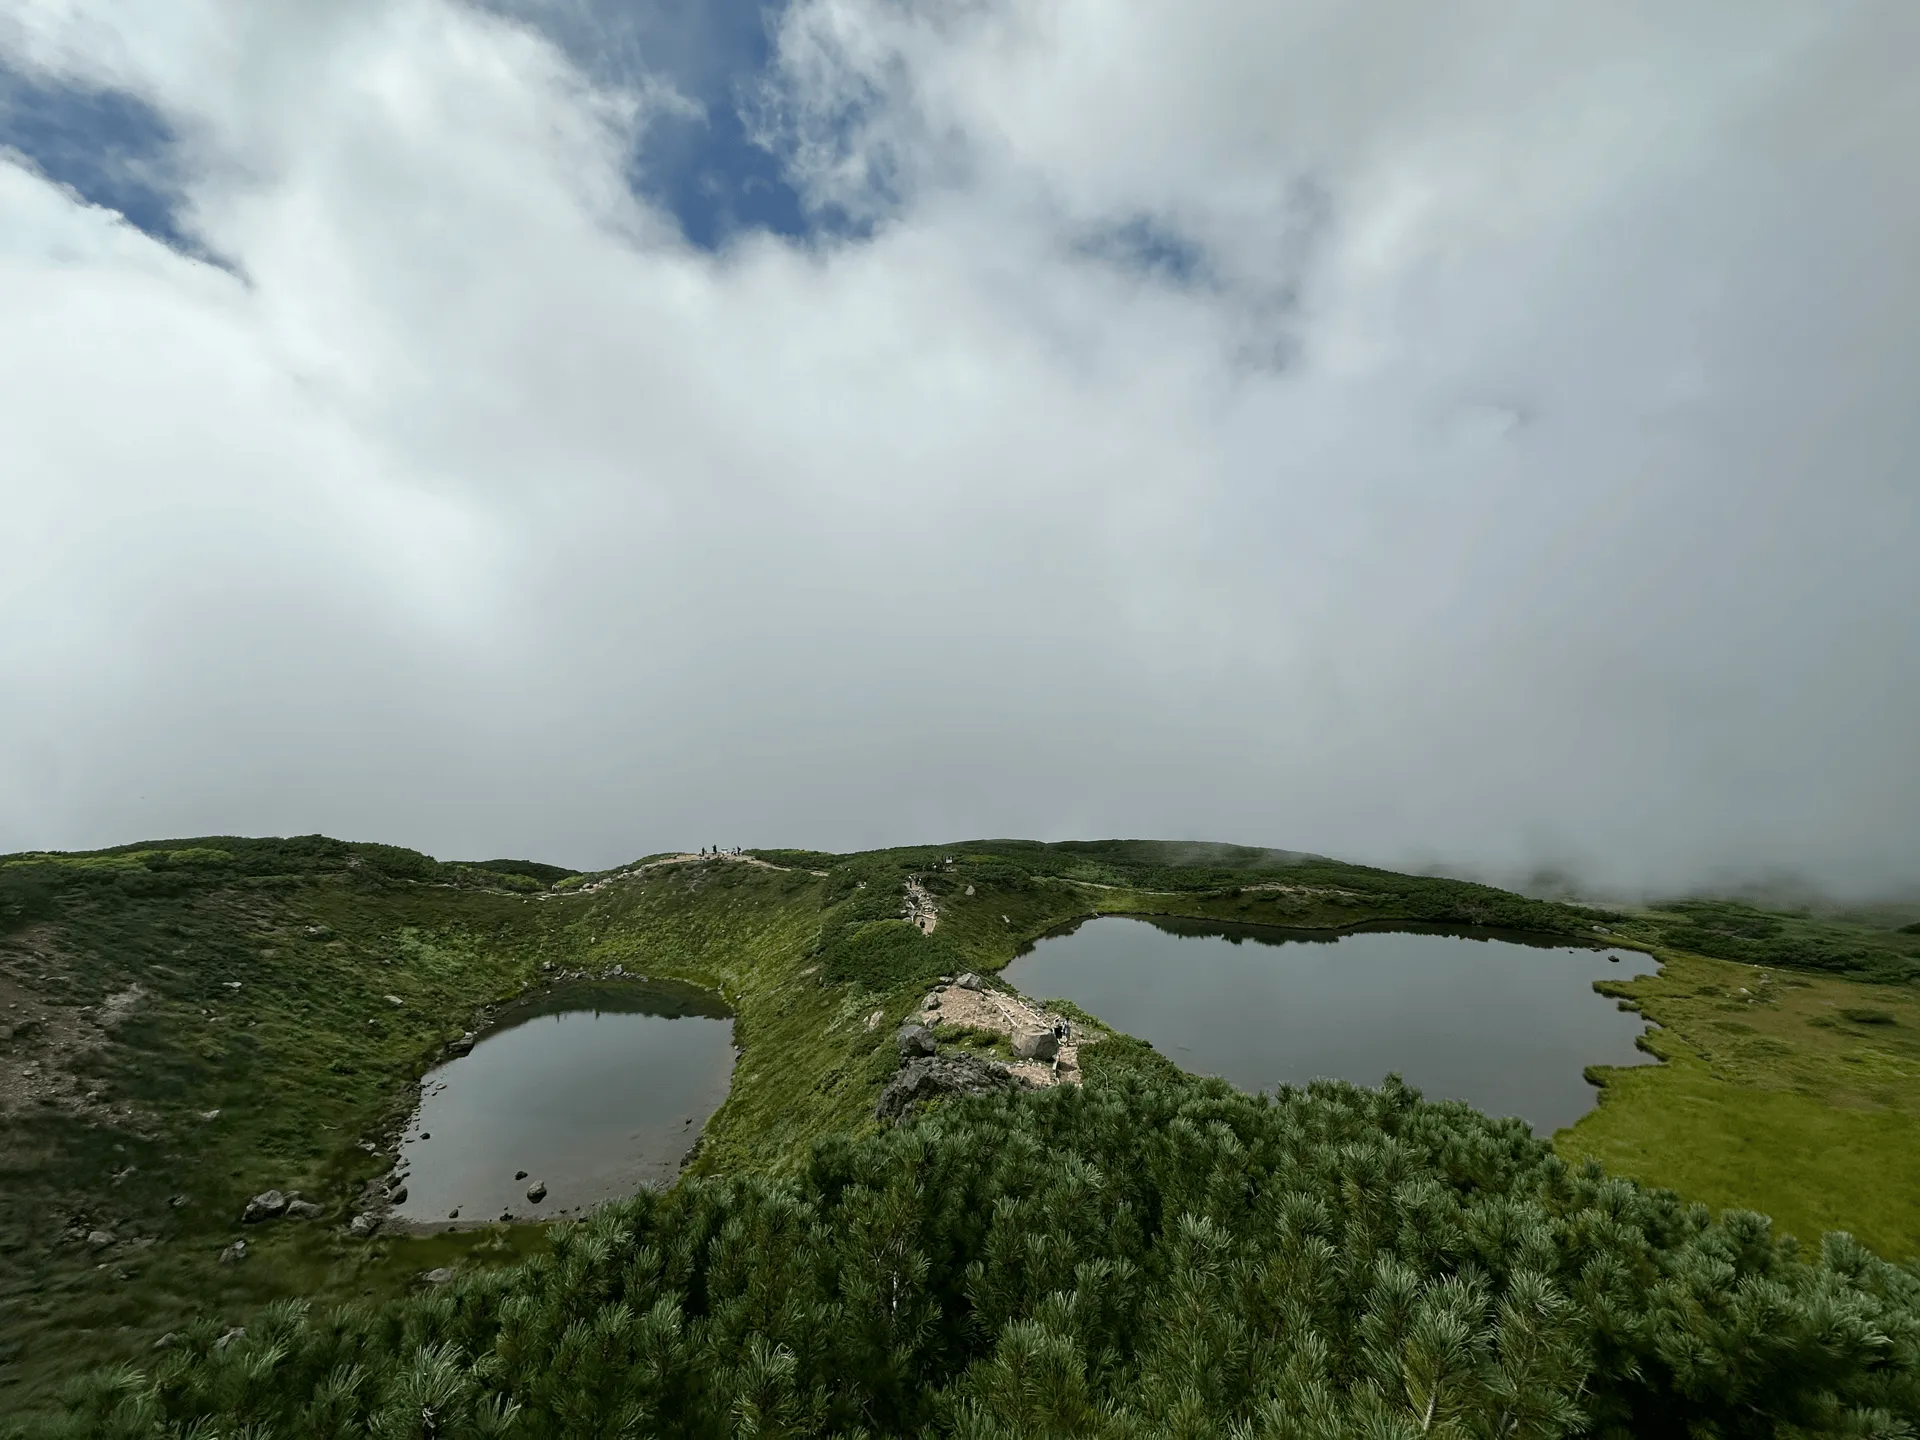

Unfortunately, in the end we didn’t have too much luck with fully seeing Mt Asahi. I bet it looks stunning, especially when it’s reflected off the lakes.
After our hike, we drove back to Tomakomai, where we spent the night at a hotel, before getting back on the ferry to Tokyo the next day.
After a hike and a long drive, we were very tired, but overall it was a very fulfilling Hokkaido trip! Hokkaido has nine Hundred Famous Mountains, so I’ll definitely be back to climb the the rest.
Hiking course details
| Date climbed | Length | Course time |
|---|---|---|
| 2024-08-18 | 5.3km | 4h25min (the expected time for an average hiker without breaks) |
This is the shortest possible course if you just want to climb Mt Asahi. Thesehere are toilets available at the ropeway station.
Public transportation access
| Time | Location | Transport | Cost | |
|---|---|---|---|---|
| 07:15 | Asahikawa station (旭川駅) | Bus | 1800 | |
| 09:03 | Asahidake (旭岳) |
There is a bus from Asahikawa station (and from the airport) that takes you to the ropeway. I would recommend bringing cash, since it seems like it only supports local Hokkaido IC cards. As well as the 7:15 bus, there is also a 9:15 one, and one at 13:30 if you wanted to spend the night at a hotel instead of doing it as a daytrip.
| Time | Location | Transport | Cost | |
|---|---|---|---|---|
| 15:40 | Asahidake | Bus | 1800 | |
| 17:18 | Asahikawa station | |||
| Trip total: | 3600 |
The timetable is linked on the visitor centre website. Make sure to also check out the bus company’s website for the latest updates. It looks like from October of 2024, the return bus will be leaving at 15:55 instead of 15:40.
Car access details
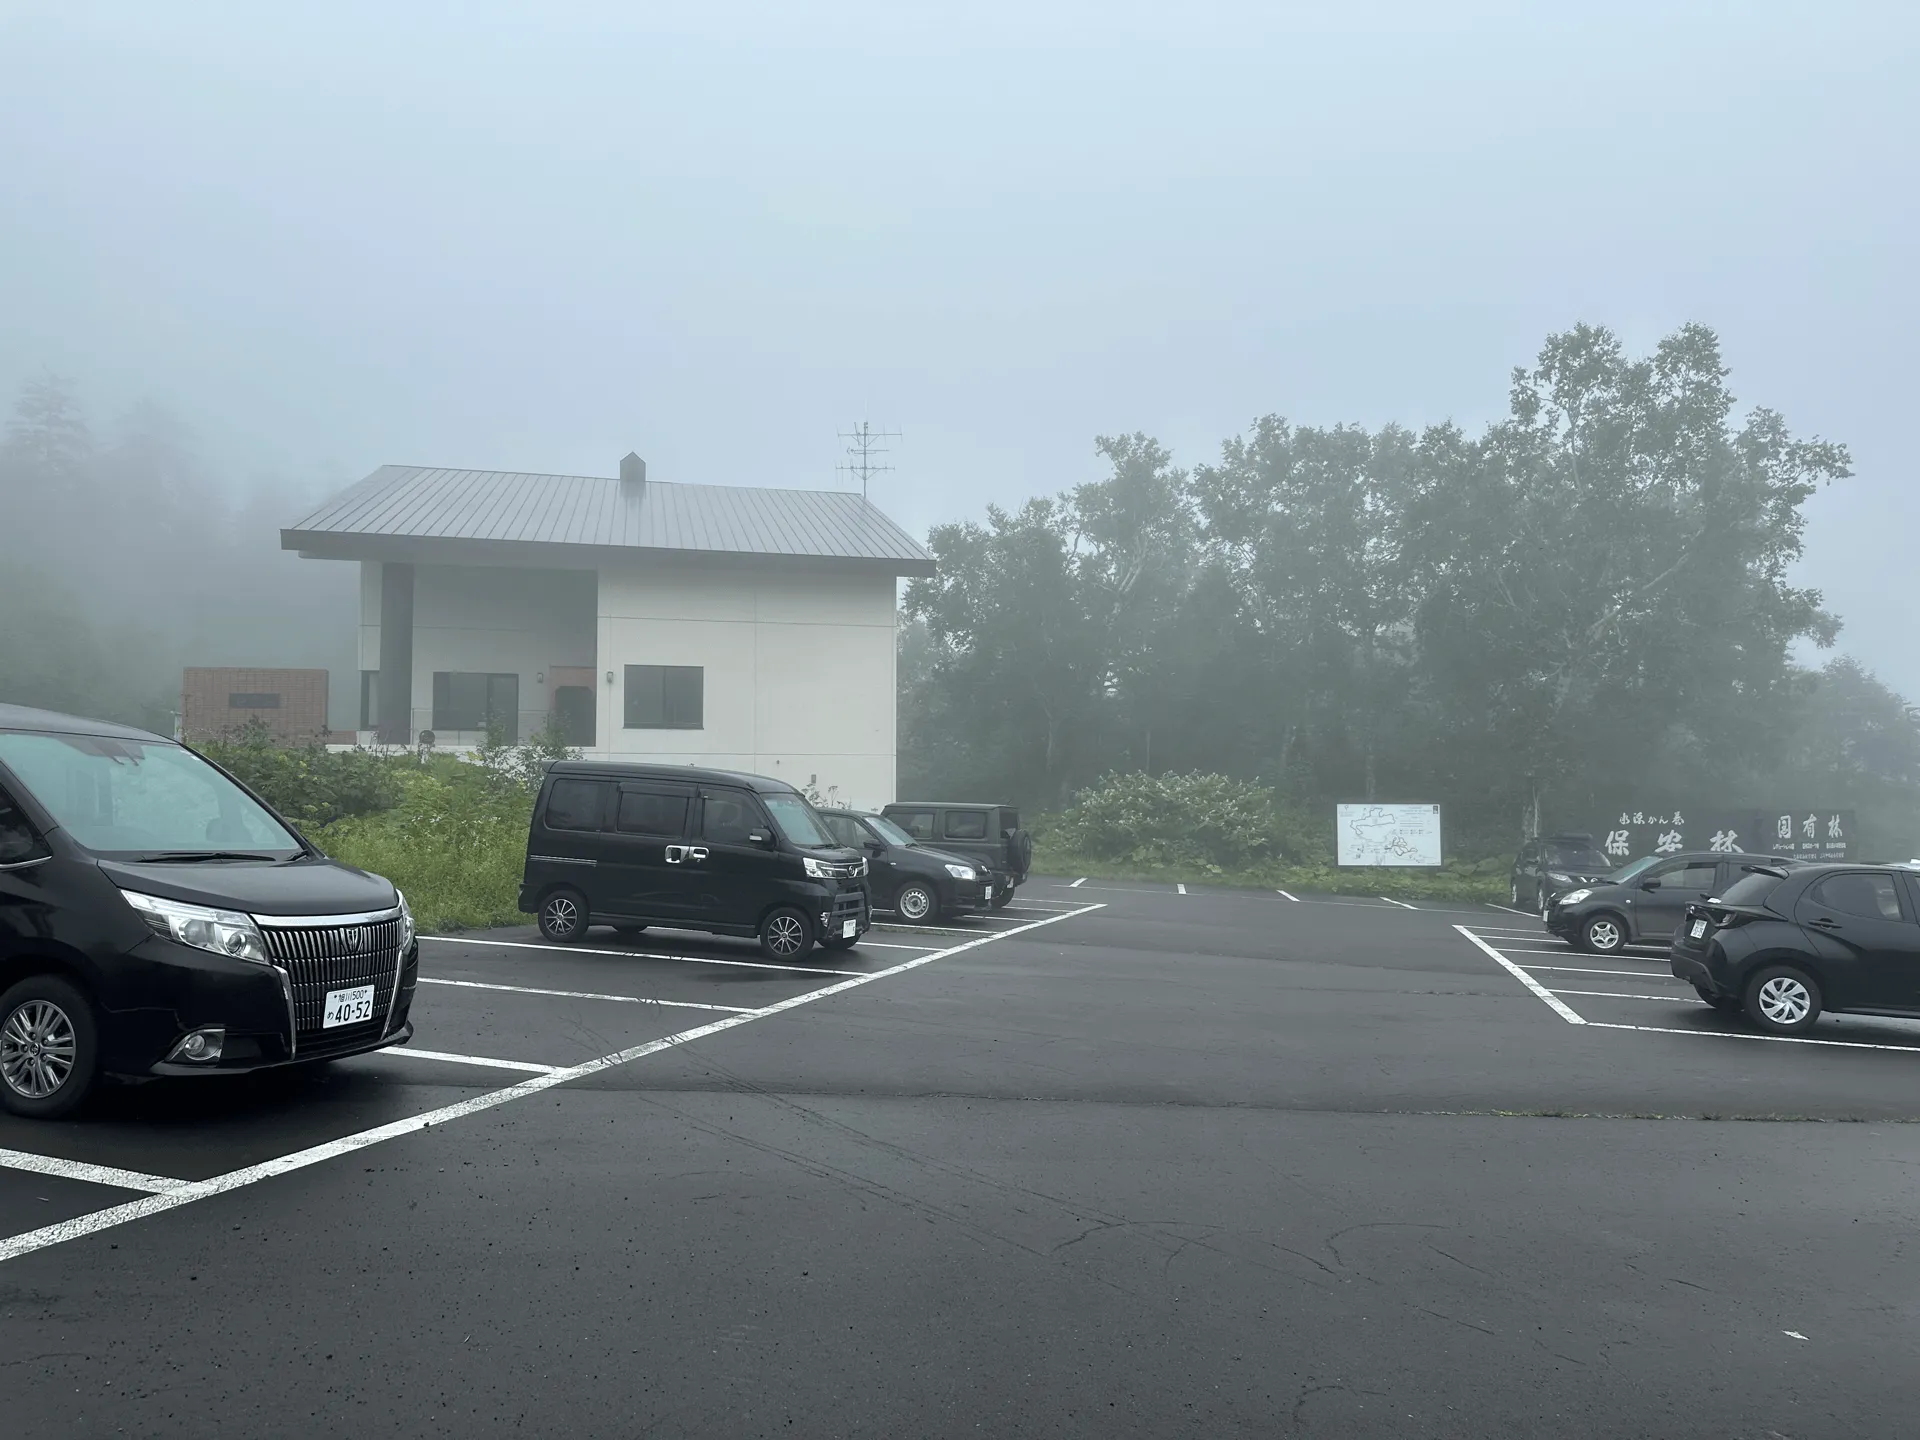
There is a large carpark outside the Asahidake Ropeway, which costs 500 yen during the summer months. I would recommend checking out the free carpark first, which is about 800m down the road - if you put the Asahidake youth camp field (東川旭岳青少年野営場) into your car navi or Google maps, you will be able to find it.
Staying at the Asahidake Youth Camp Field
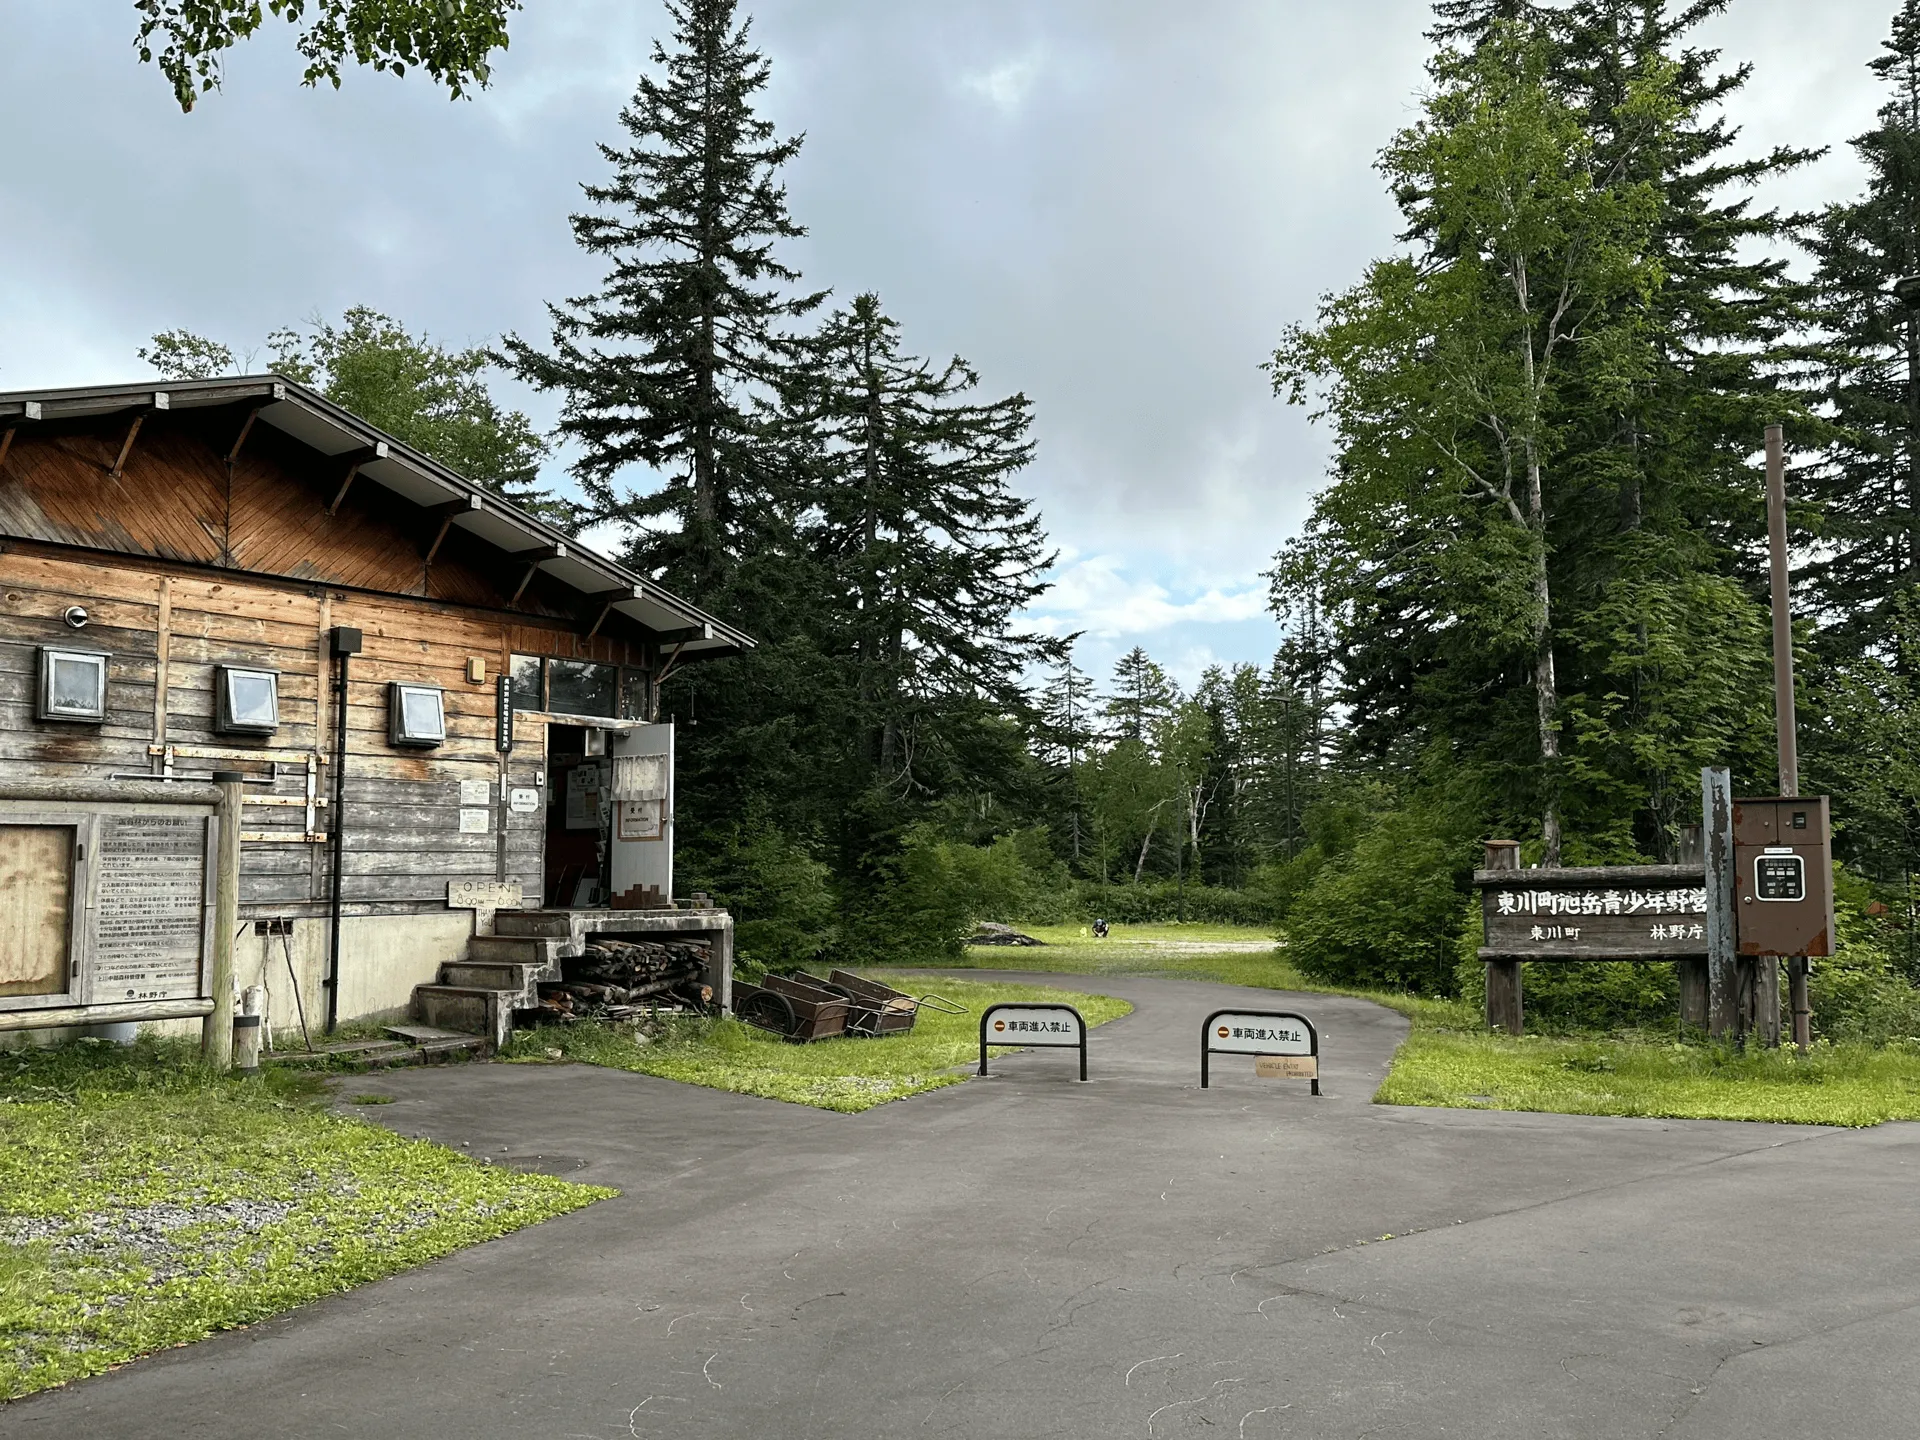
Before climbing Mt Asahi, we spent the night at the nearby Asahidake Youth Camp Field (東川旭岳青少年野営場) - which is sort of weirdly named, but is available for anyone to stay at. For only 500 yen per person a night, this camp had great amenities, including Wi-Fi near the (really clean) toilets.
The grounds had a bit of a unique setup, with it being split into 5 different sites, with pathways between each. If you wanted to start an open fire, you can only use the large open field right in the middle of the campsite, which is designated as a common space. The layout probably makes it quieter compared to other campsites. However since it’s mainly hikers who use this campsite, who all have early bedtimes, it was a pretty quiet campground either way.
If you’re looking for an onsen, there are three hotels that allow the general public to use their baths:
- K’s House Hokkaido (900 yen, 15:00 - 19:00)
- Hotel Bearmonte (1140 yen, 12:30 - 19:00)
- Yukoman-so (1200 yen, 12:00 - 19:00)
We got the chance to visit two of the three. K’s House is technically a hostel, so I wasn’t sure how good the quality would be, but it was actually really nice, and is also the cheapest.
After our hike, we also visited Yukoman-so, and the onsen’s interior was probably the fanciest I’ve ever been to. I think if I would recommend one over the other, it would be this one!
Hotel Bearmont apparently doesn’t have an outdoor bath, which I always like using, so that’s the reason we didn’t try out this one.

Leave a comment