- Elevation 3067m
- When to climb June - November
- Two course options from the town of Otaki, or from the Ontake Ropeway, both which will take you about 5 hours to complete.
Mountain stats
Accessible via train and bus from Tokyo, but with the timings it's not too feasible as a day trip.
A 4.5h drive from Tokyo. There is a small car park at Tanohara, and a much larger one at ropeway.
Mt Ontake (御嶽山, ontake-san) is one of Japan’s Hundred Famous Mountains on the border of Nagano and Gifu prefectures. At 3067m it is the 14th tallest mountain in Japan. However unlike some of Japan’s other 3000m+ peaks (which are a little more inaccessible), Mt Ontake is doable as a day hike with a total course time of only 5 hours. I climbed Mt Ontake in October 2024, making the 4.5 hour drive from Tokyo in the early morning, and then also climbed Mt Norikura the the following day.
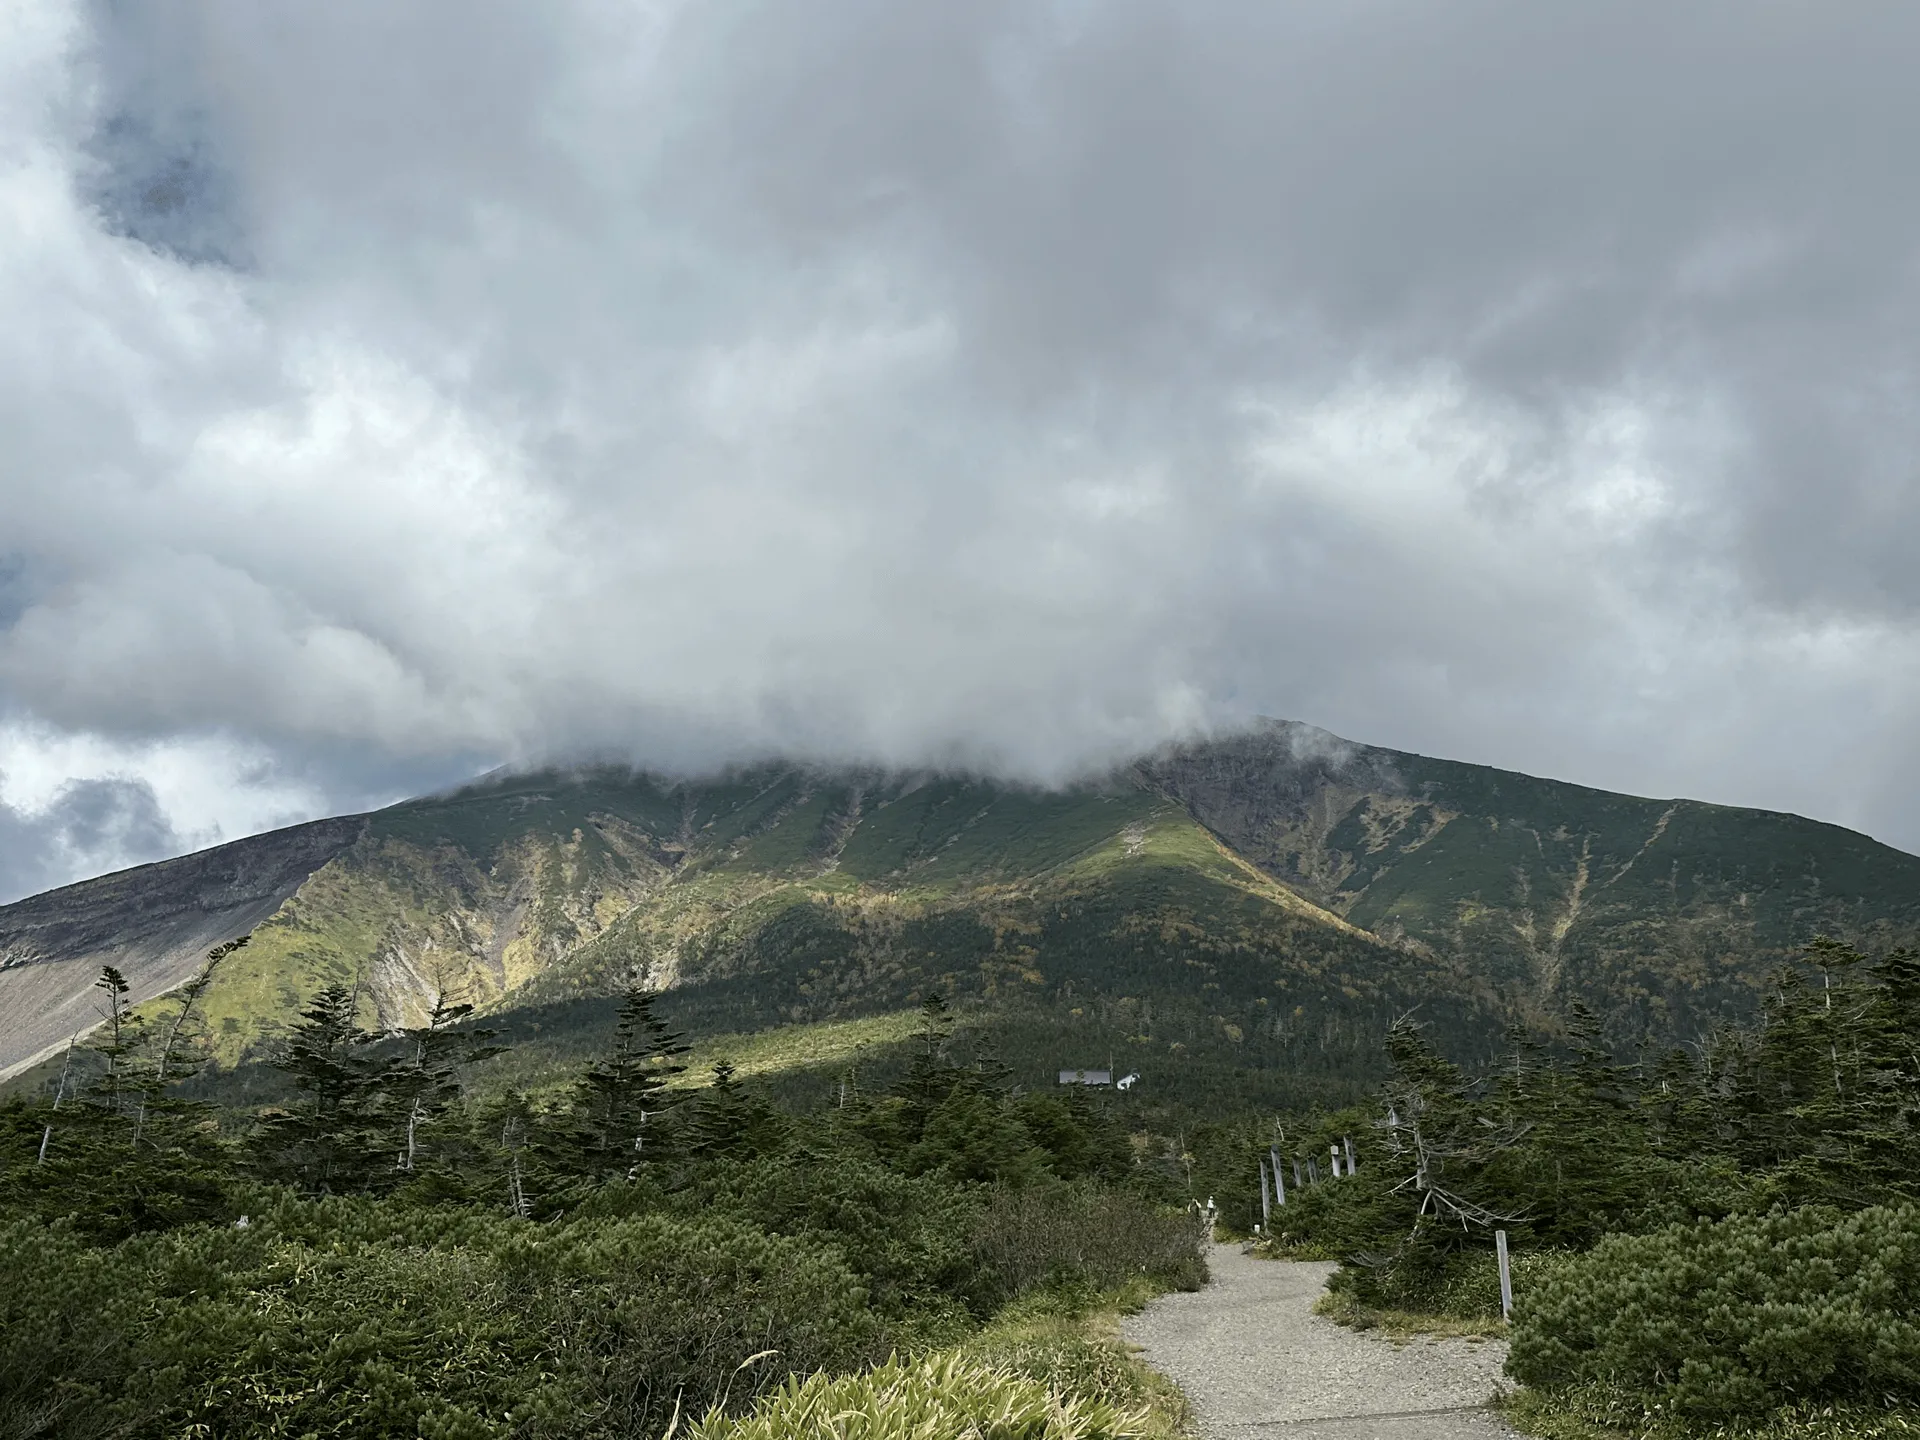
Mt Ontake is also an active volcano with a sad history - as it last erupted on the 27th of September 2014, killing 63 hikers. The day of the eruption was a sunny Saturday, with the autumn leaves at their peak. Autumn is the most popular time for hiking in Japan, so you can imagine there were a lot of hikers on the mountain. And it unfortunately erupted without warning just before lunchtime, when many were near the summit.
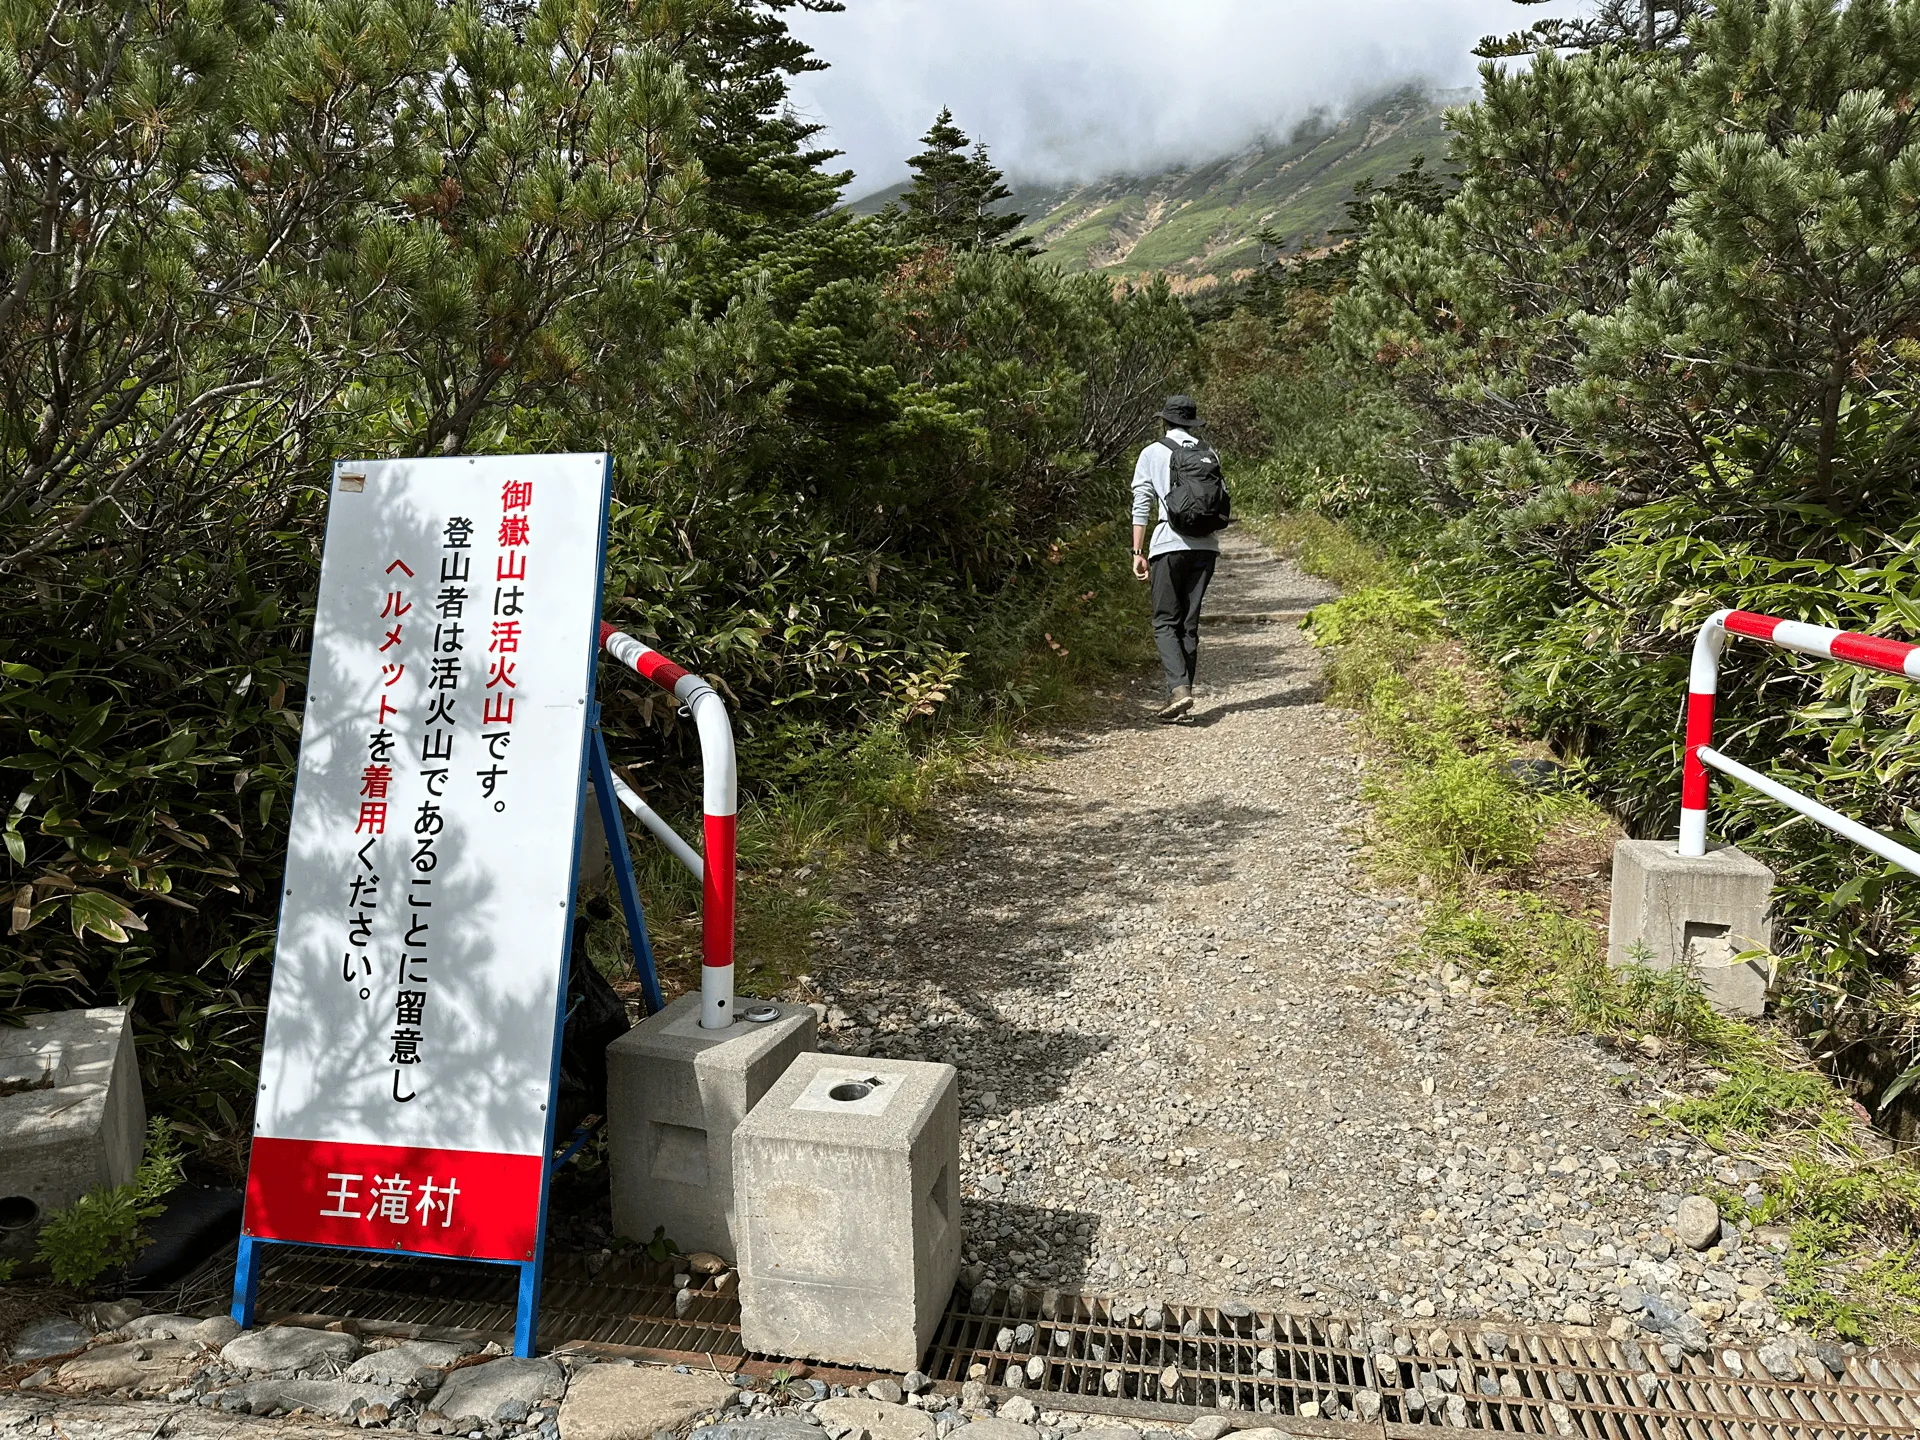
As the mountain erupted, a large amount of ash spewed out of its crater, and flung rocks into the air. If you weren’t lucky enough to be near a shelter at the time, a direct strike from one of the falling rocks would be fatal.
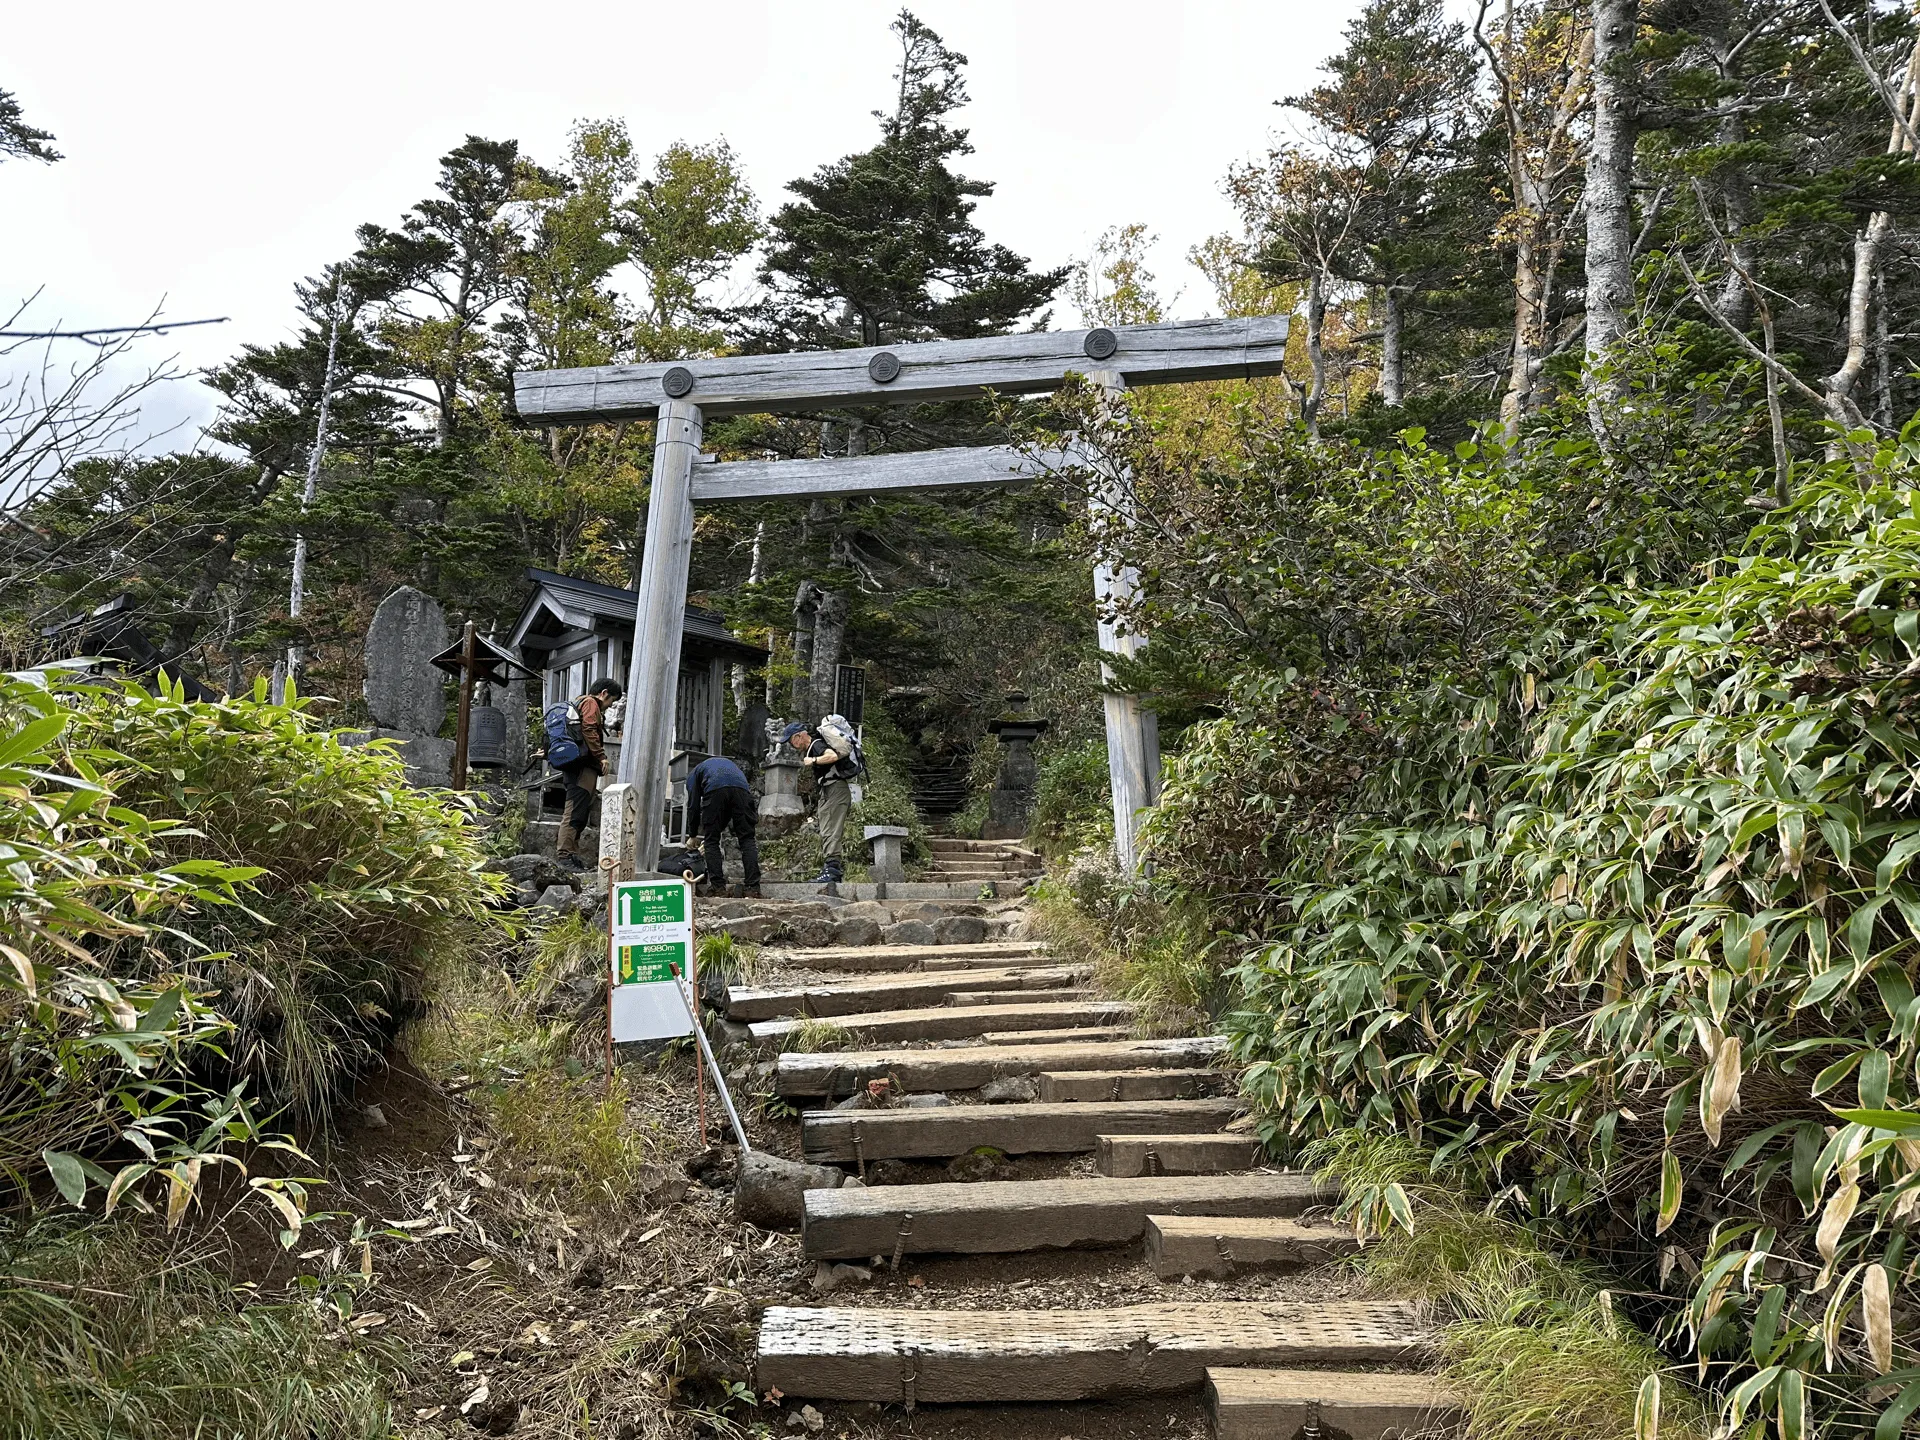
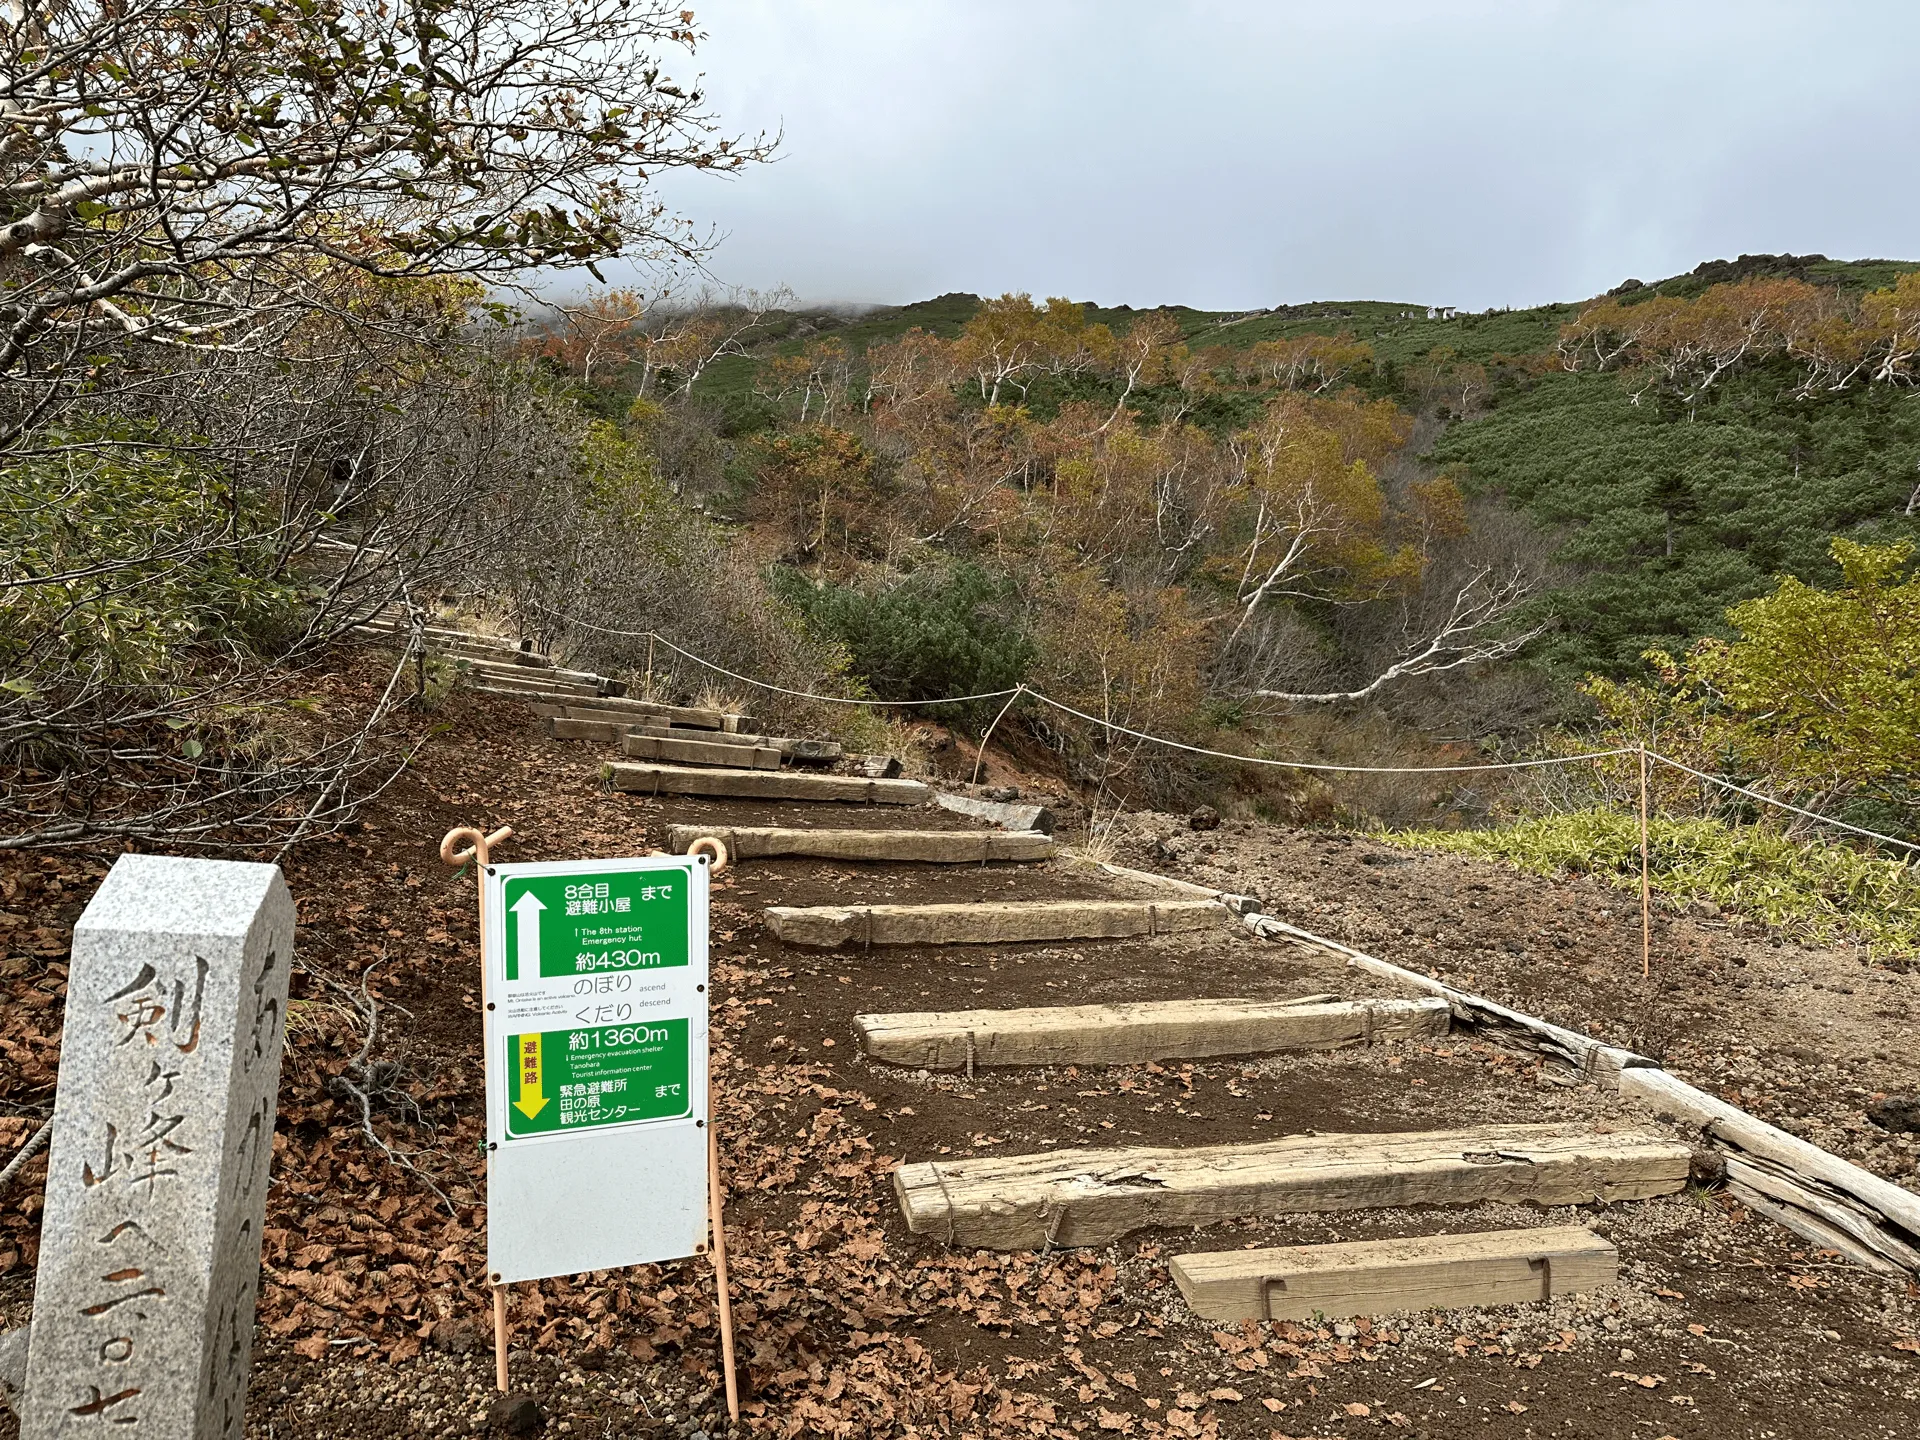
For this reason, at least 50% of the people I saw today were wearing helmets, or had them strapped onto their backpacks for easy access. I also noticed there was more signage than you normally see on mountain trails in Japan, advising you of the nearest possible emergency shelter in case of an eruption.
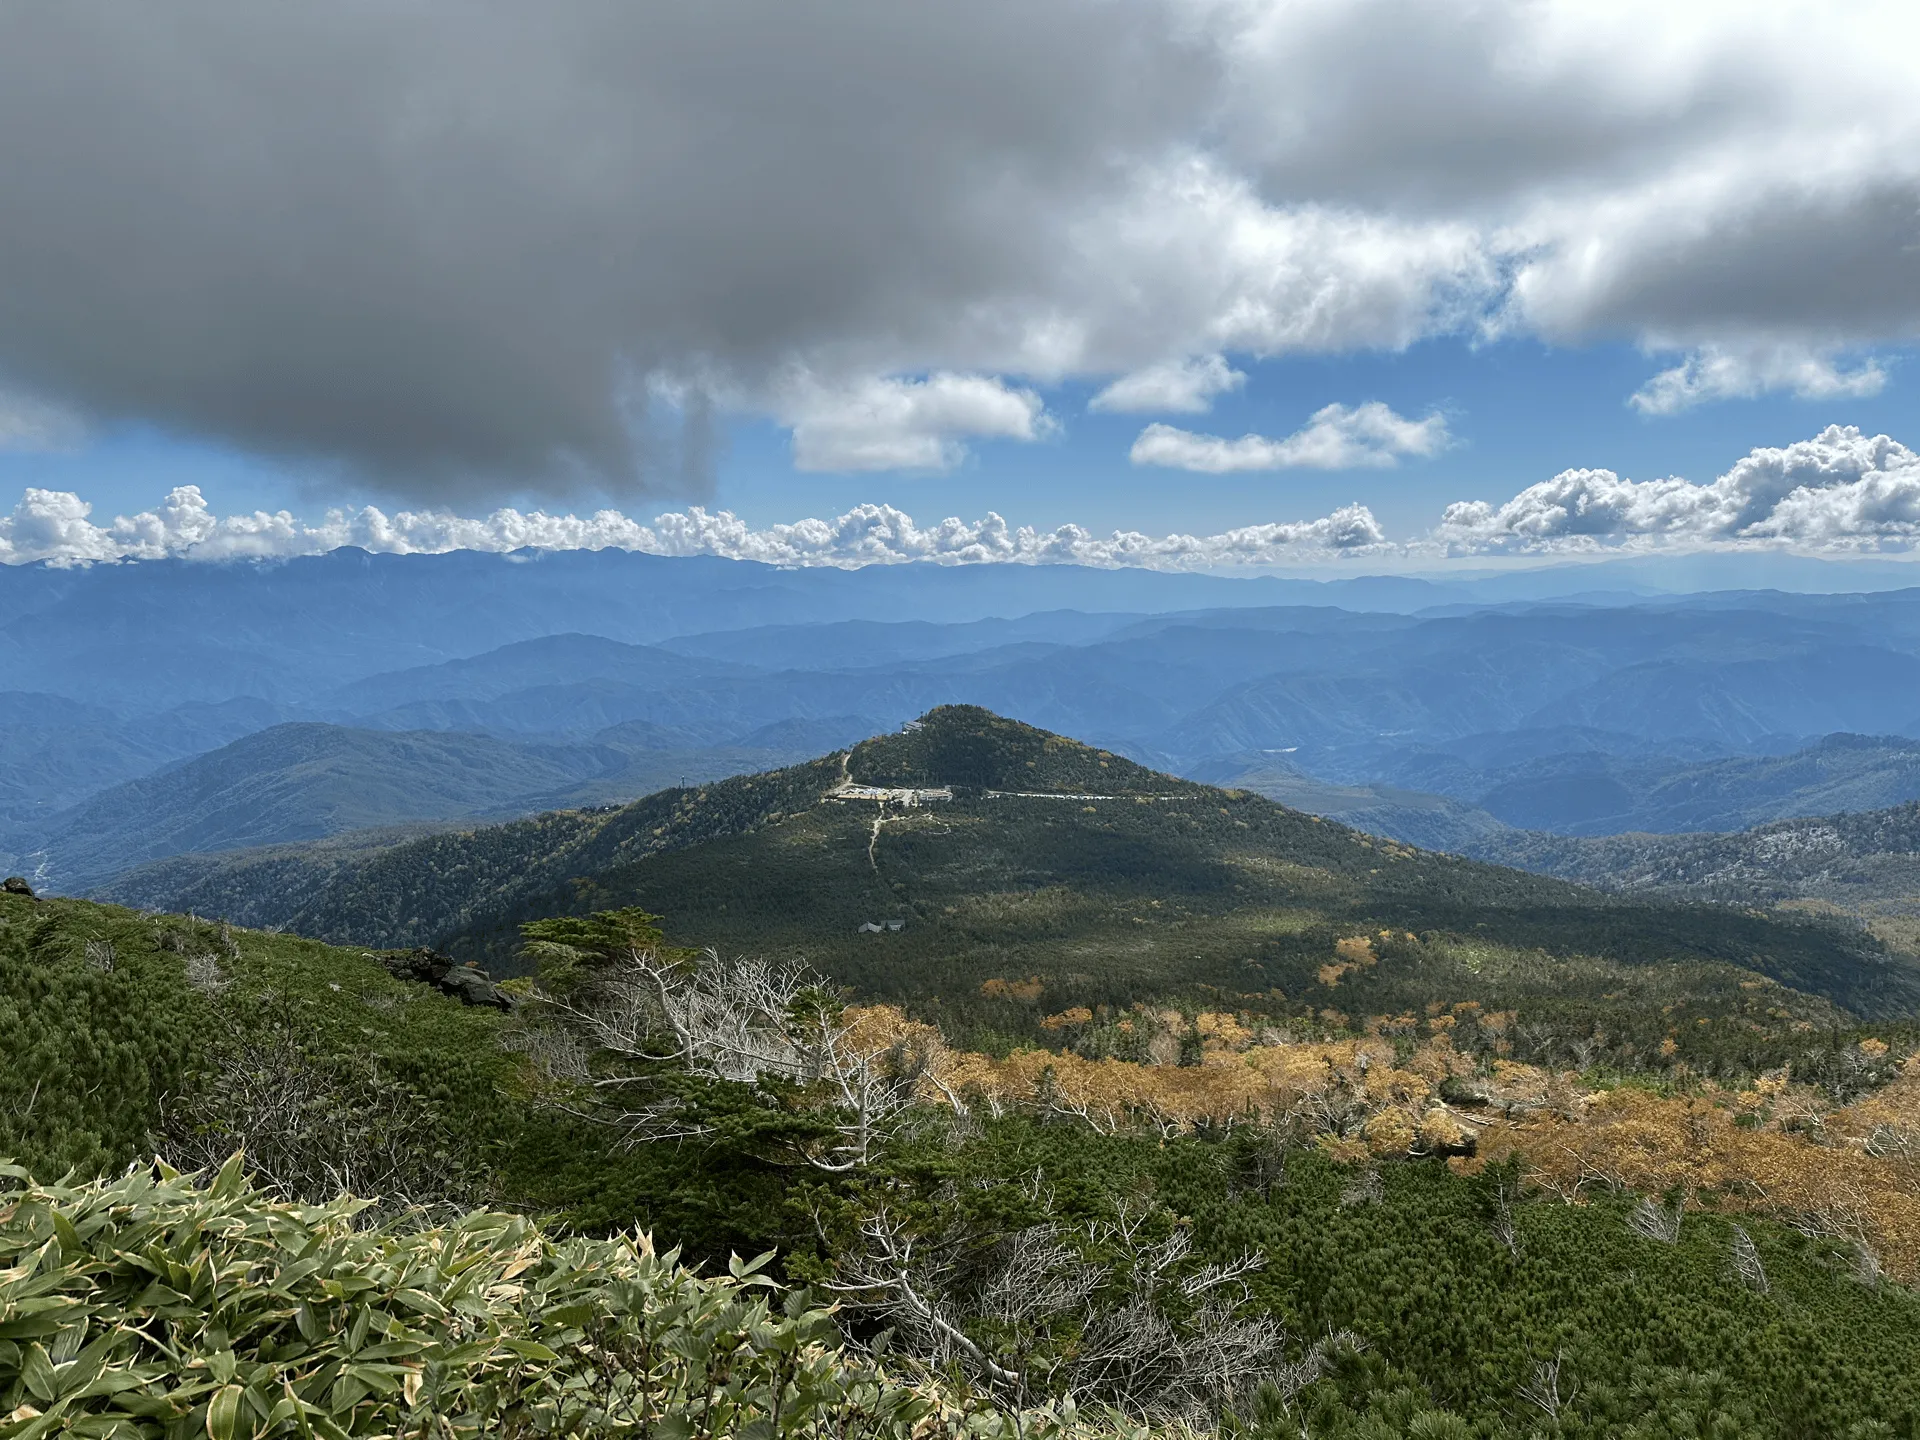
As we climbed, we could see back down towards the information centre and carpark we started our hike at. A little bit of the yellow autumn foliage was visible too. The pictures don’t do it justice, but it was stunning.
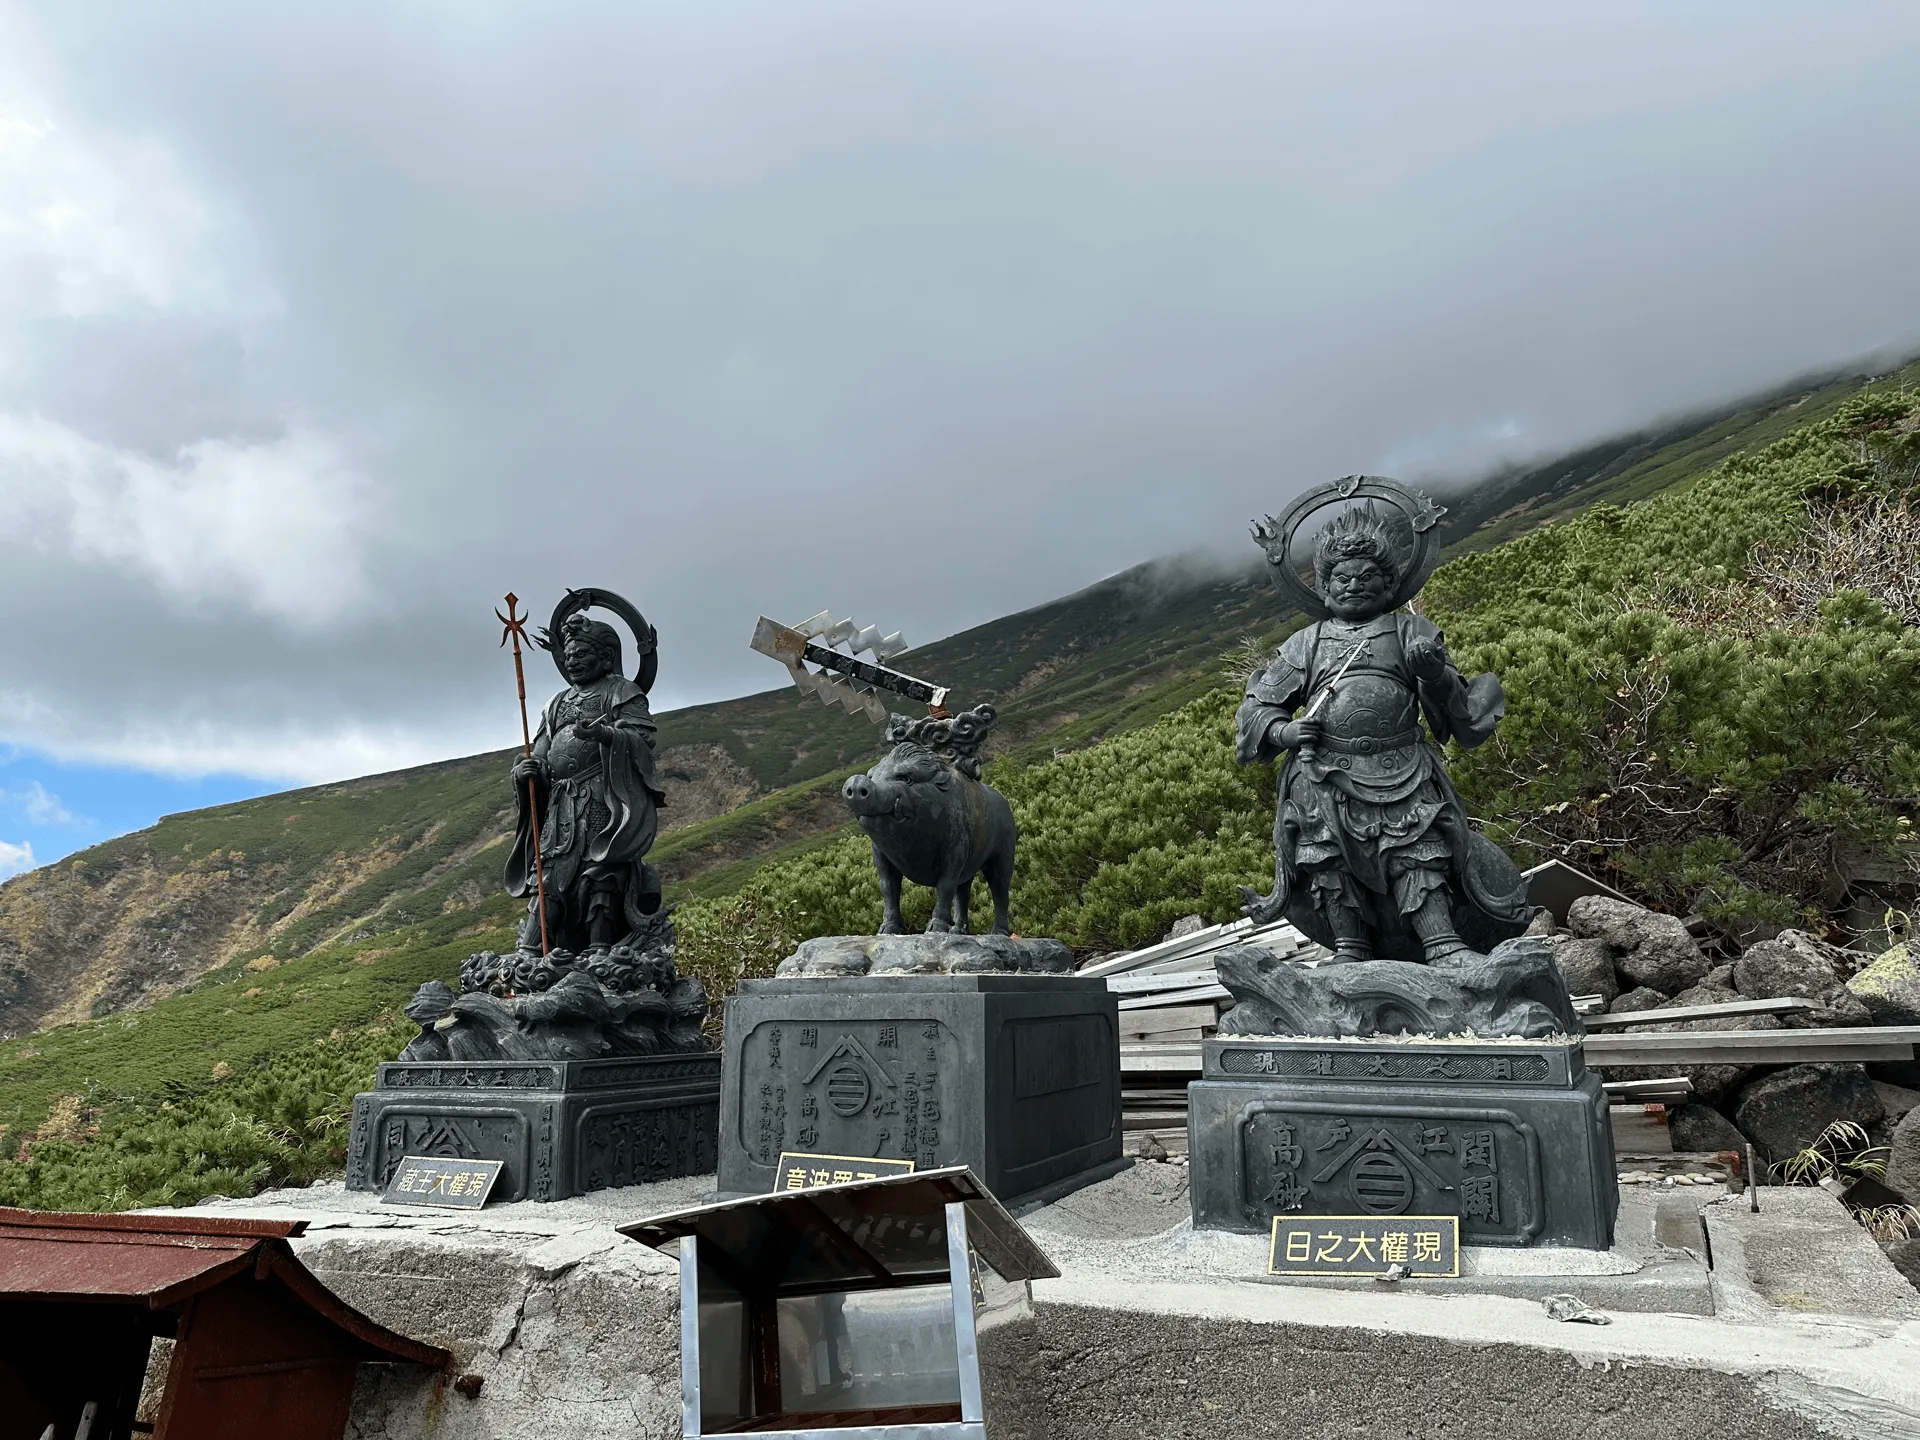
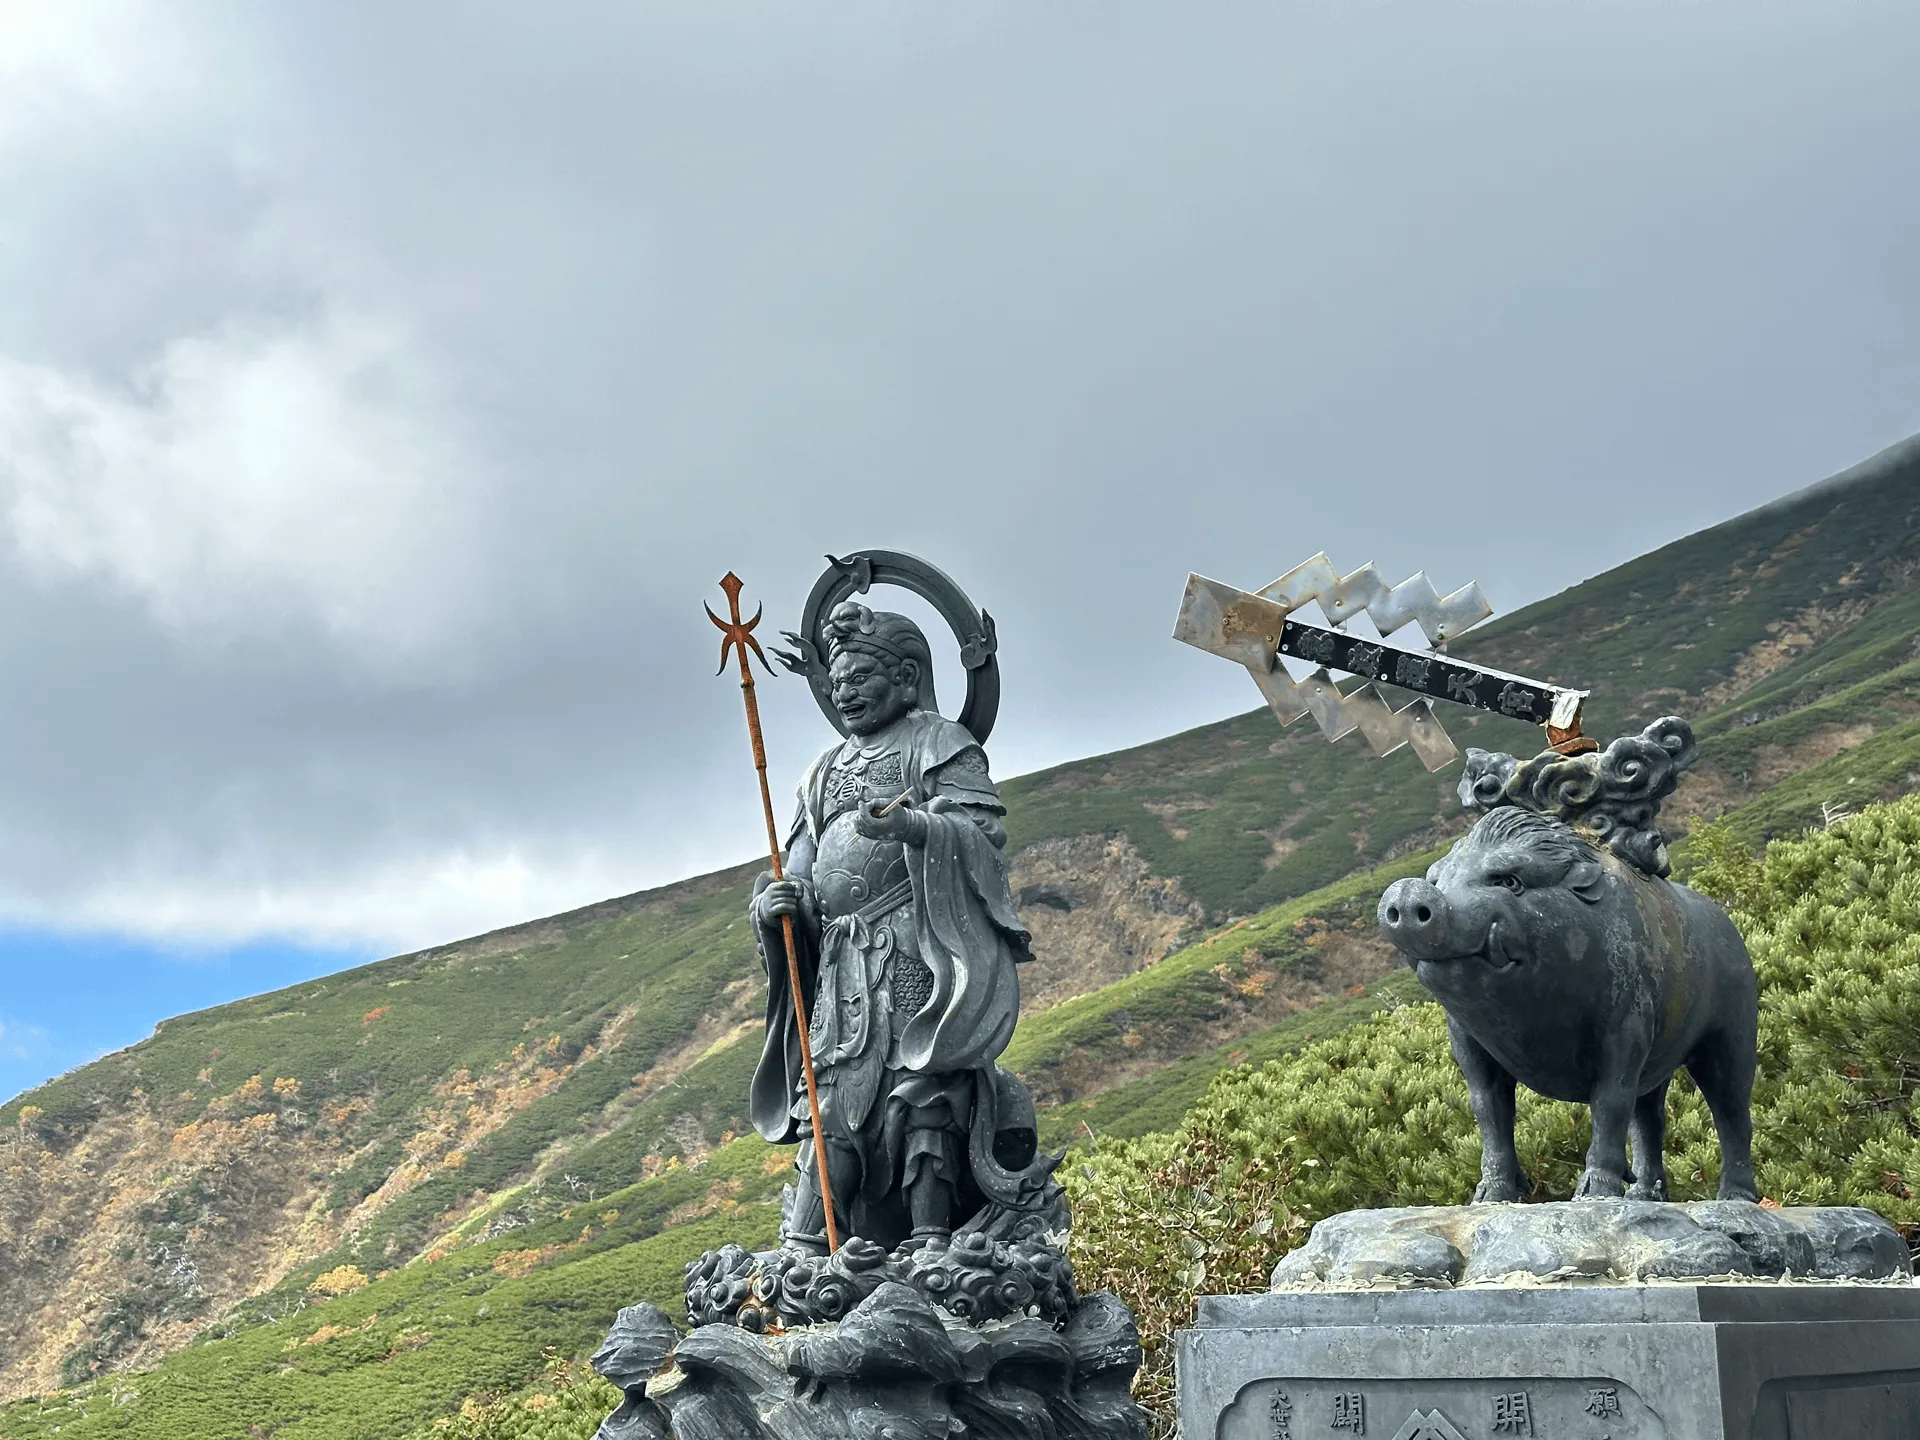
There were also some statues partway up the trail. I’m not really sure what they mean, but the mountain does have quite a lot of religious significance. I was particularly fond of the pig, I don’t see many of those on the mountain.

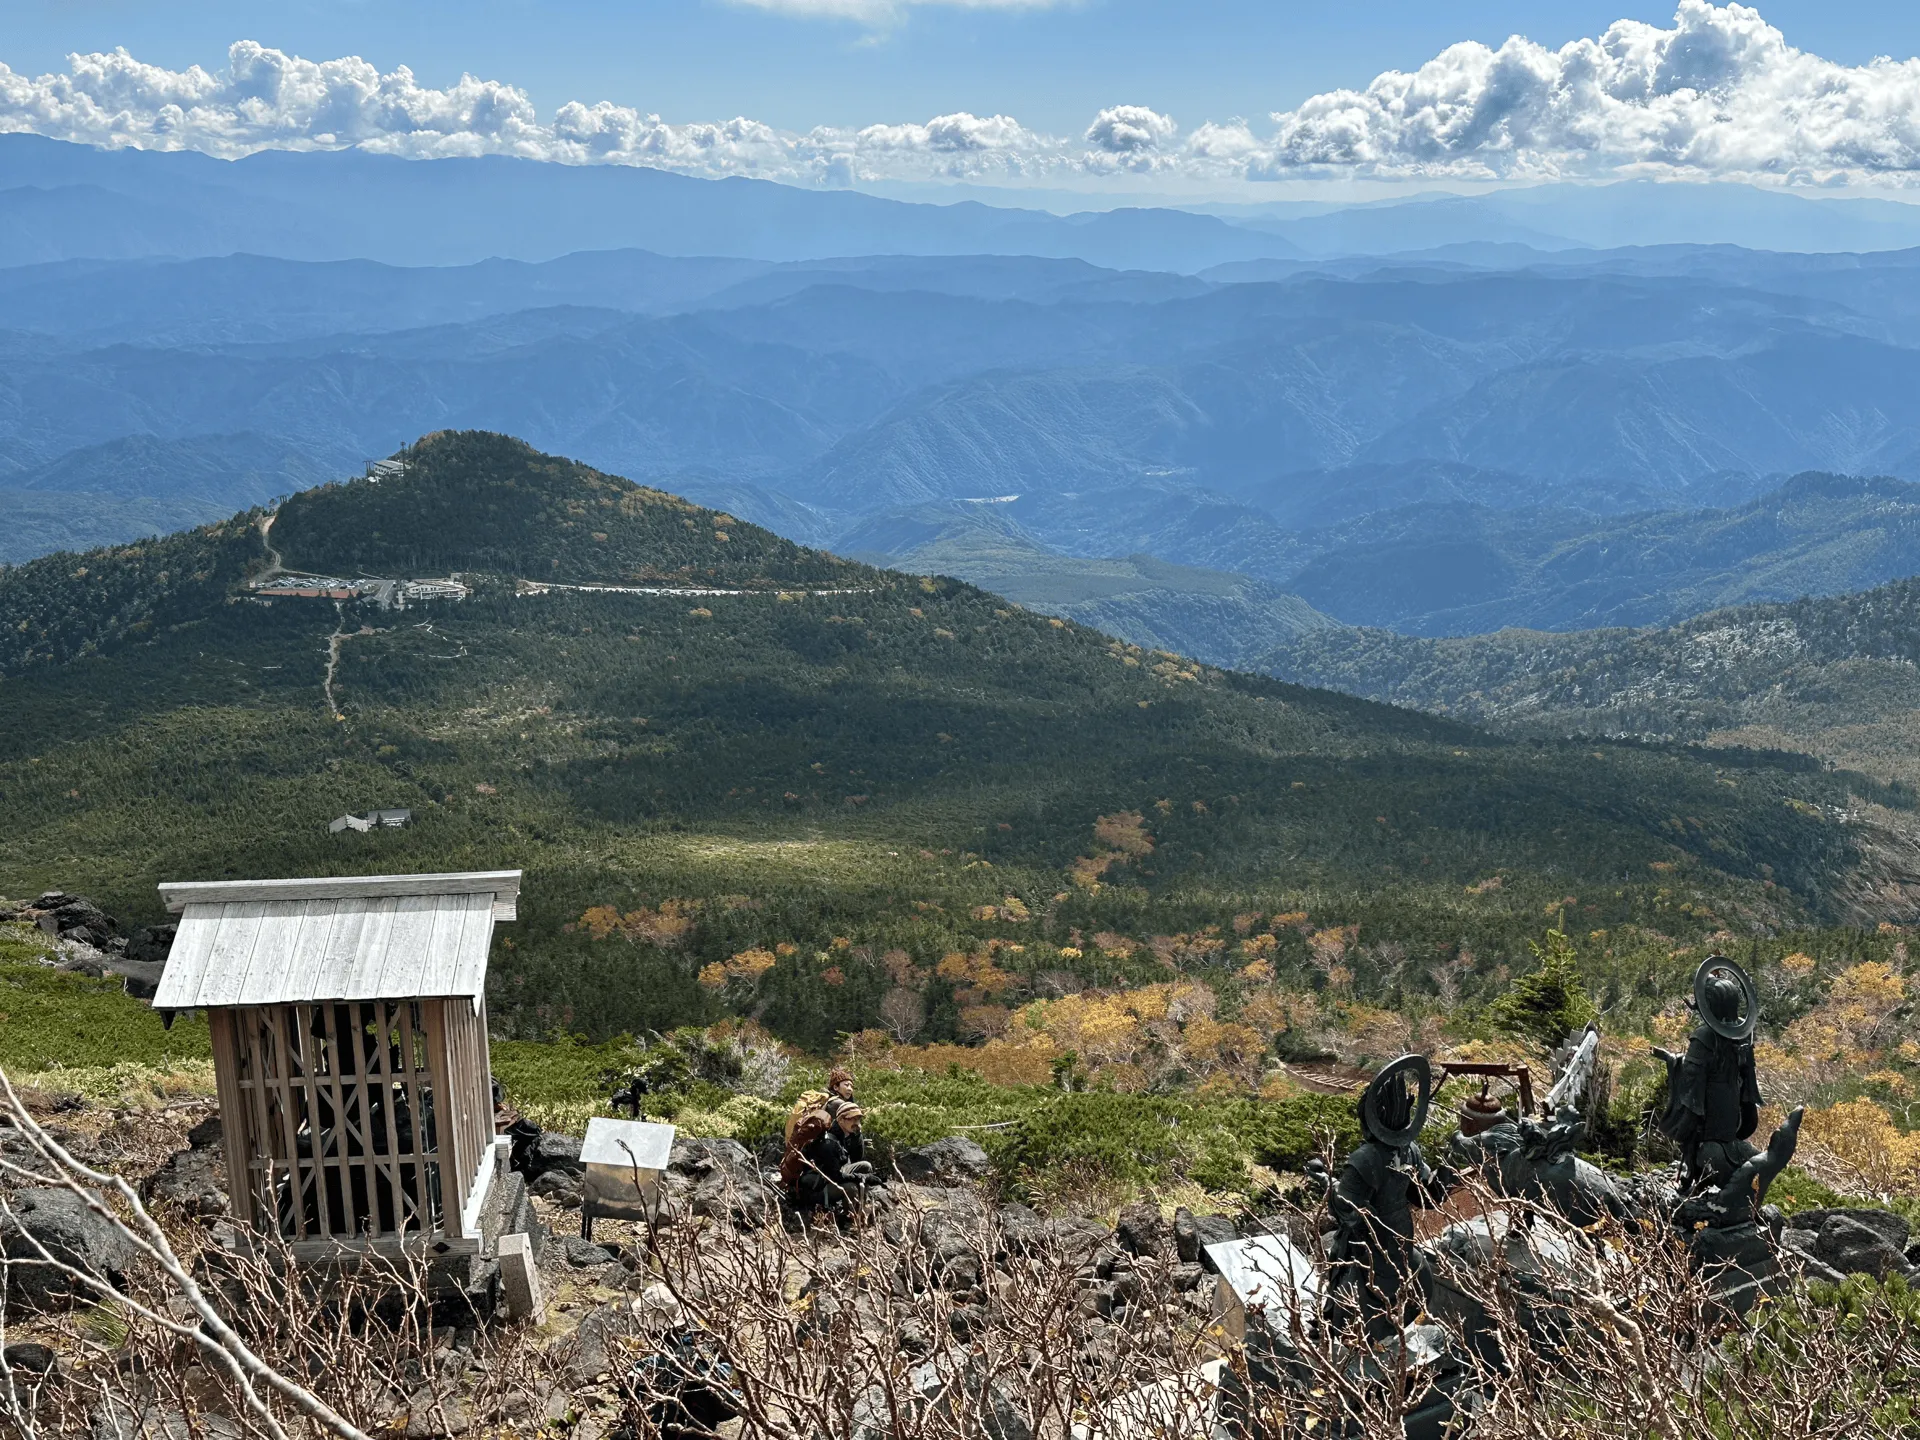

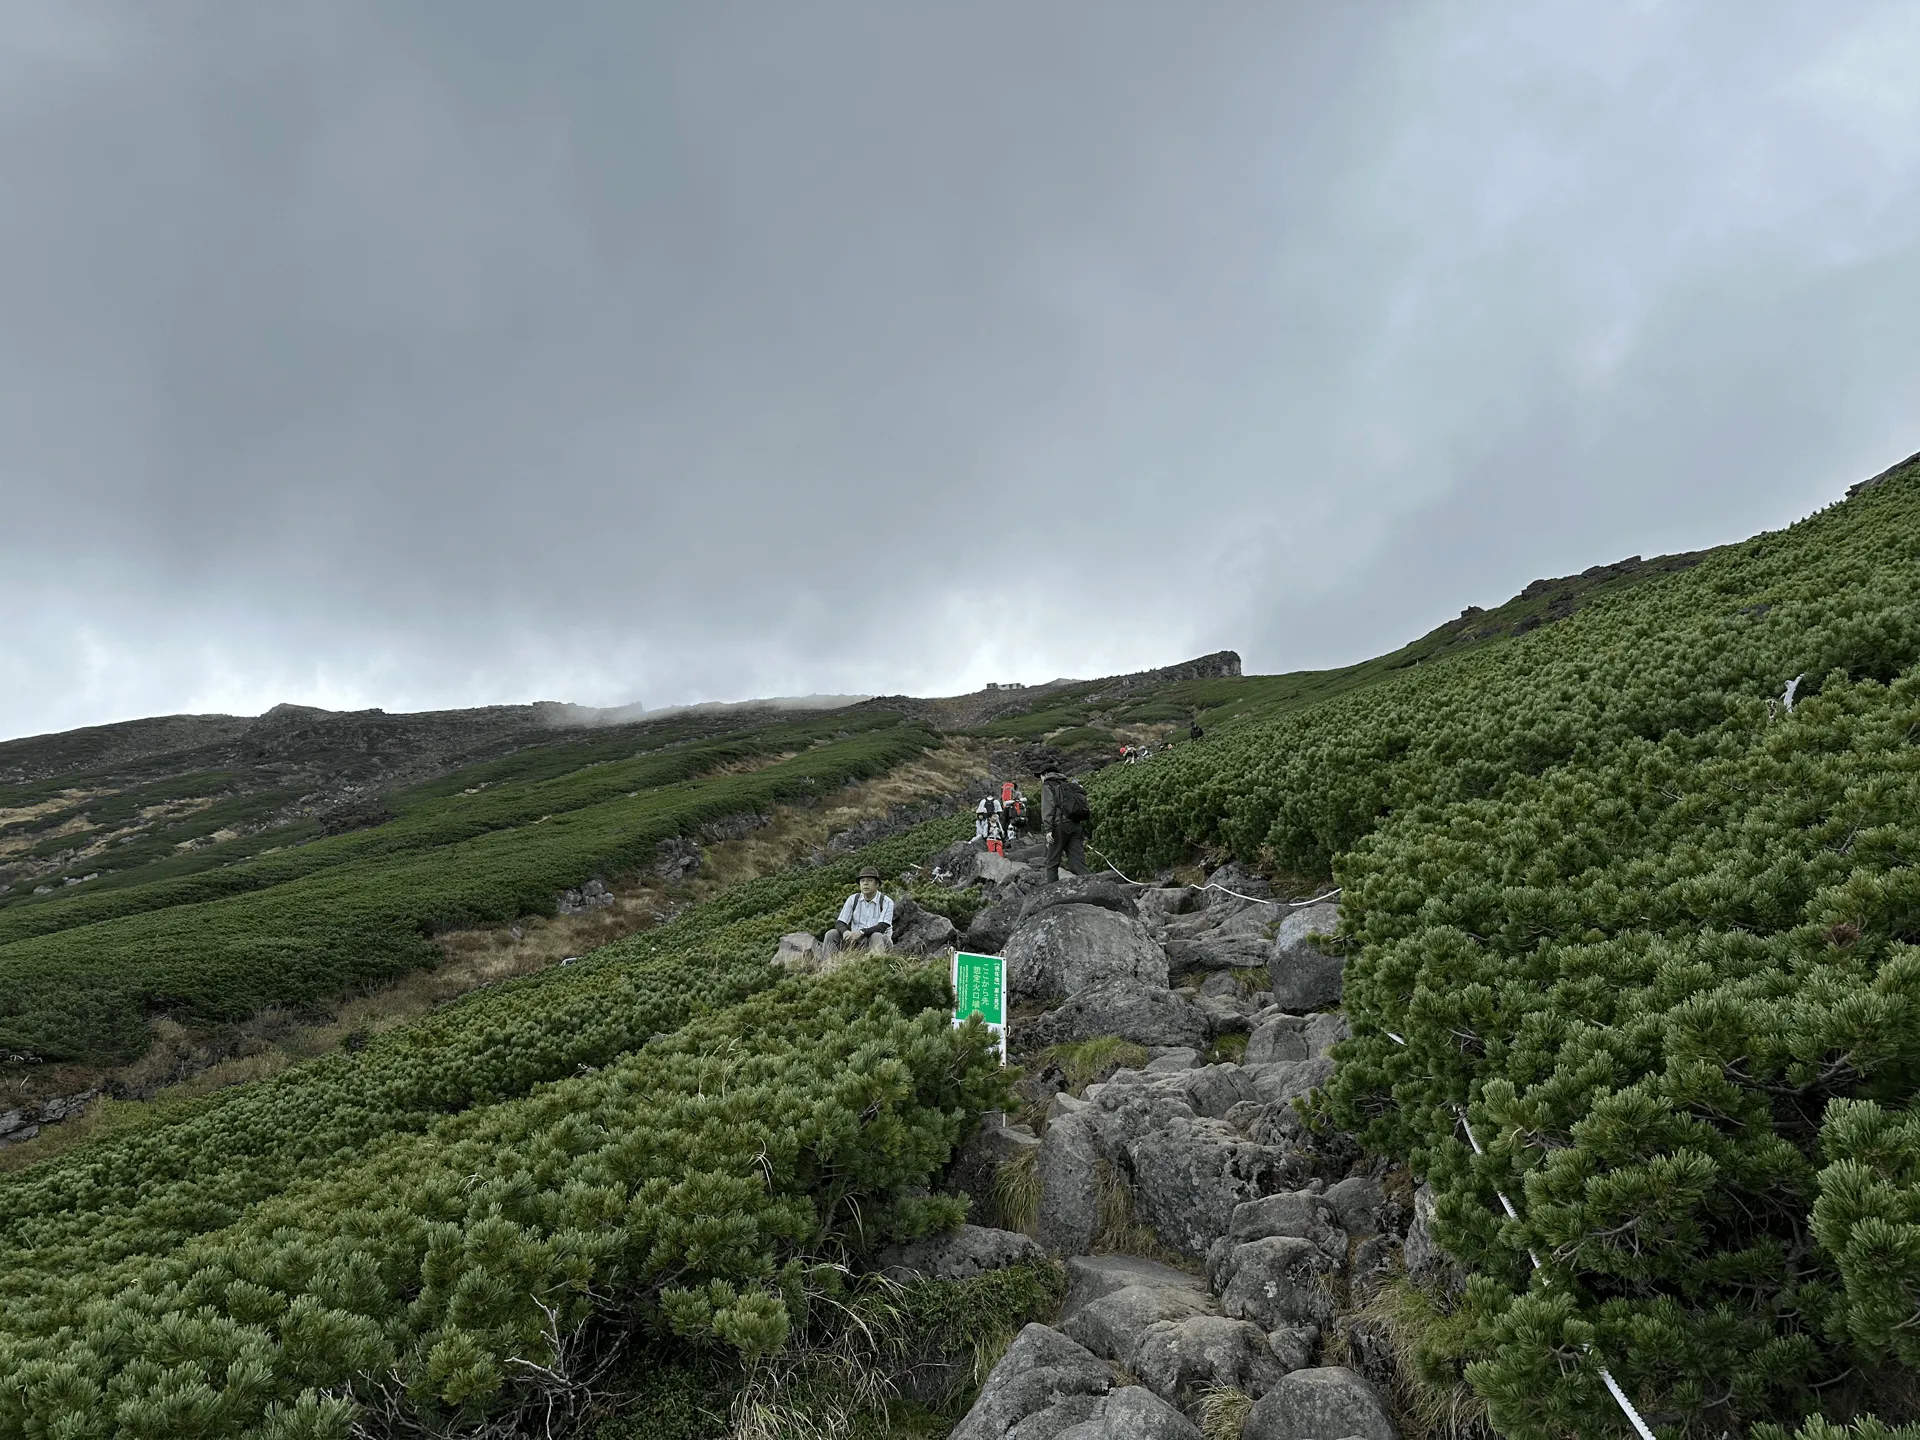
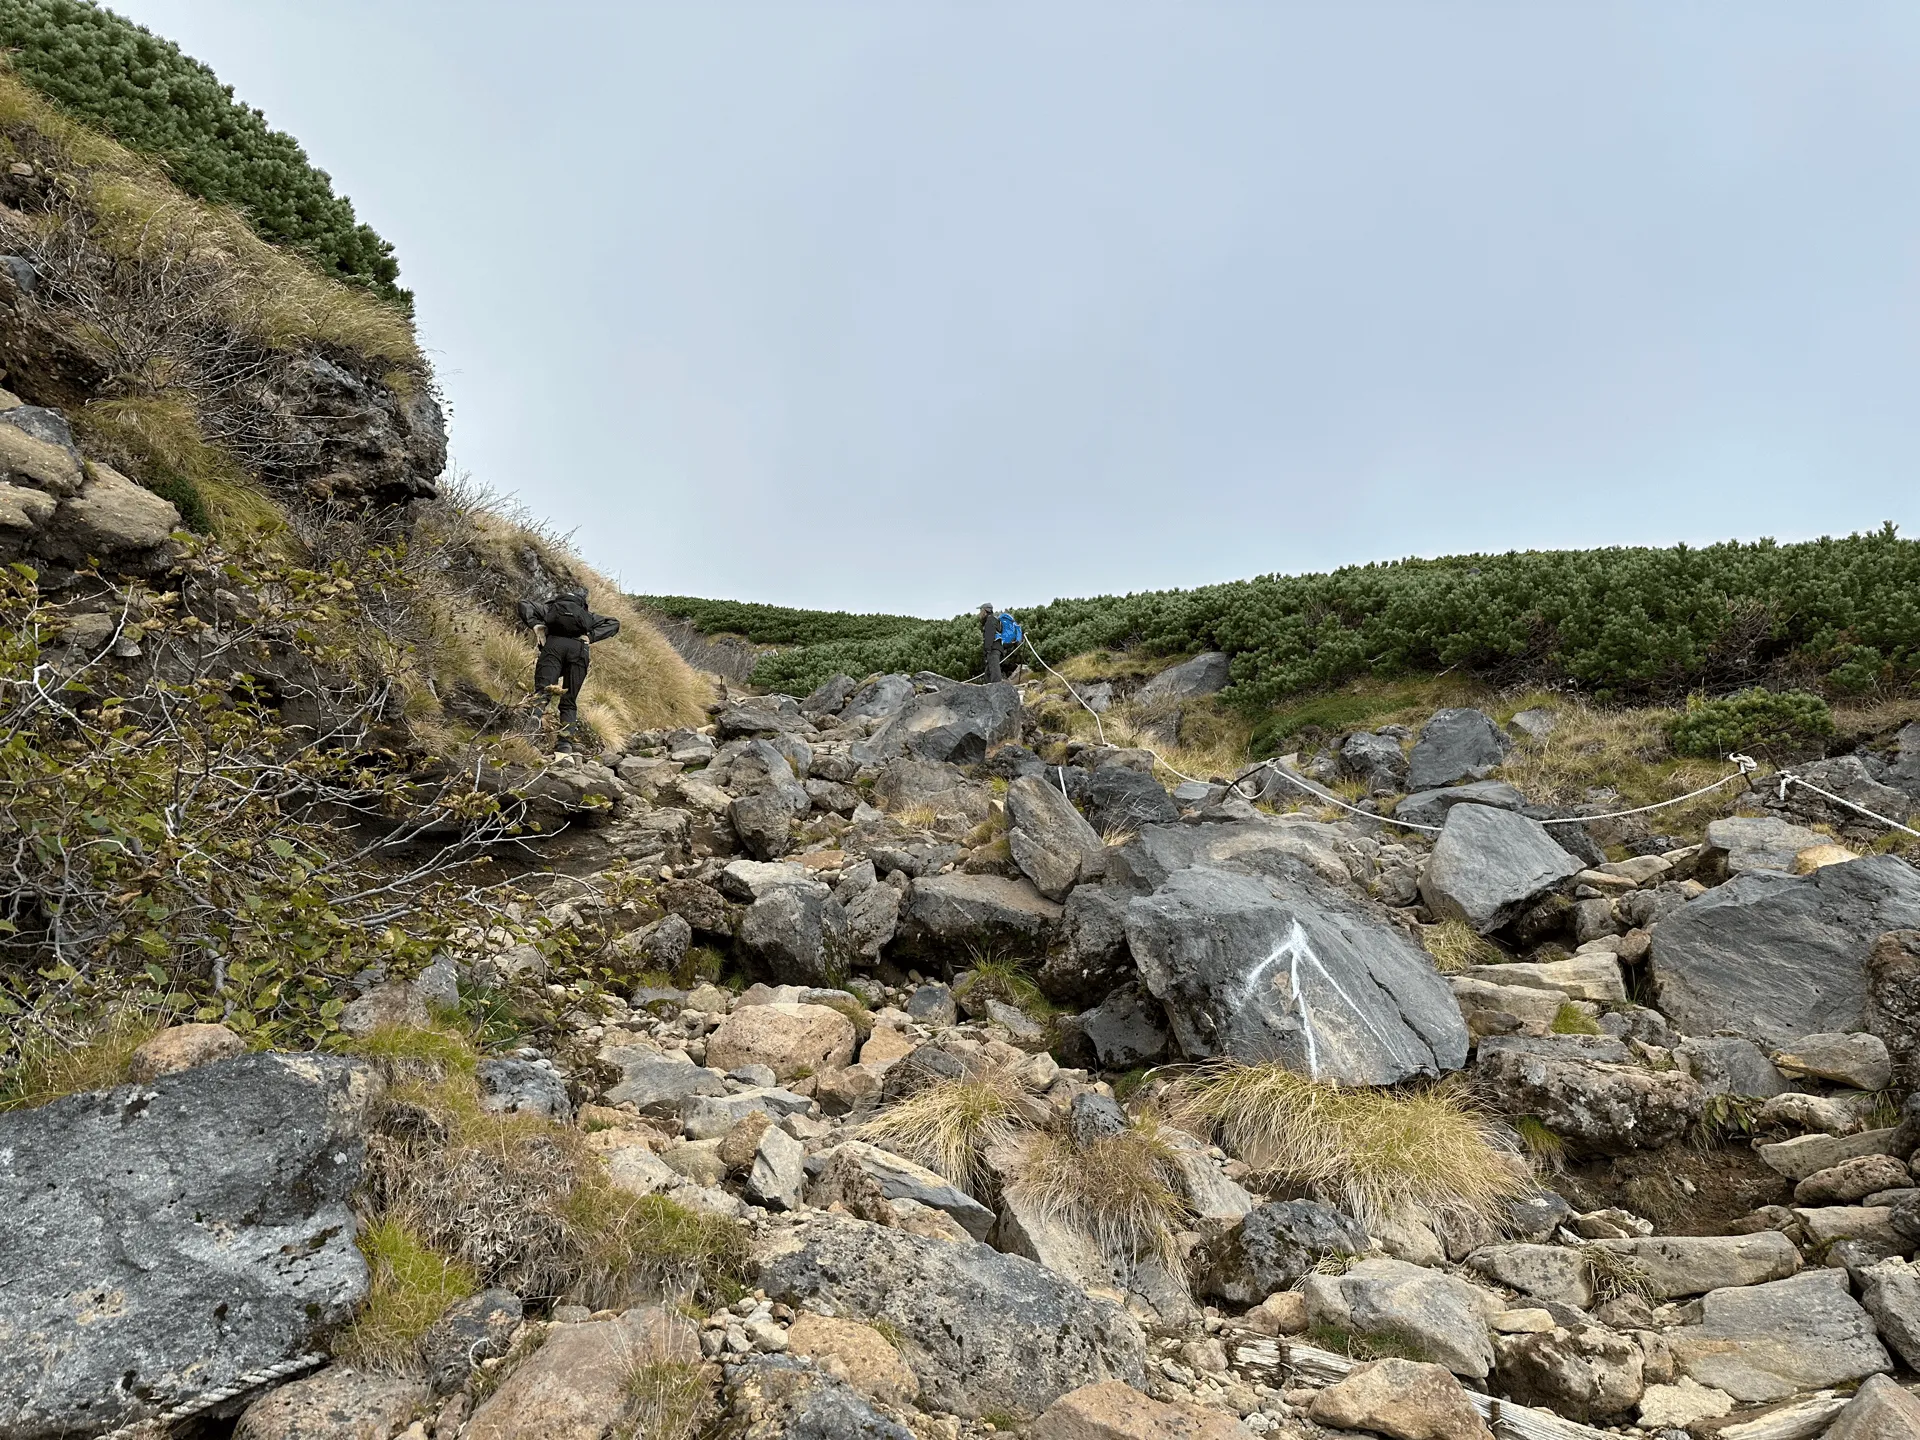
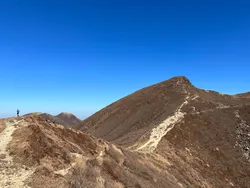
As Mt Ontake is a volcano, the entire mountain is very bare. There are only rocks or shrubs the entire hike up. The only thing that could block your views is the fog, which unfortunately there was a bit of today. The climb is also quite steep, as you have over 800m of elevation gain on a less than 7km course.

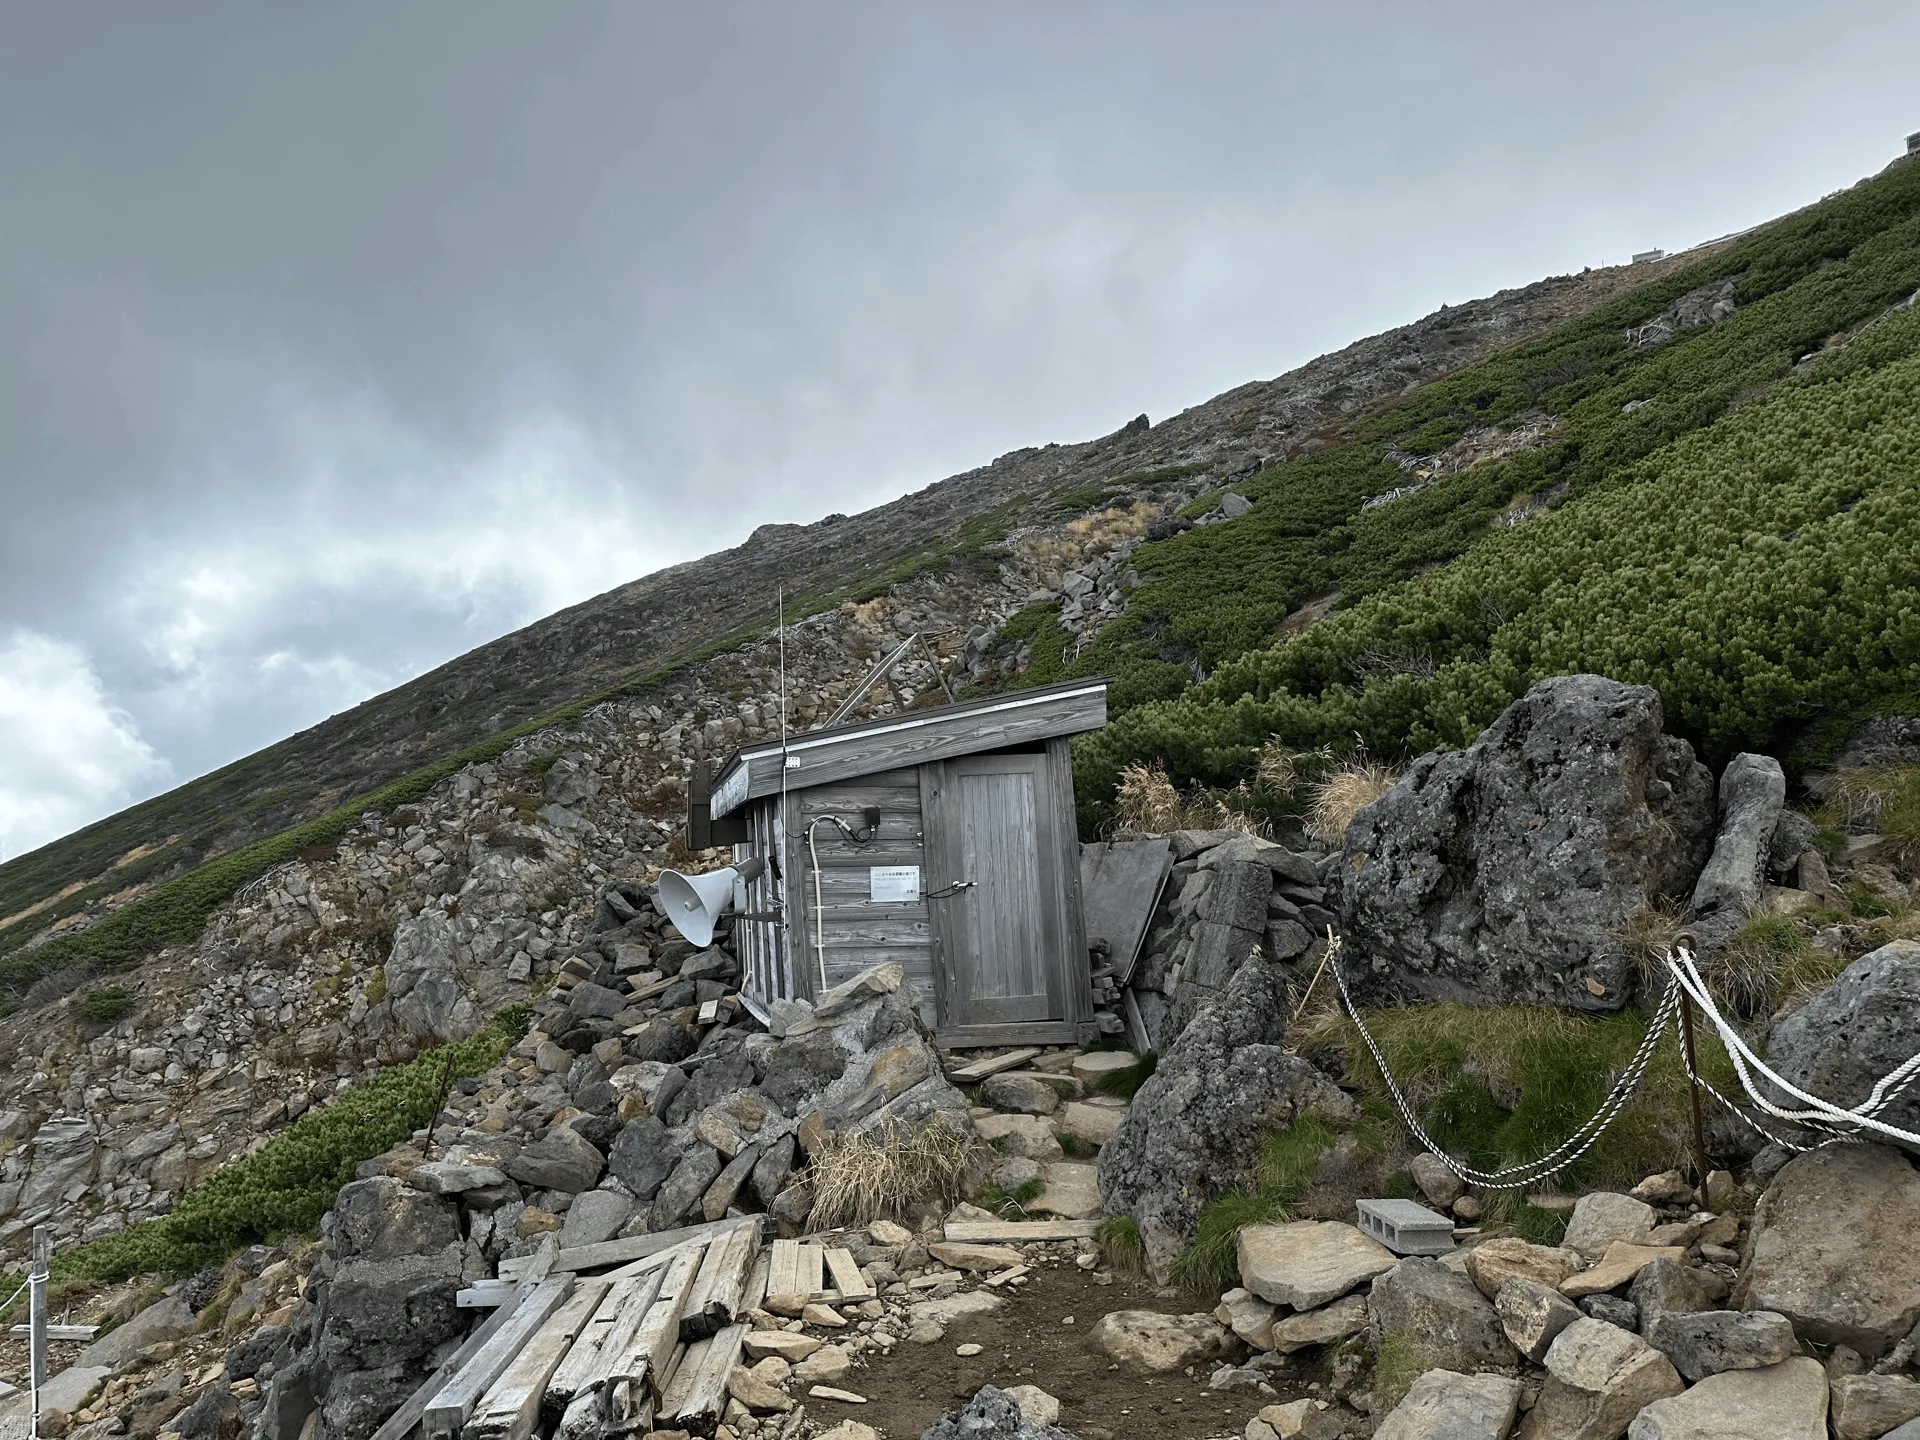
As we climbed, we passed by one of the wooden emergency mountain huts. There is a speaker attached to the side of it, to broadcast in emergency situations.
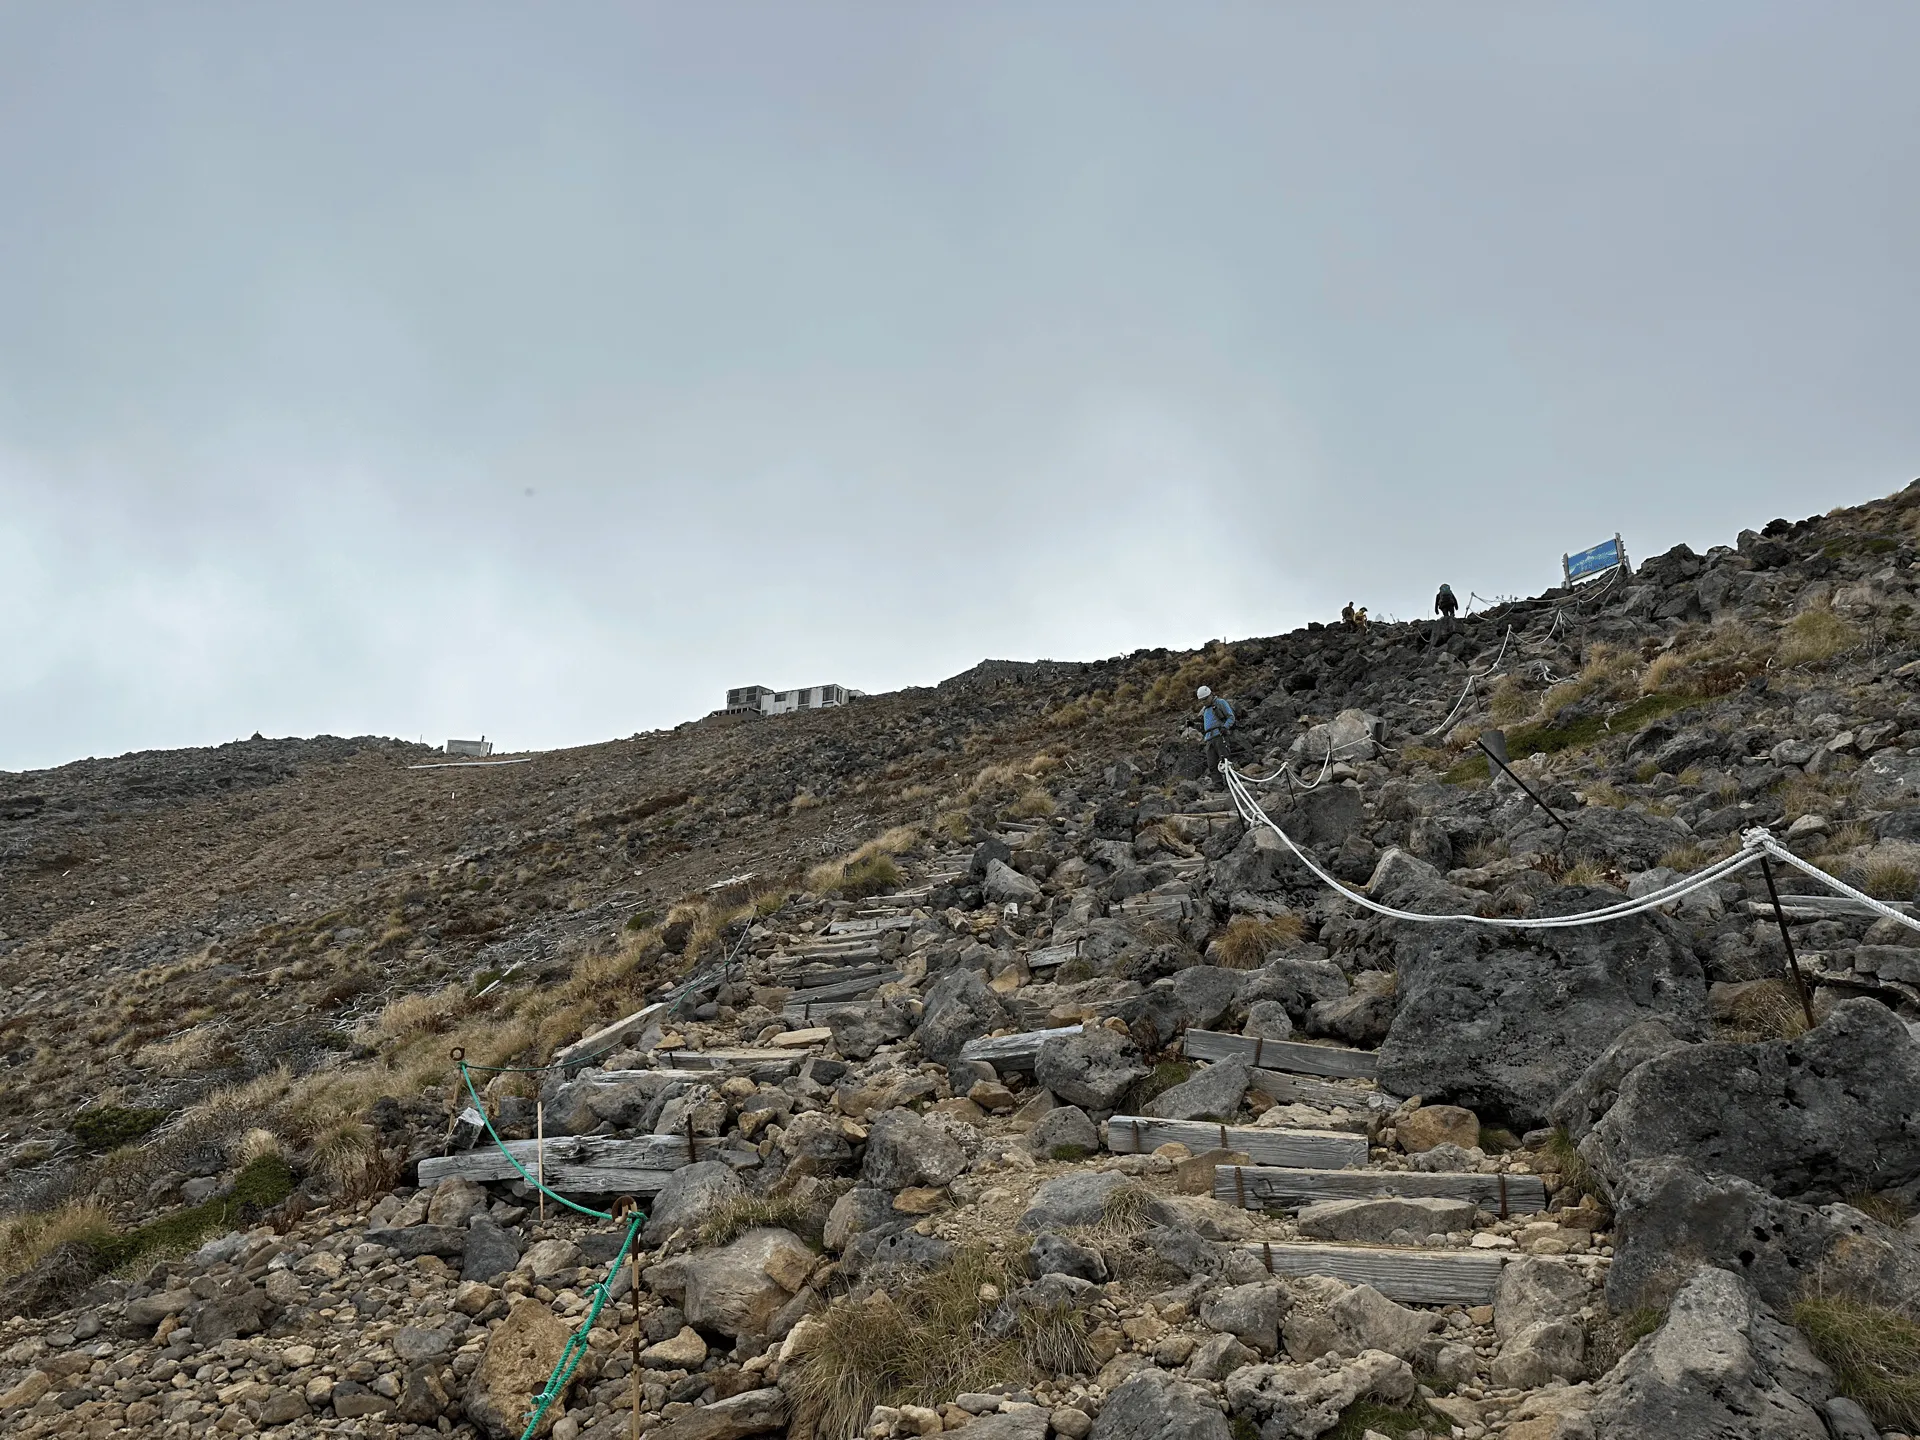
After a little over 2 hours of climbing, we reached the Otaki peak (王滝頂上), which is kind of like a mini peak before the main Kengamine (剣ヶ峰) peak.
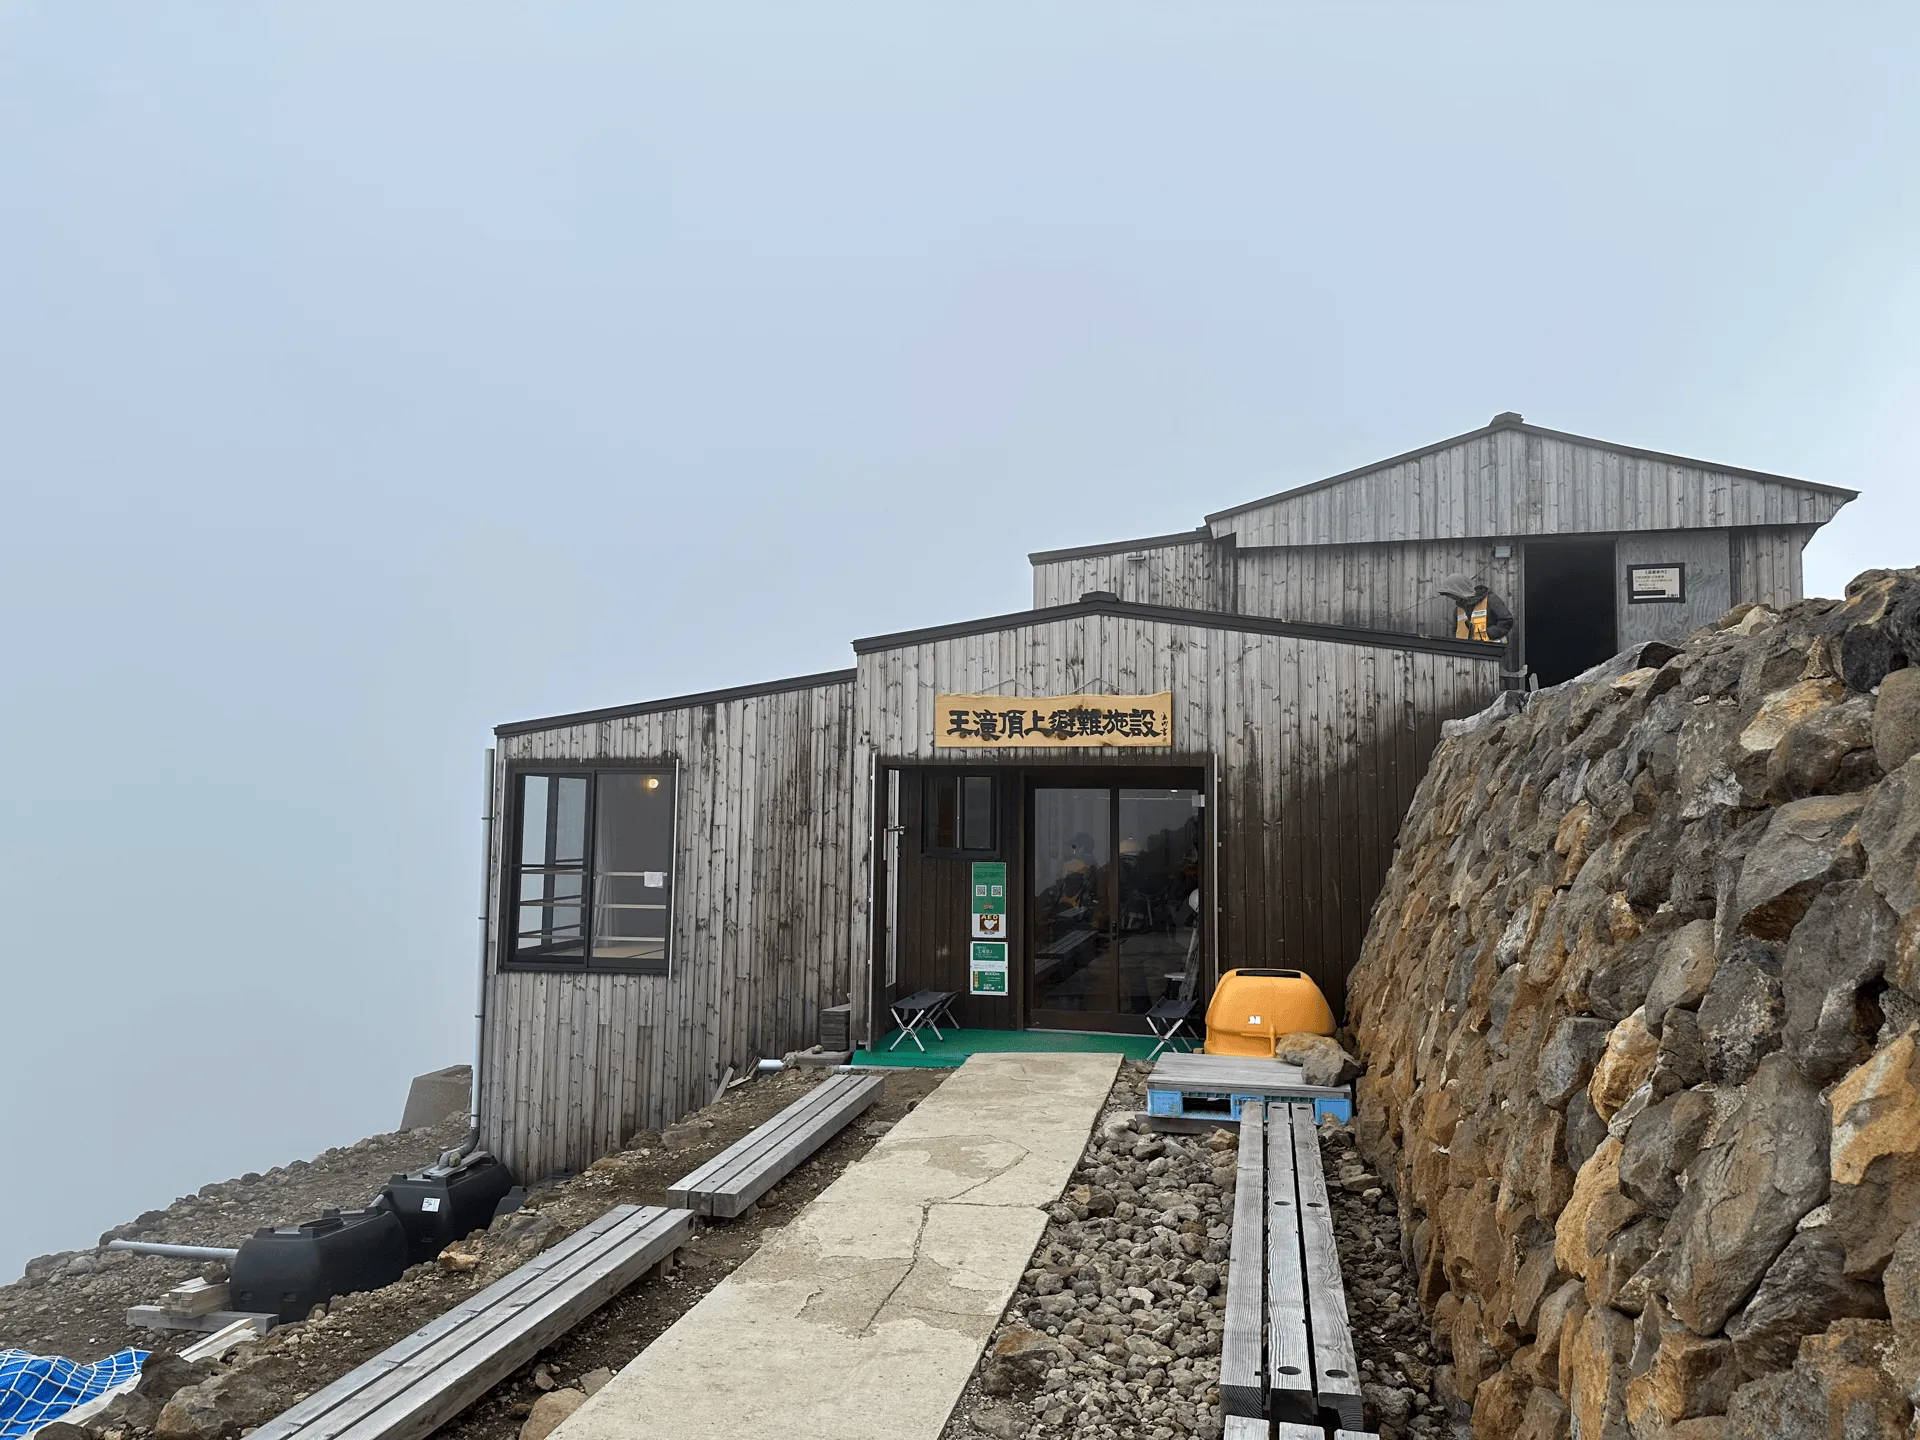
There used to be an Otaki Sansou (王滝頂上山荘) mountain hut here, but it was demolished after the 2014 eruption. Instead, it has now been replaced with the Otaki “rest area” mountain hut (王滝頂上 休憩小屋). This isn’t a place to stay overnight, but is a place where you can take a break, or shelter in case of another eruption.
From here, it is a final 20 minute hike up to the actual summit of Mt Ontake. The crater that erupted is somewhere out of sight to the left of the path.
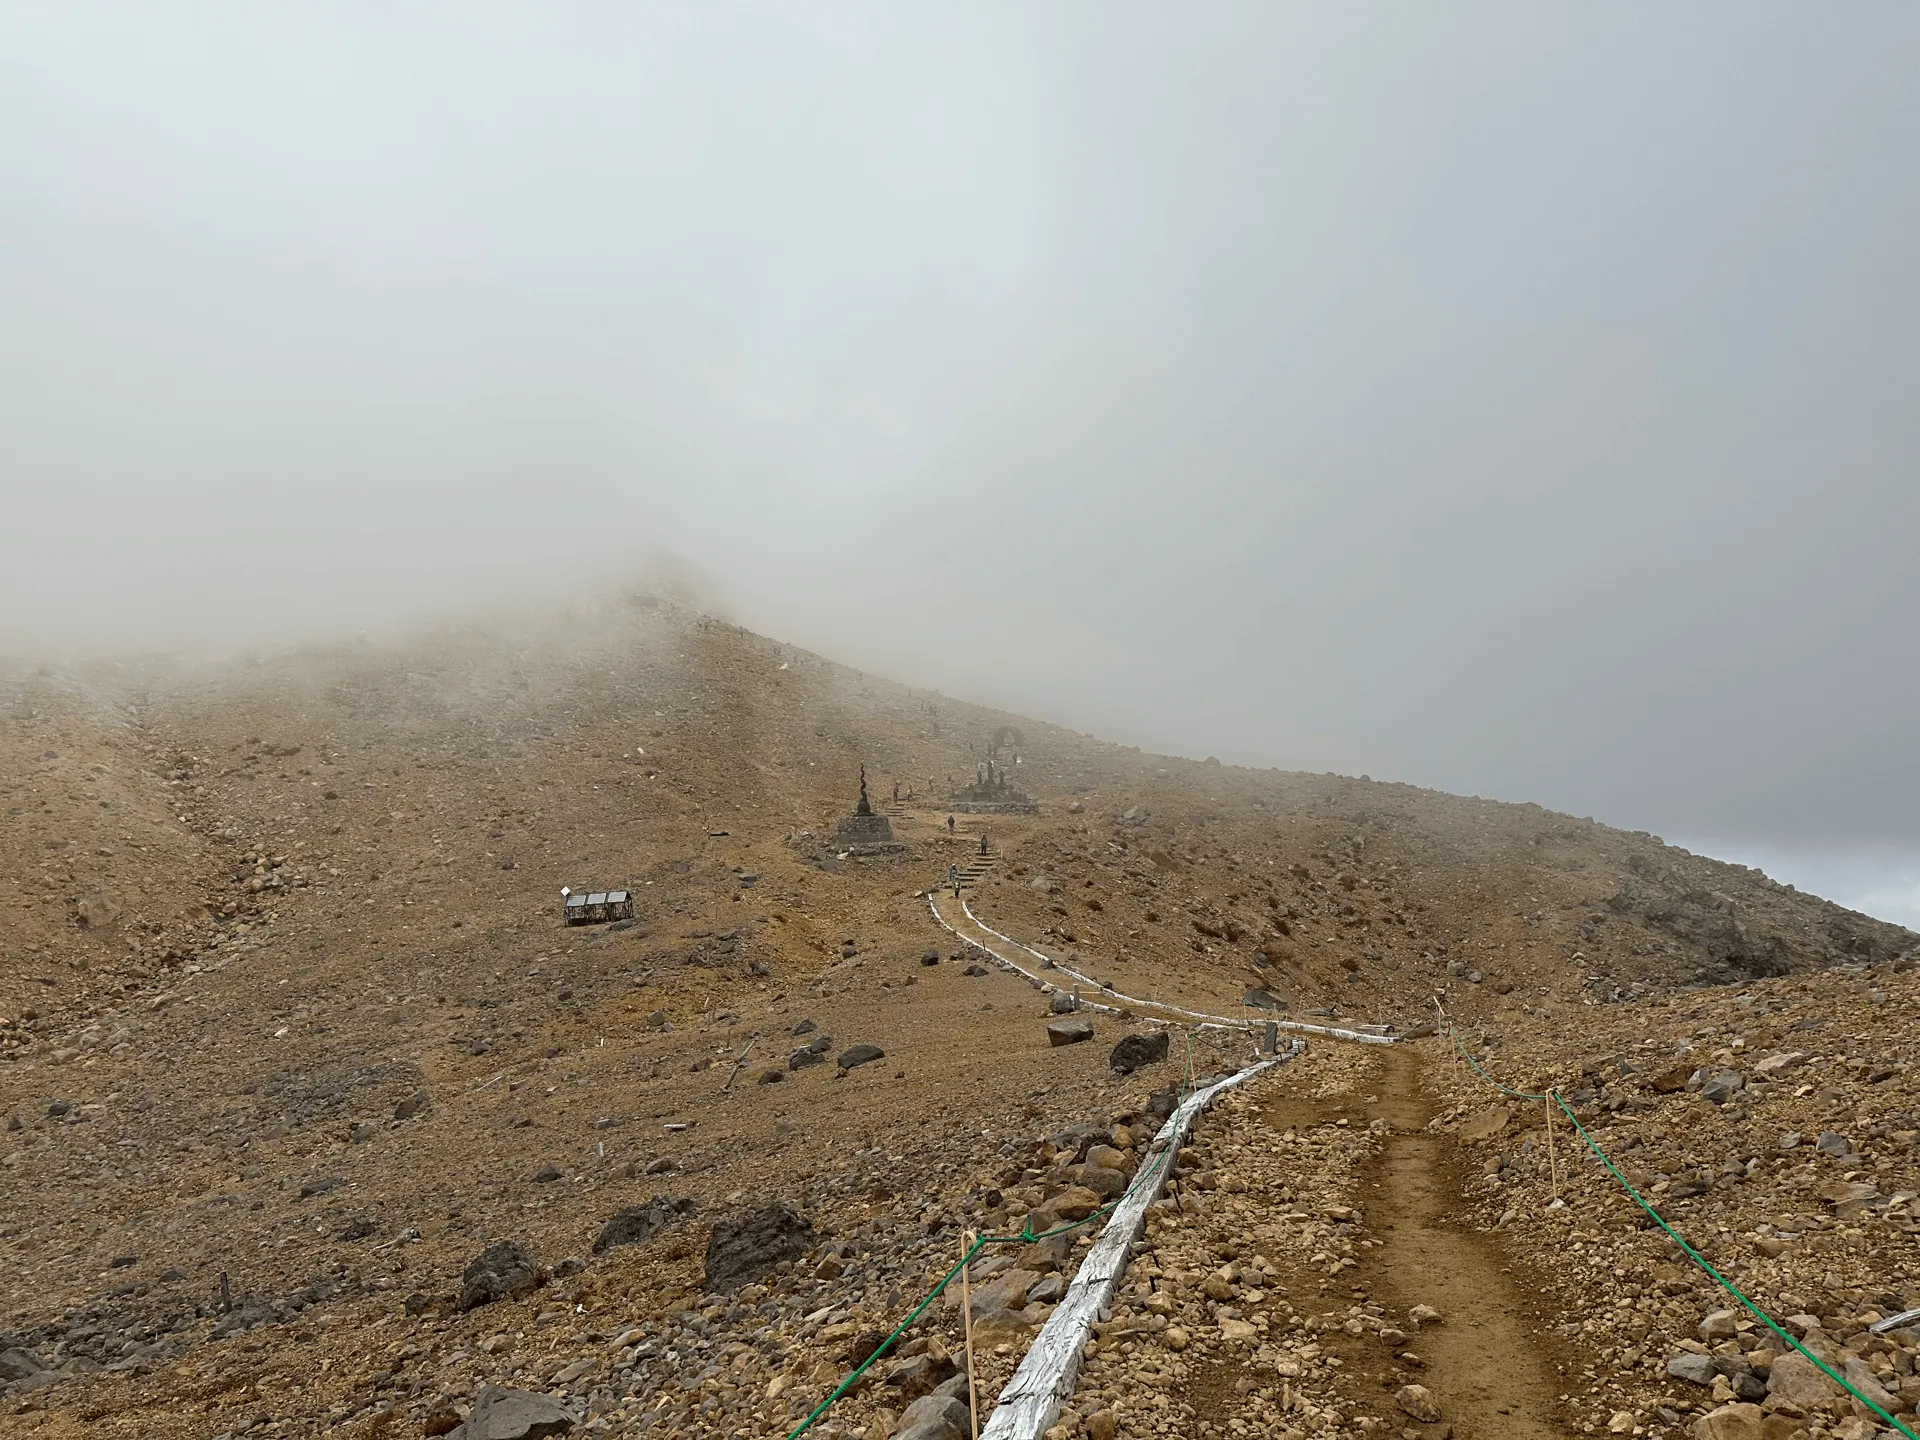
This stretch up to the summit is where a lot of people lost their lives. It was closed off for the last 9 years, and actually only re-opened last July. Mt Ontake does have a second, separate trailhead accessible via ropeway, so up until now that was the only way to reach the peak.
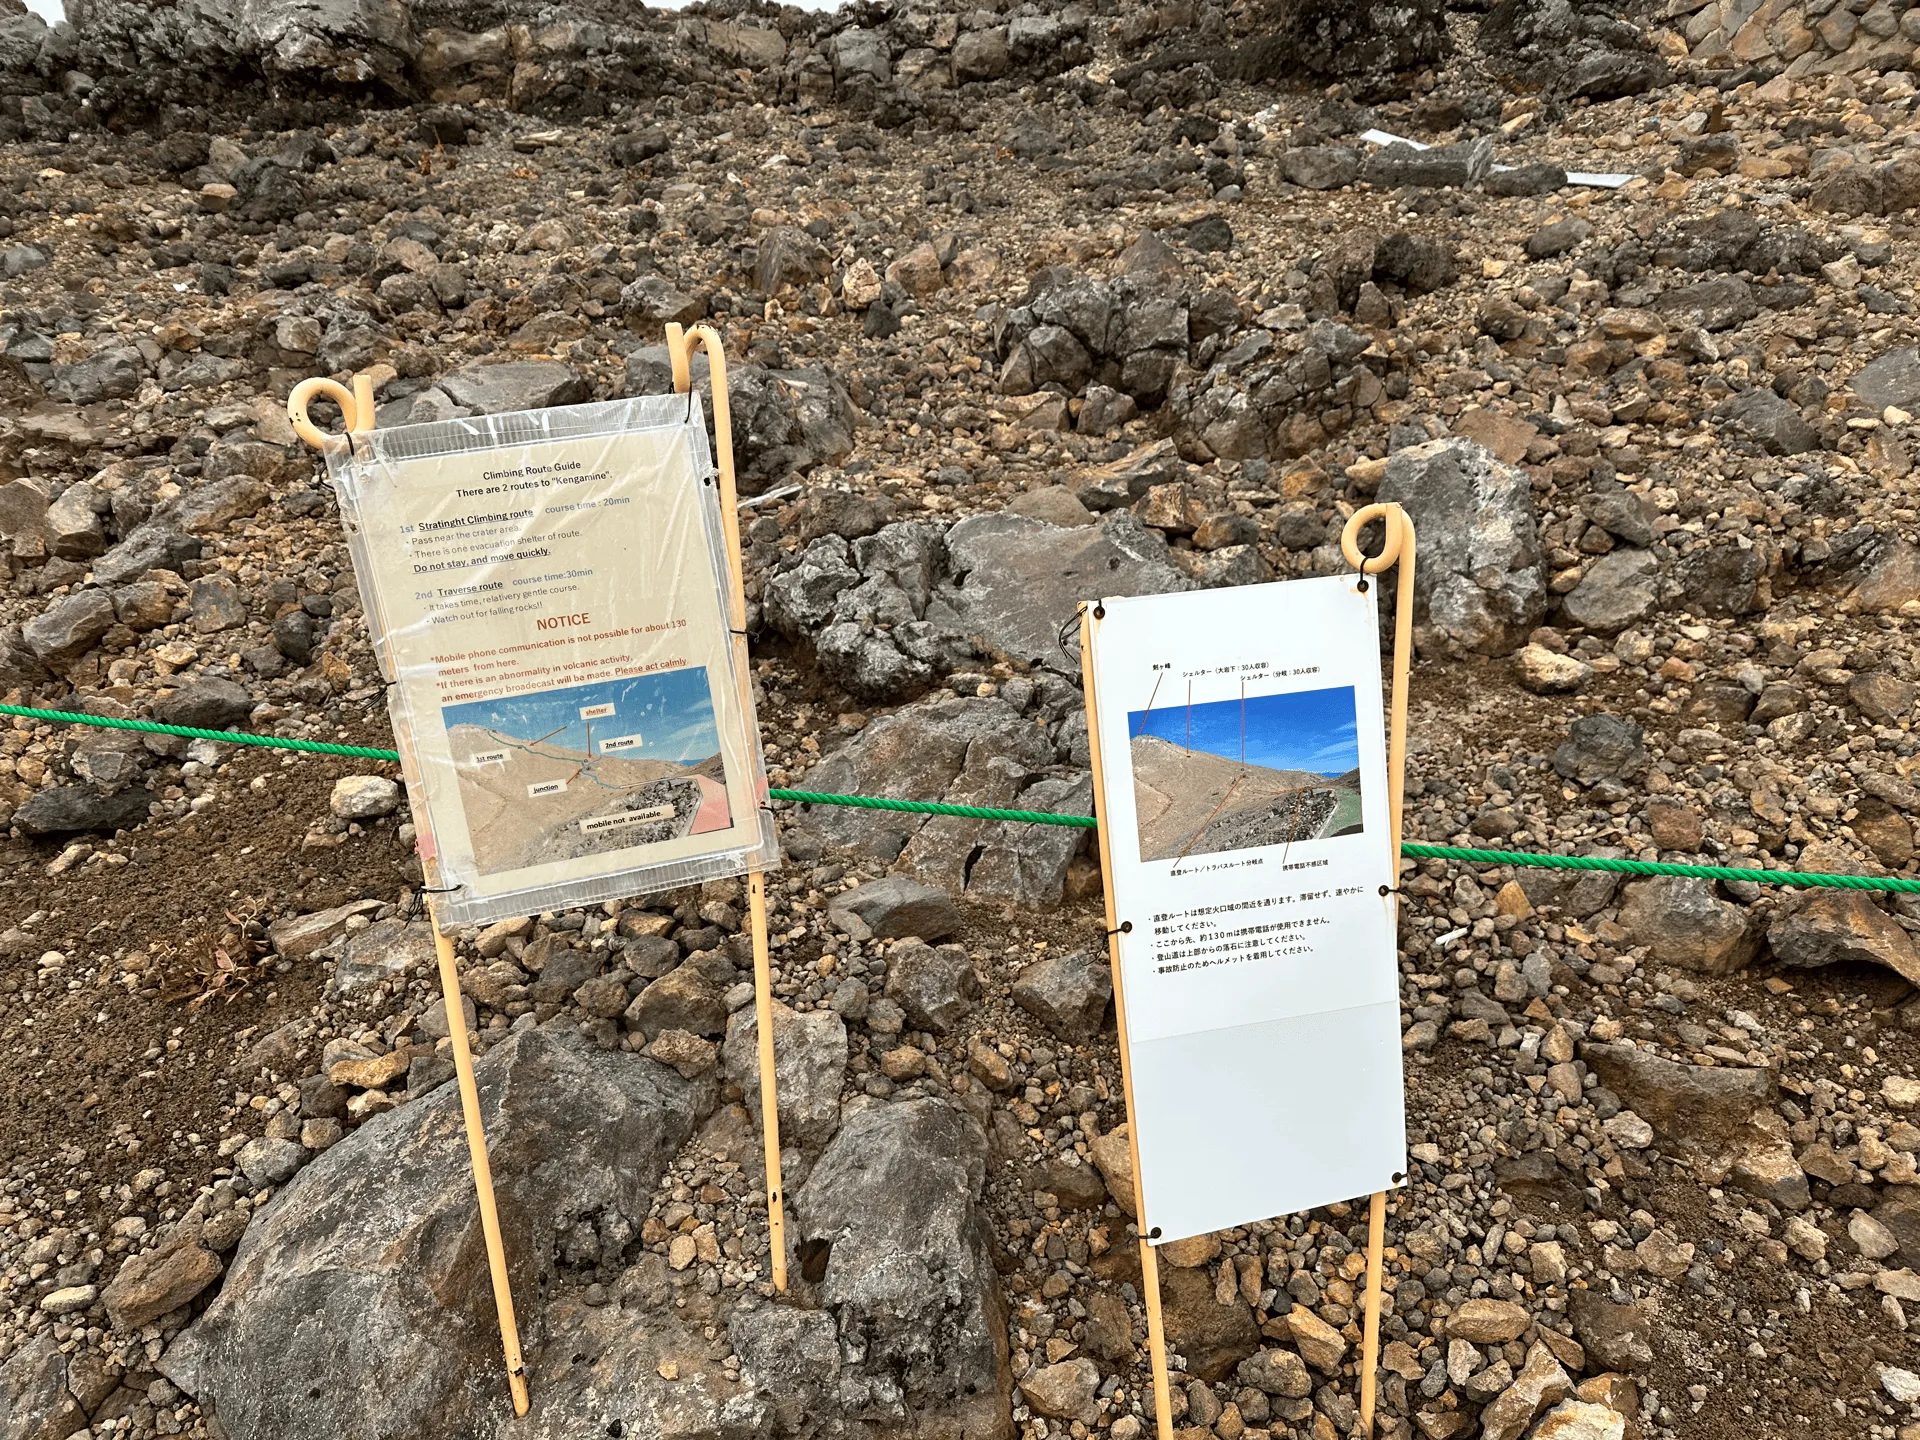
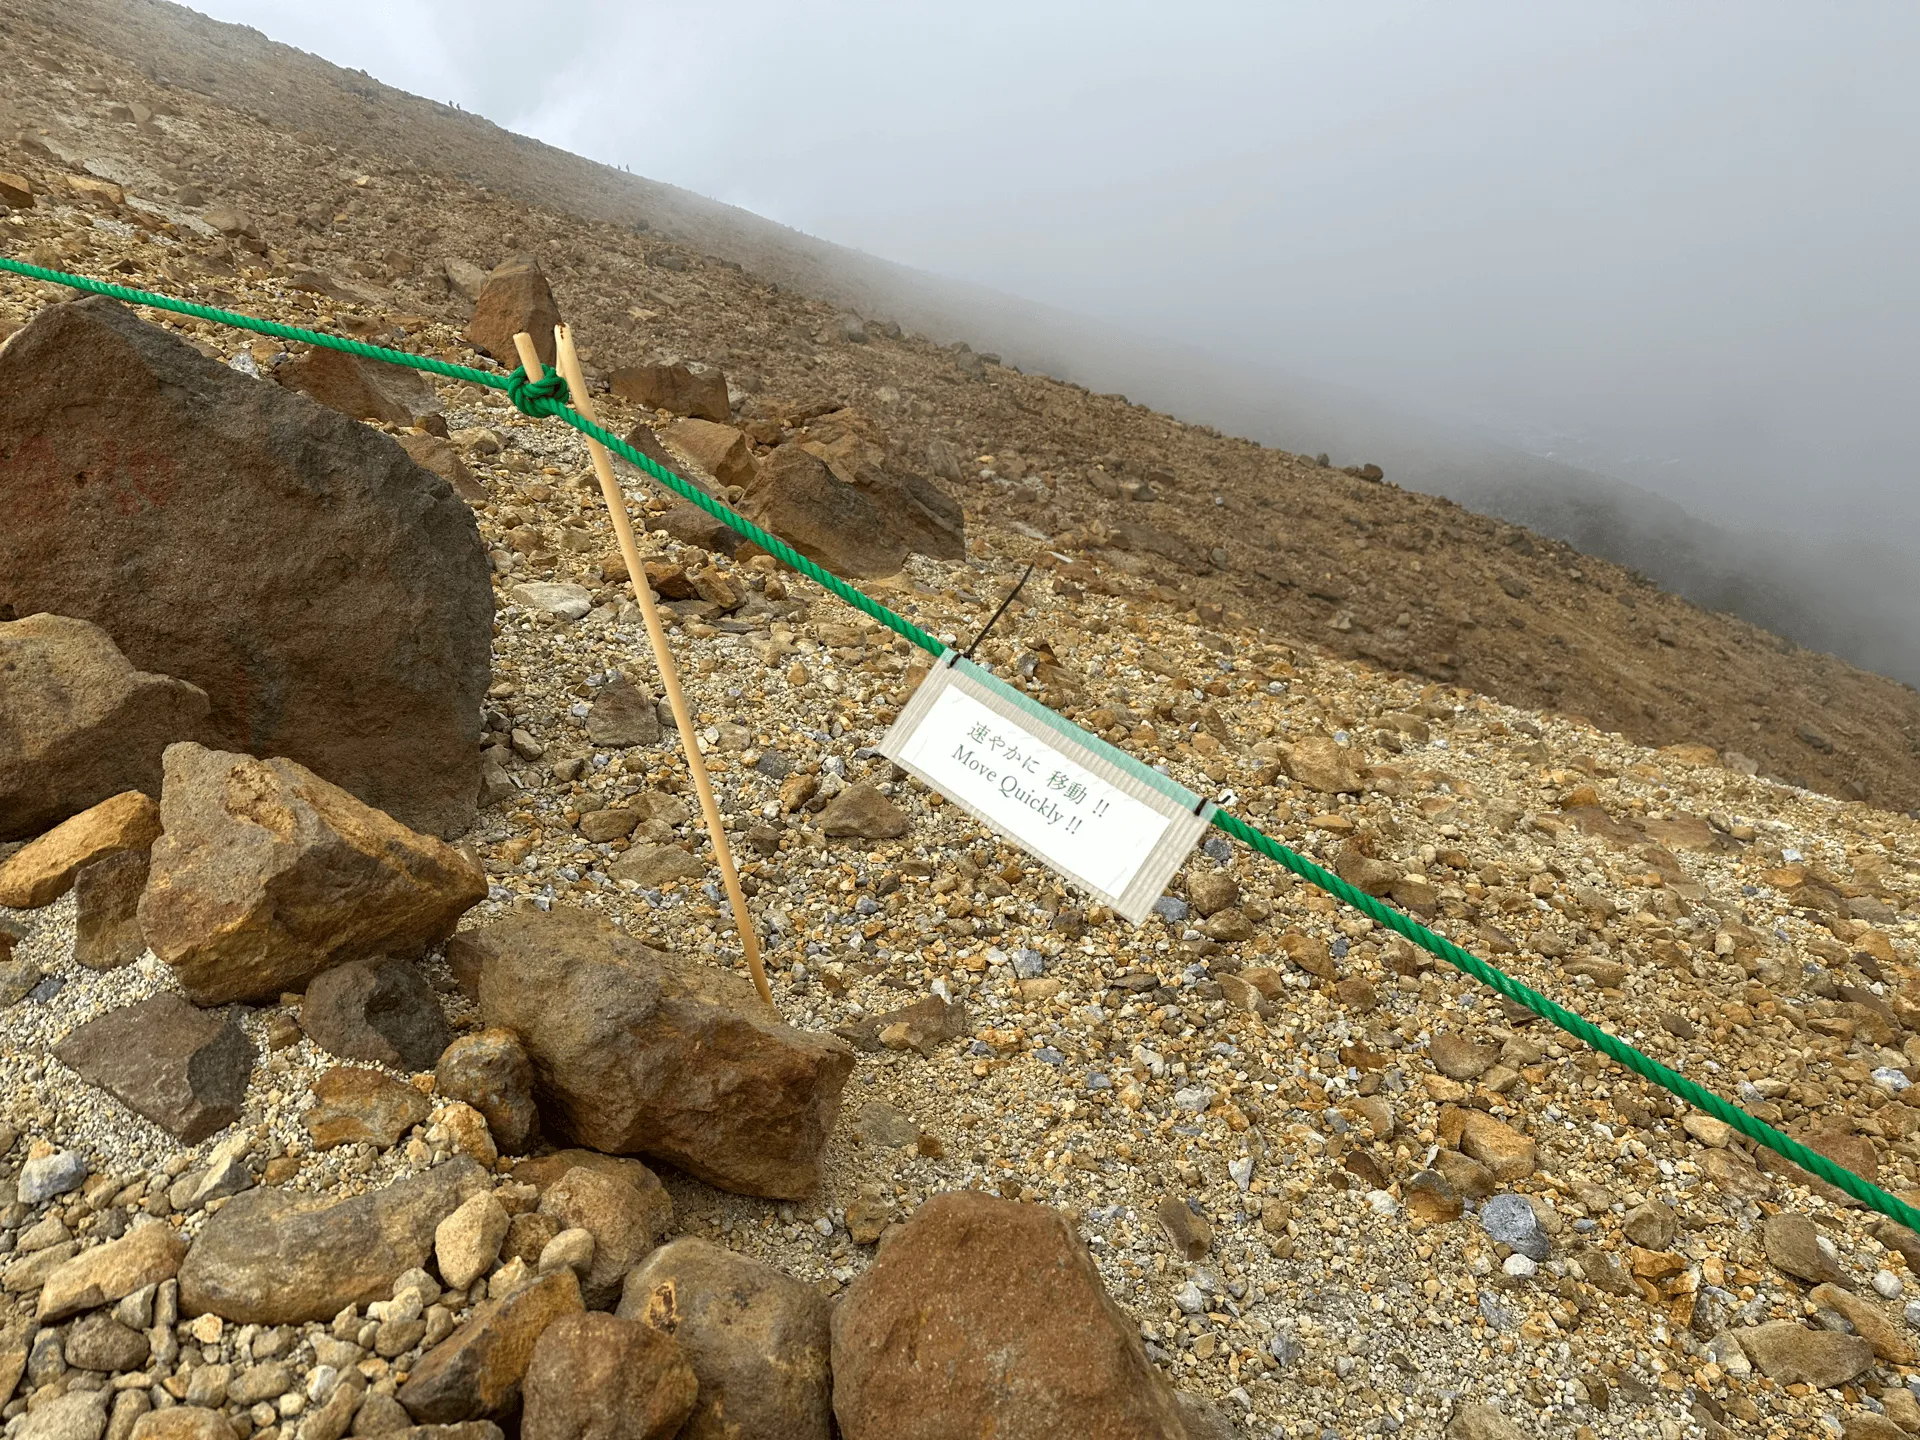
There is an increased sense of urgency on this portion of the trail, with a sign warning of no cell reception in this area, and little white signs on the ropes on the side of the path urging hikers not to stay in one place for too long.
As you climb, you also come across a weird-looking black sculpture. At first I thought maybe they were commemorating the victims of the eruption, but it turns out that they pre-date it.
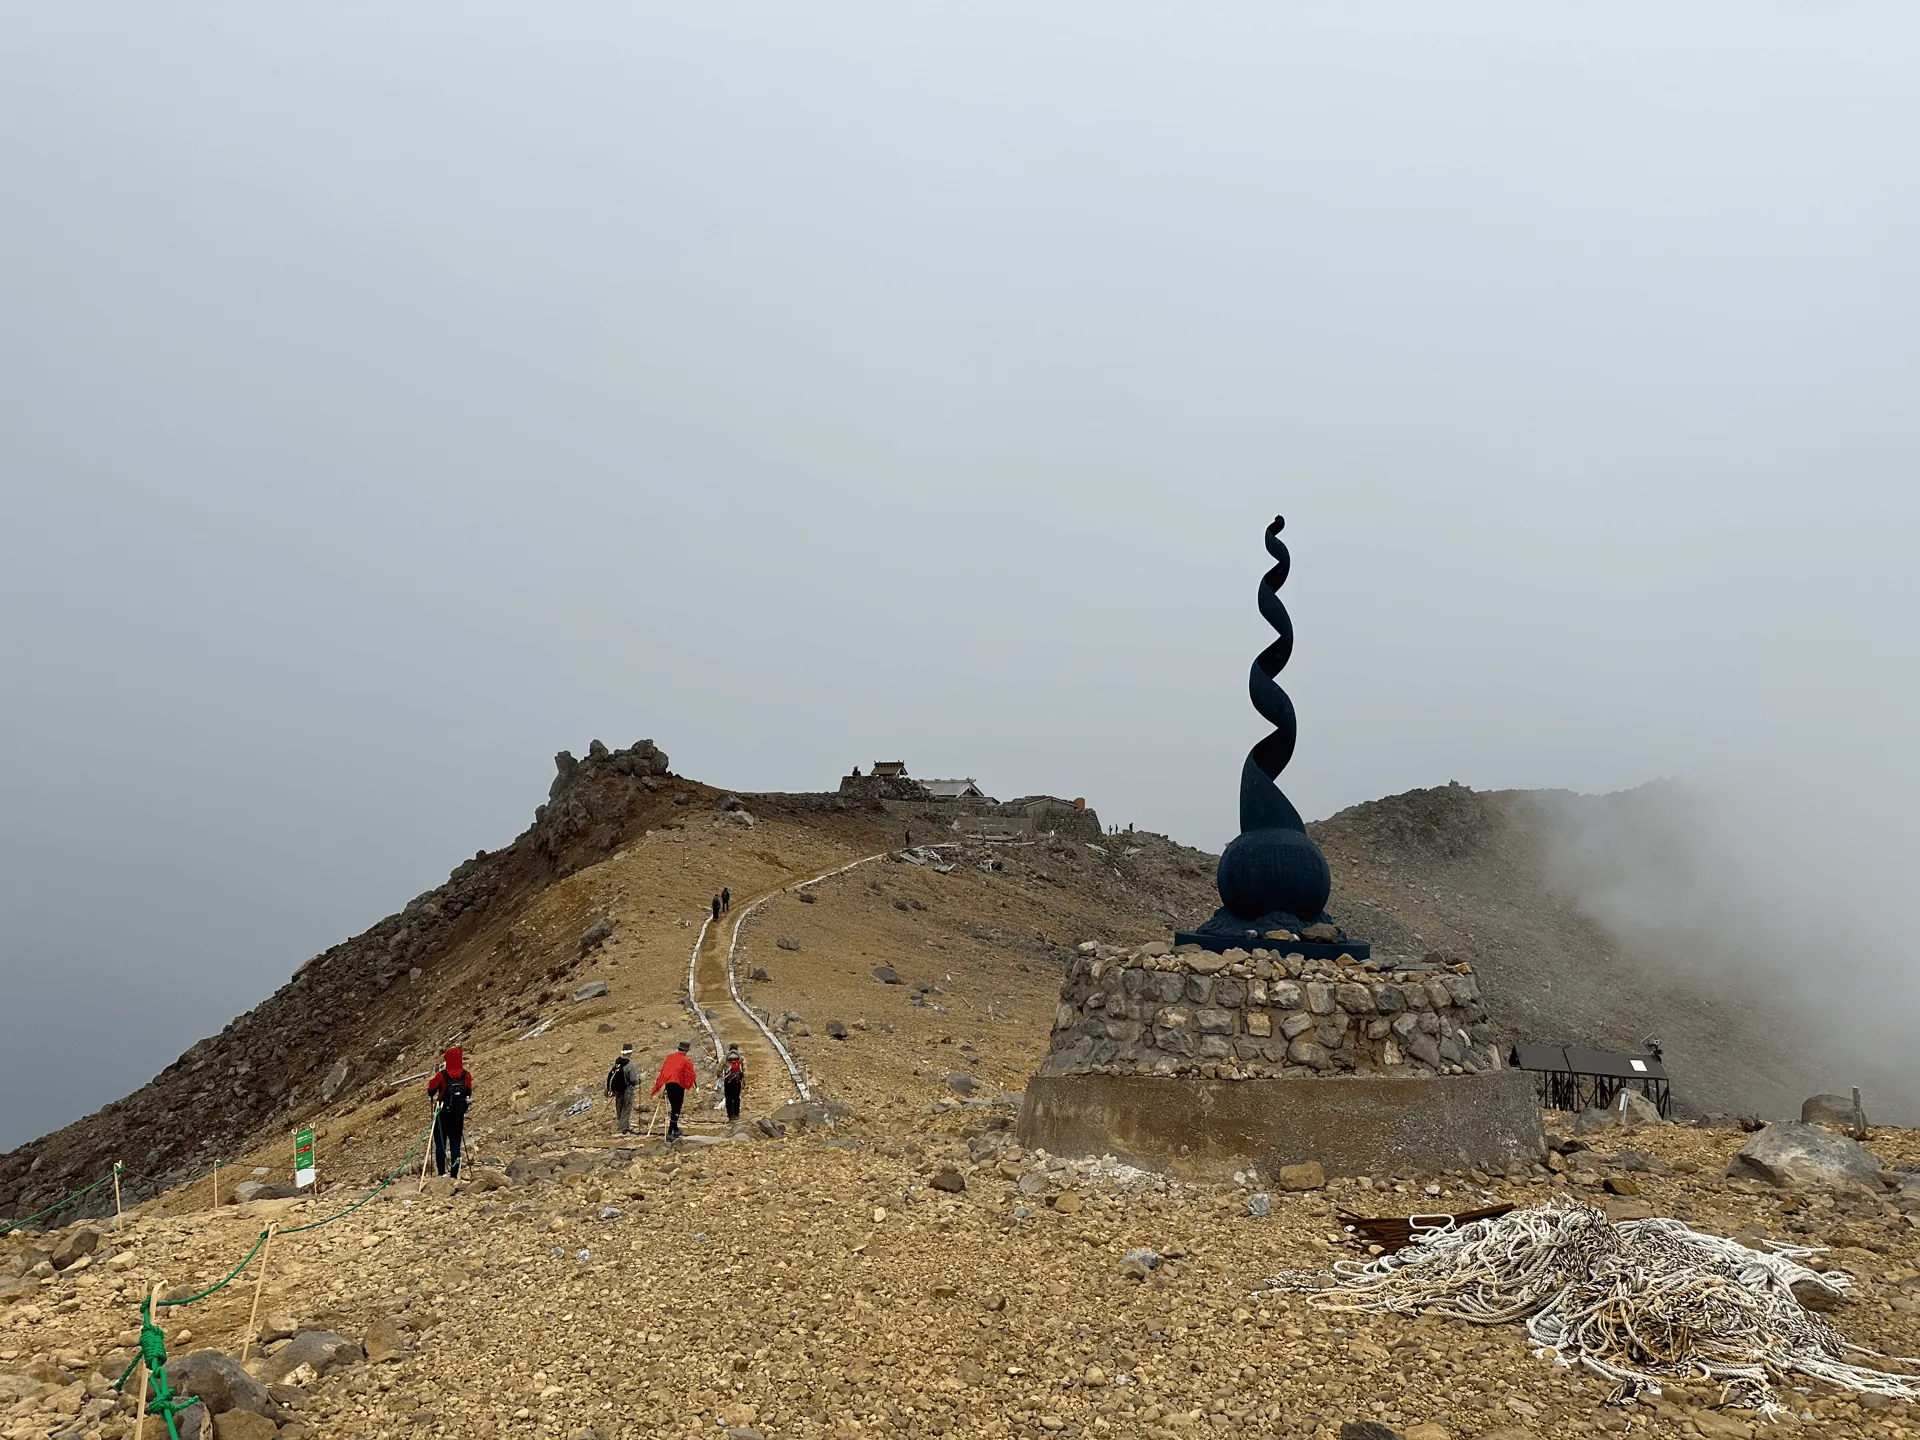
This stretch of mountain is very open, with just a couple of statues scattered about. One of the interviews from a hiker who was here on the day of the eruption mentioned trying to take shelter behind one of these, since they had nowhere else to hide. The fog did add to the sense of eeriness of the scene.
Since the eruption, the government has put in place additional shelters, which we saw as we continued our climb up.
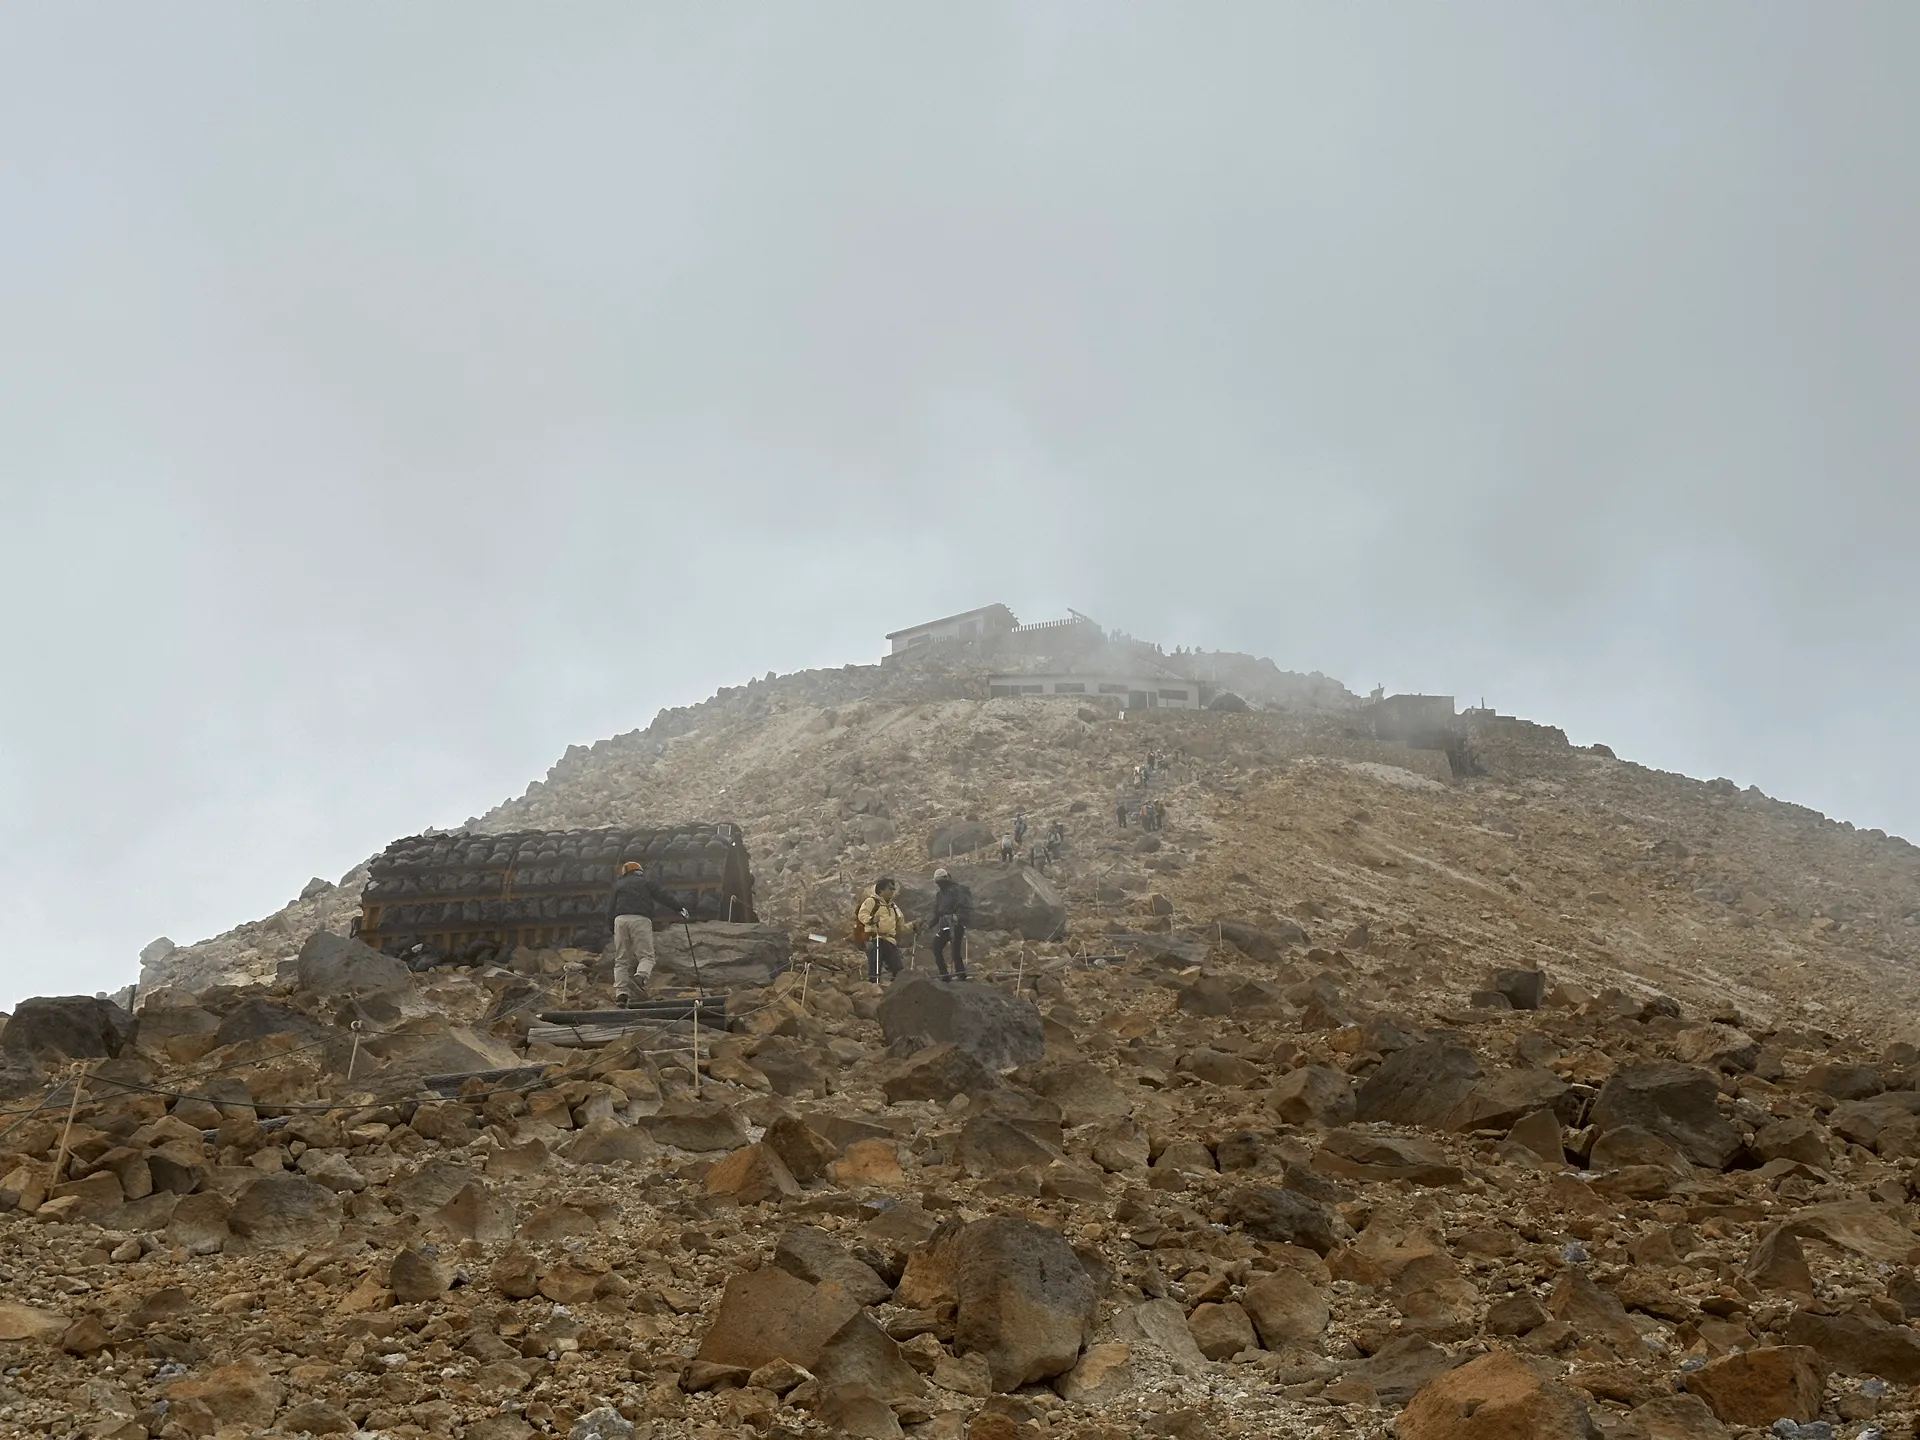
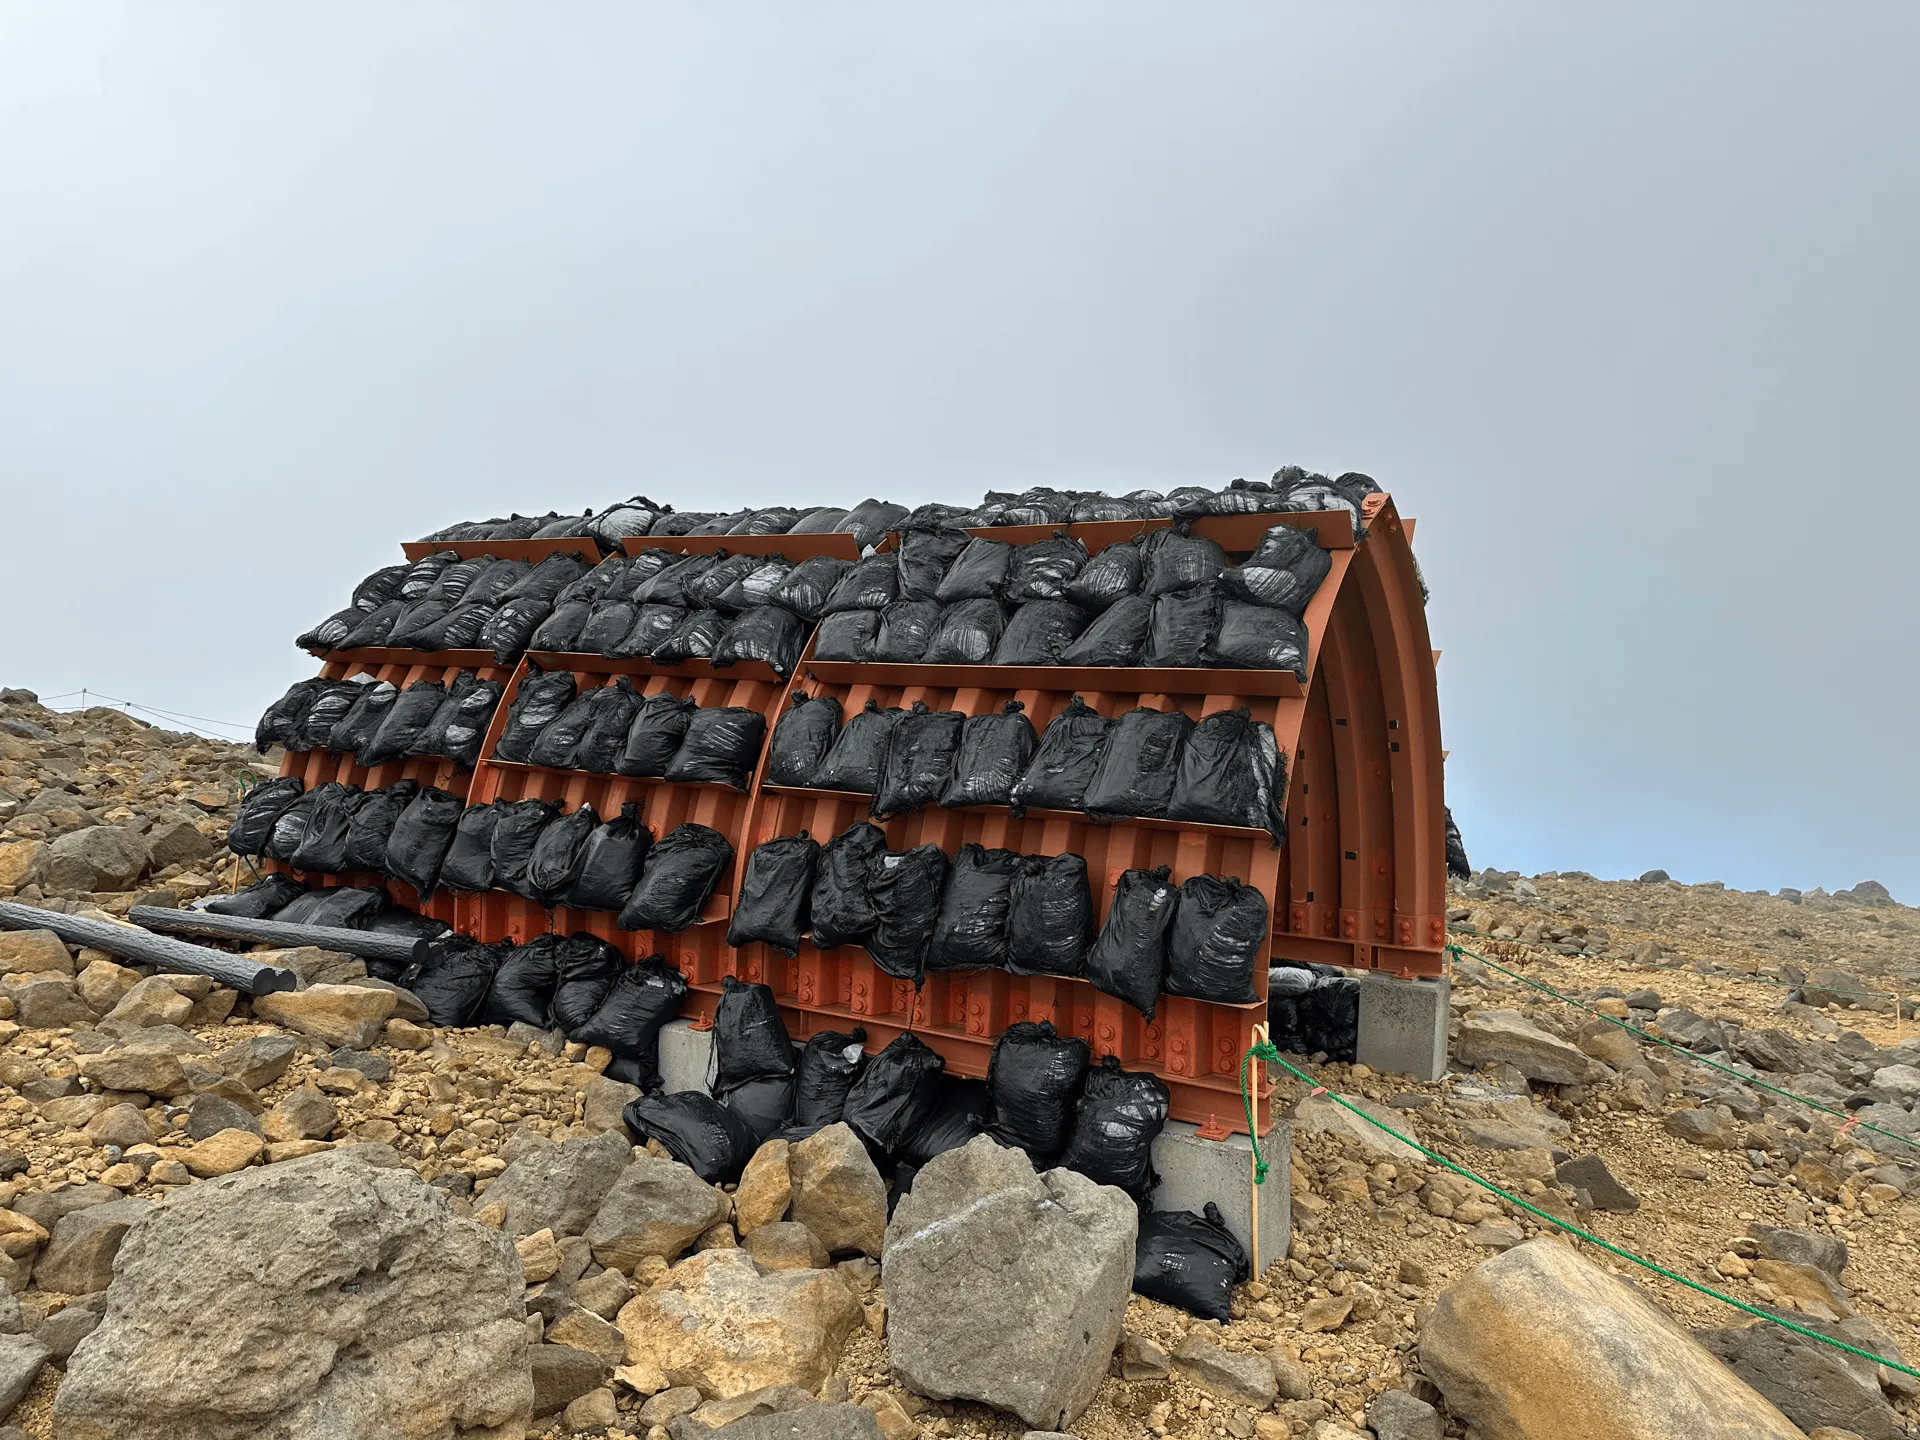
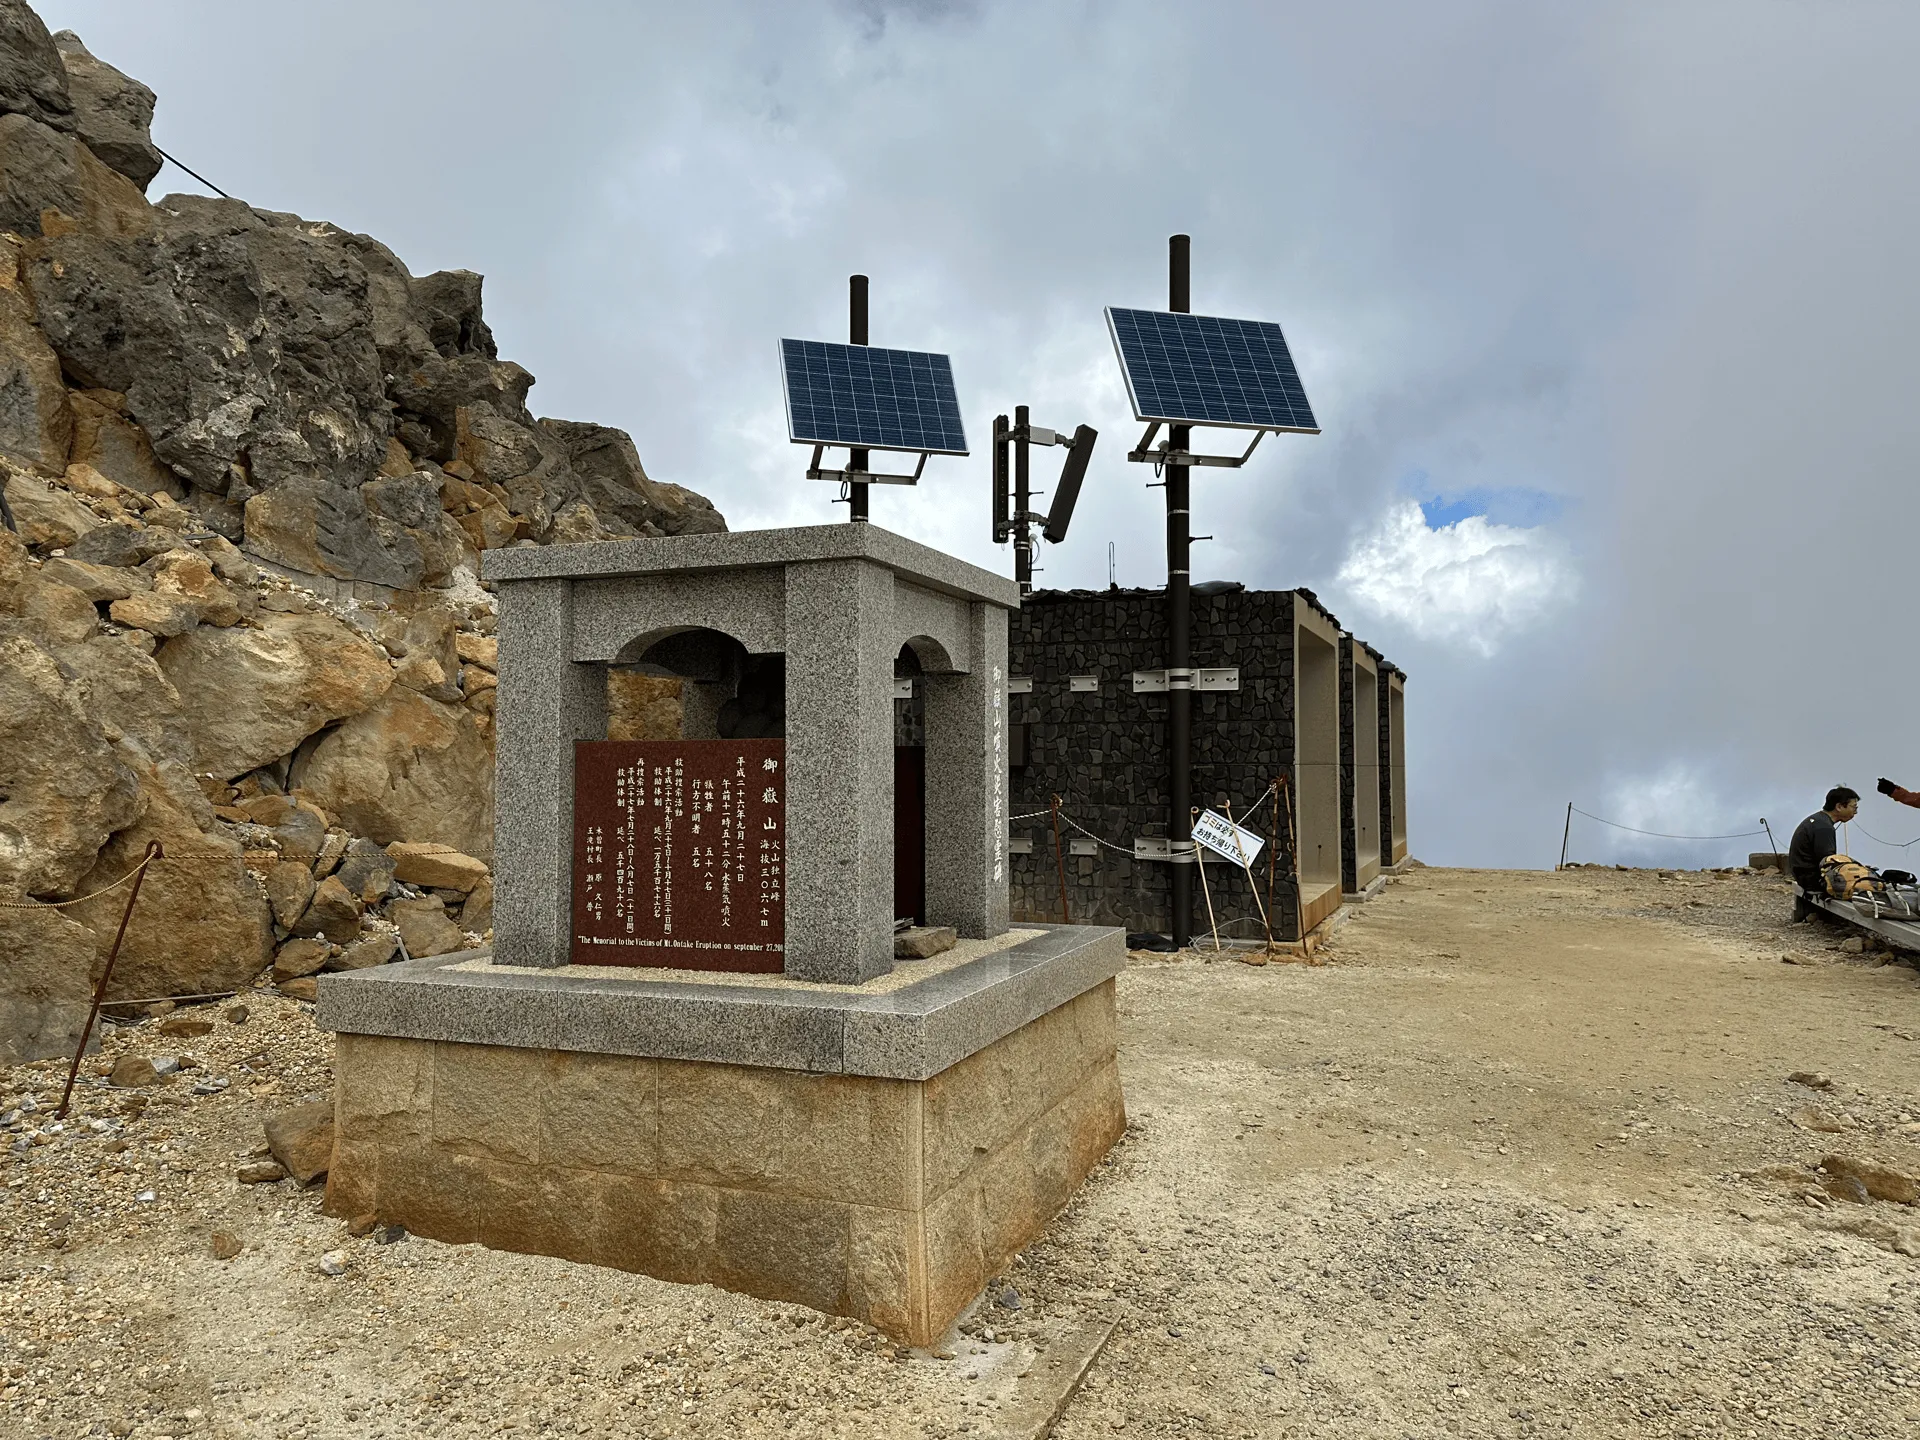
As we come to right before the summit, there is a stone monument in memory of the 63 hikers who lost their lives, as well as some more sturdily-built concrete shelters behind it.
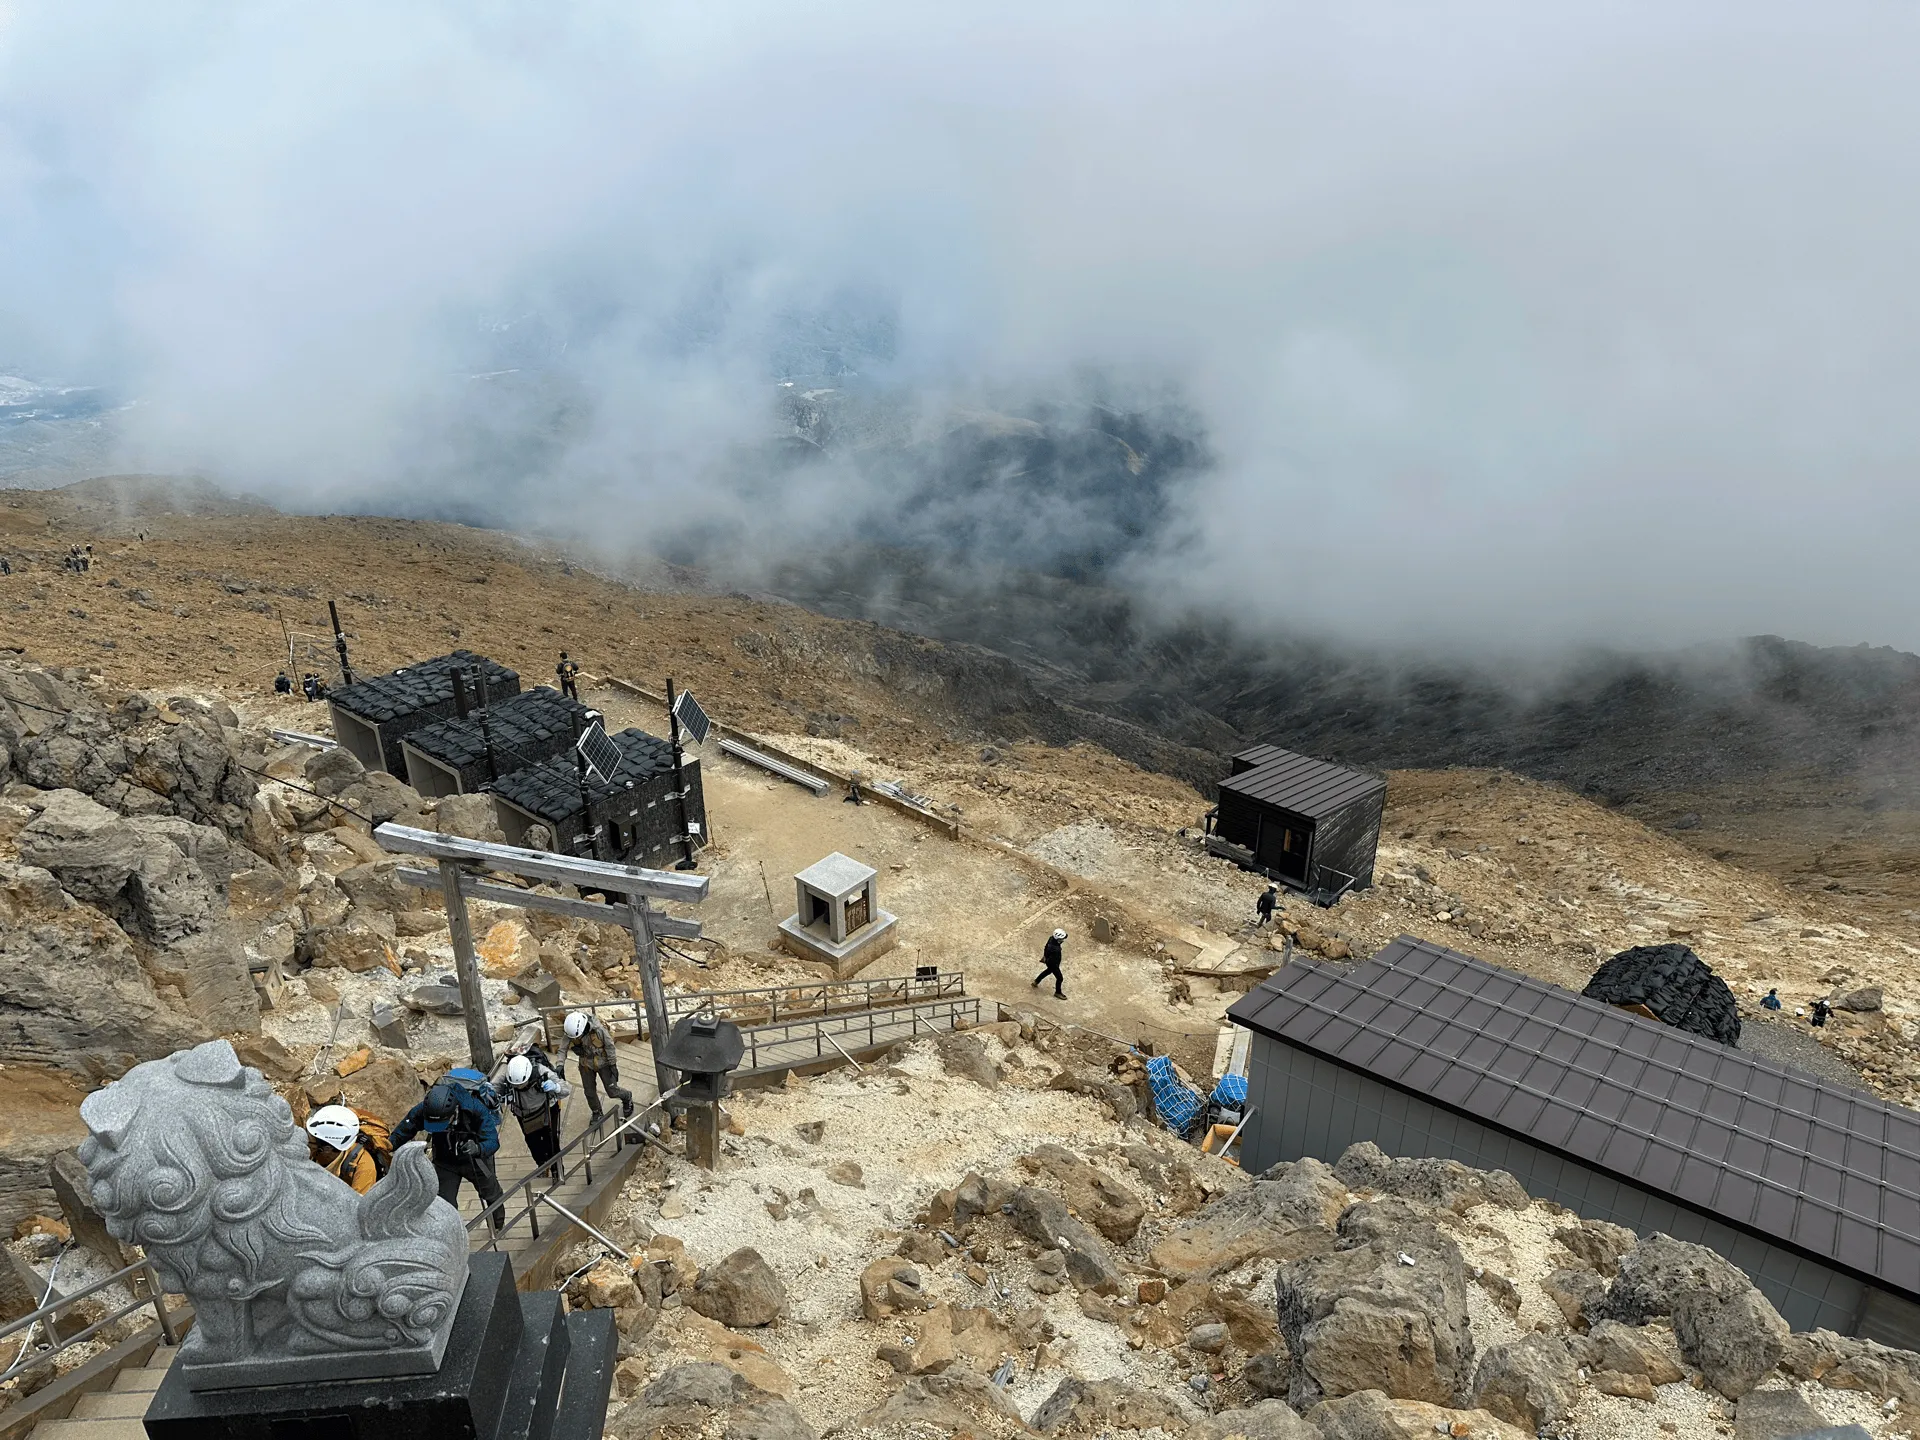
Climbing the stairs towards the summit, you can get a birds-eye view of the shelters below. There are the concrete emergency shelters on the left - these looked the most sturdy. There’s also a small wooden building in the middle, which looks quite cozy, and then a larger brown building on the right, which seemed no longer to be in use.
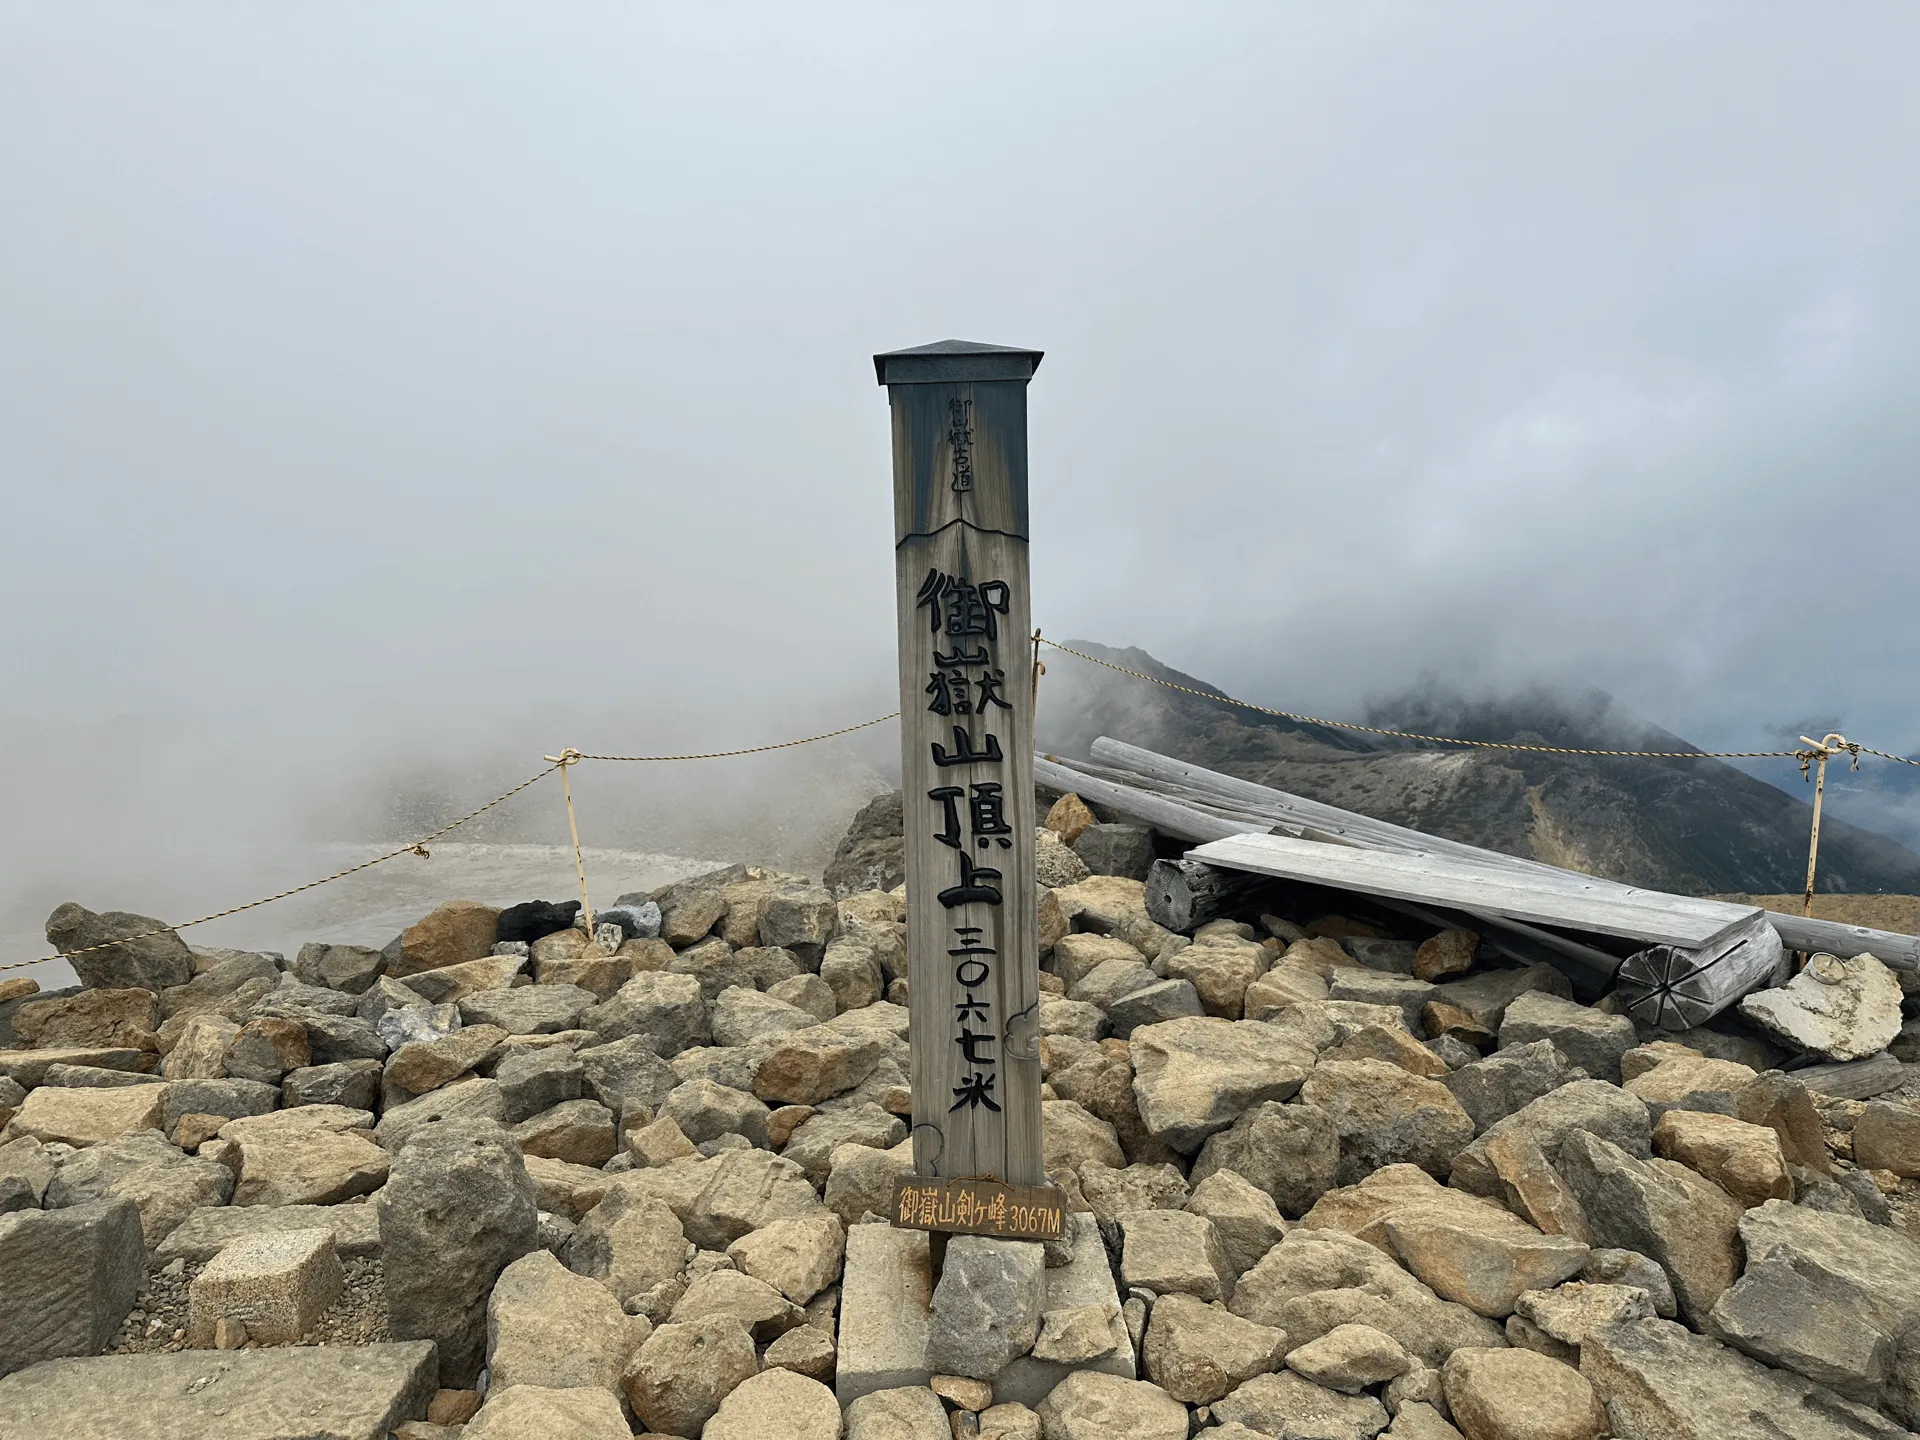
From the summit we took in the (foggy) views.
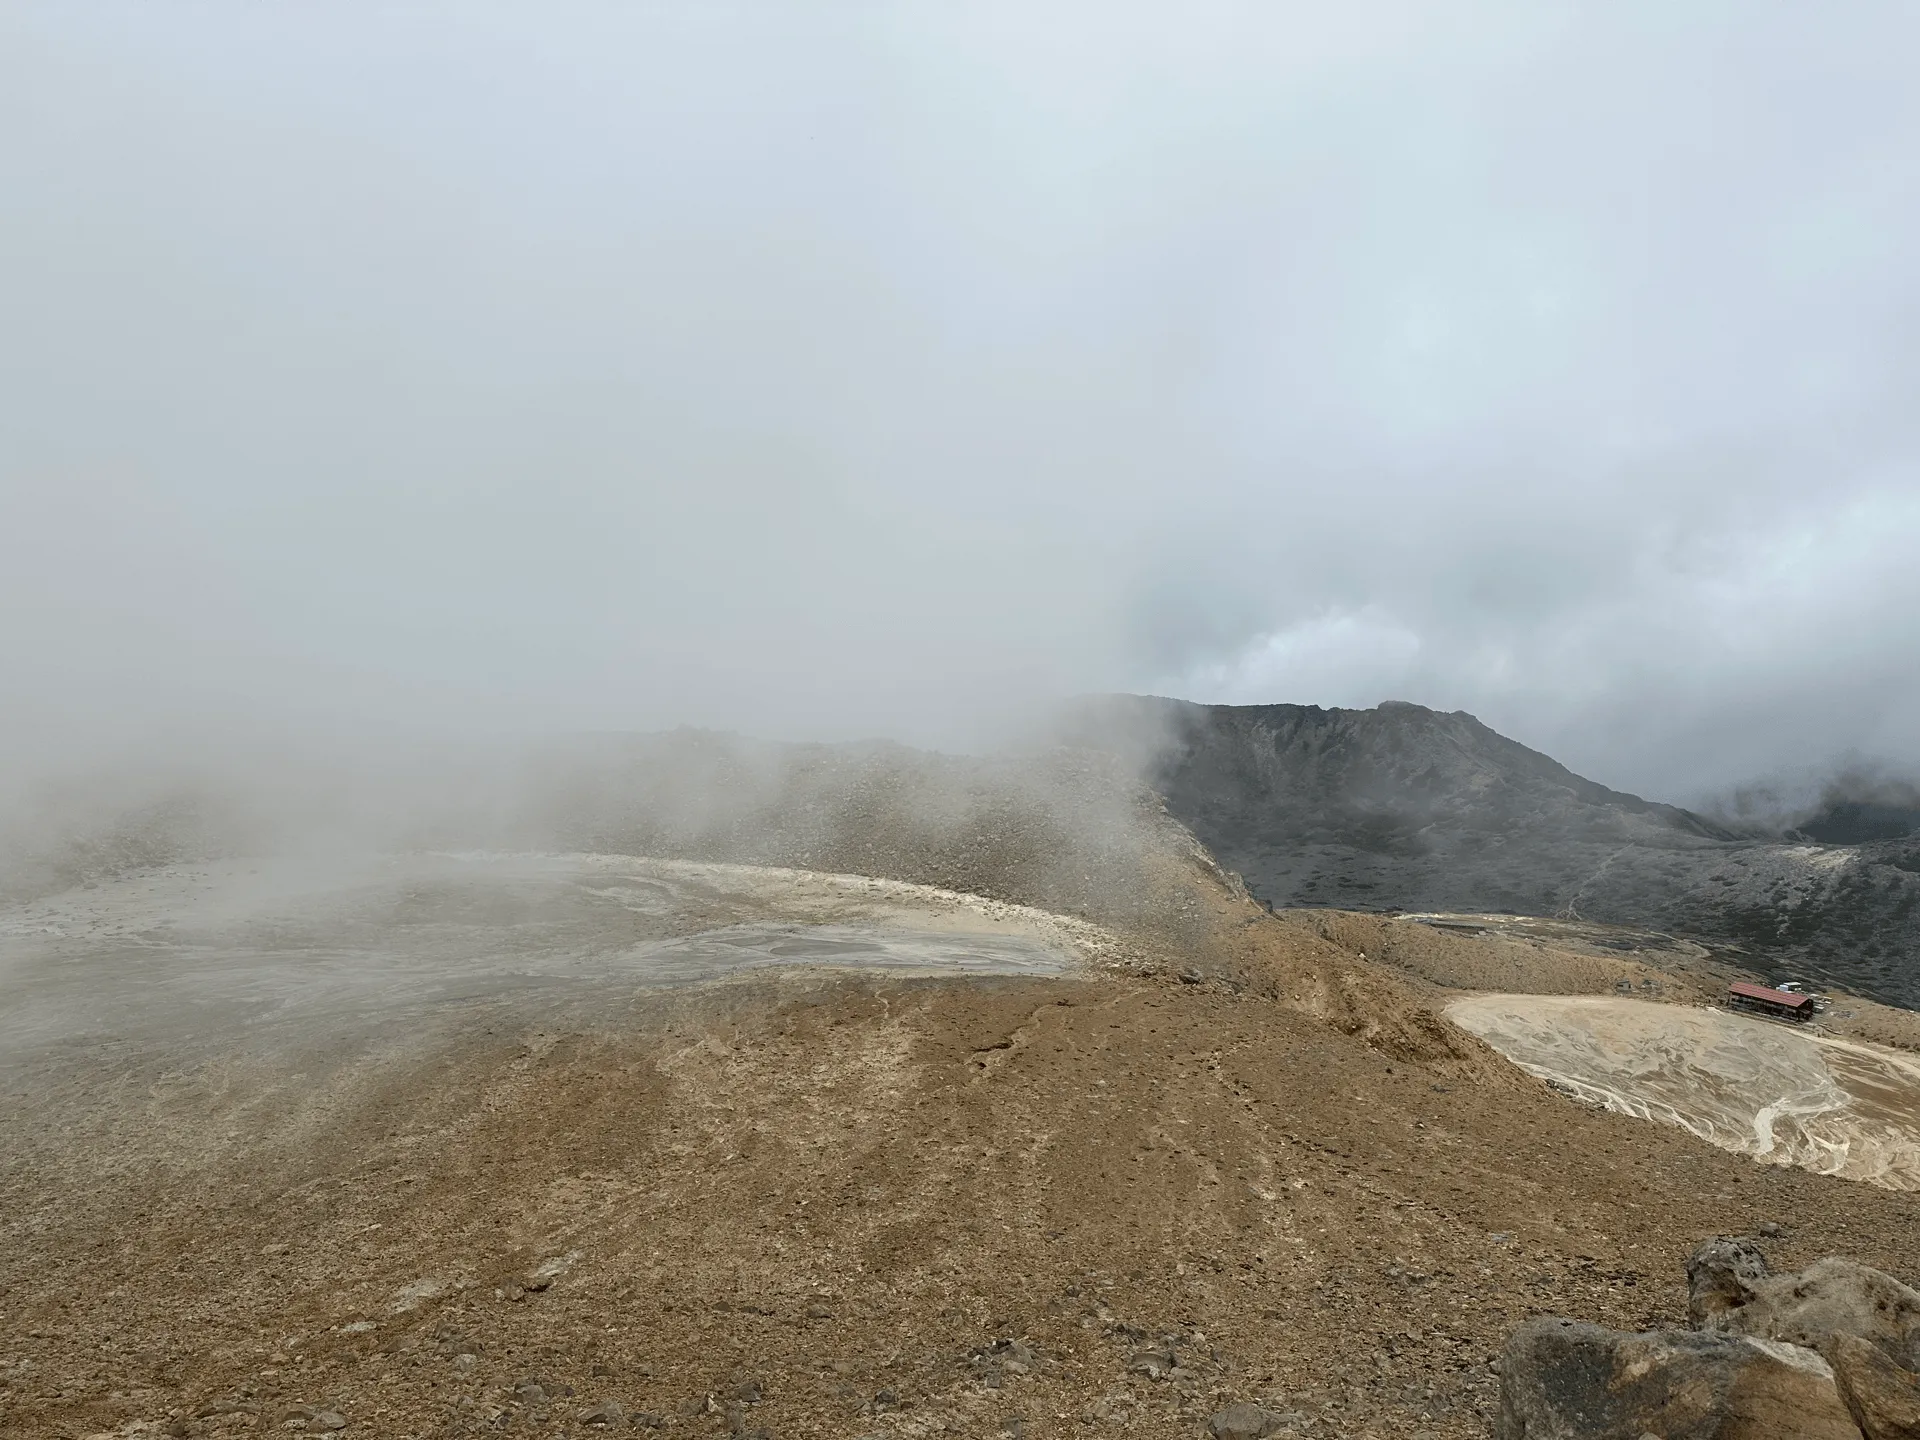
If you’re short on time, you can take the same route back. We had a bit of spare time though, so we decided to take a slightly longer course near the summit before descending.
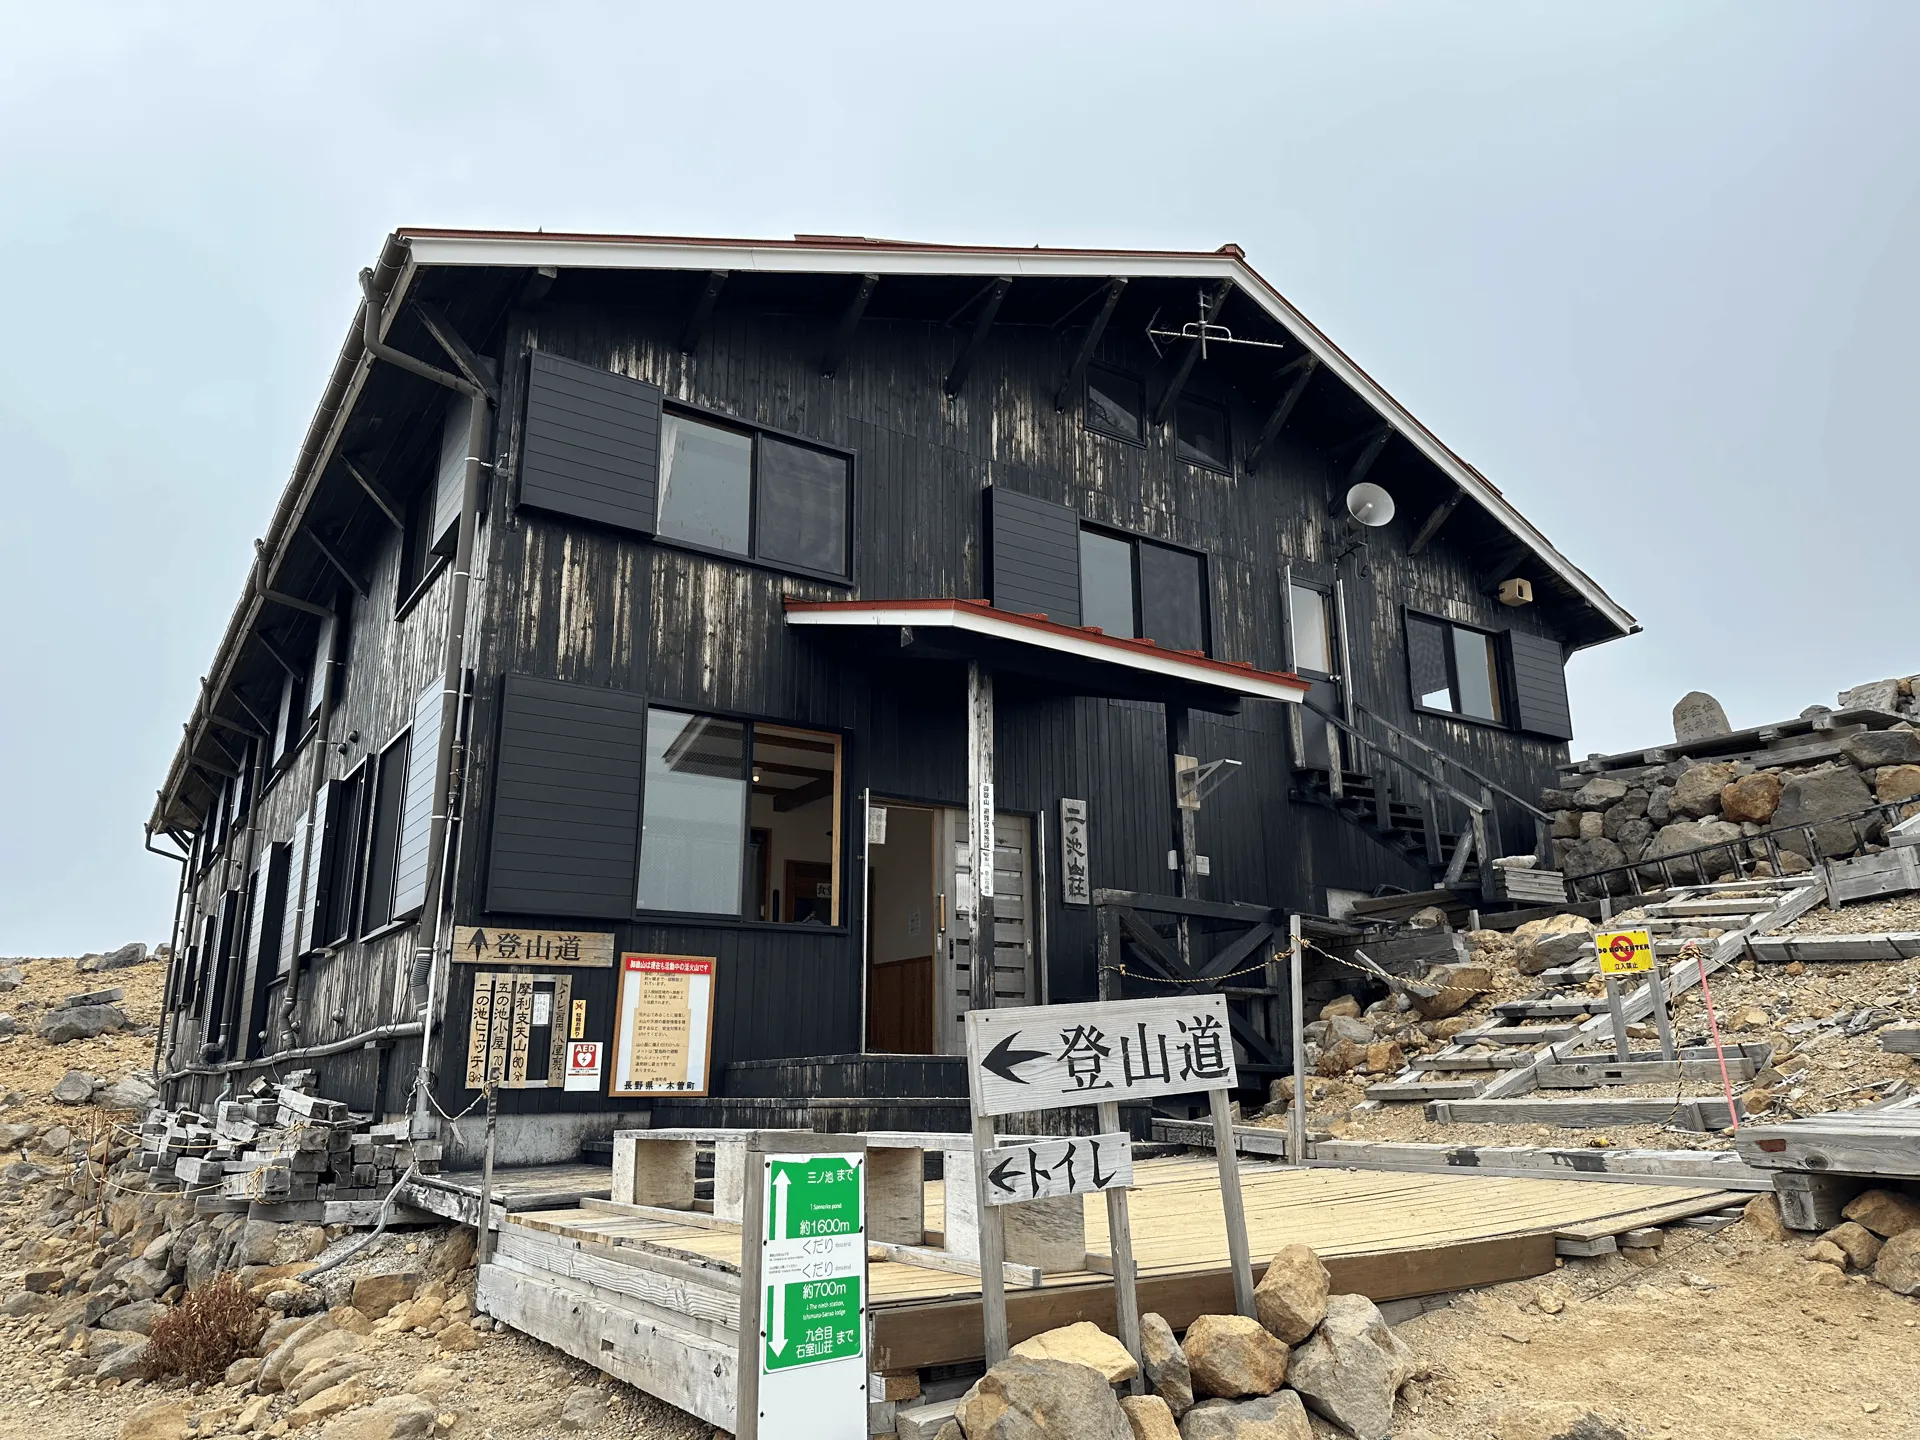
We headed towards the Ni-no-ike lake (二ノ池, ni-no-ike), which was quite small and I forgot to take a good photo of. Right next to it is the Ninoike Sansou mountain hut (二ノ池山荘).
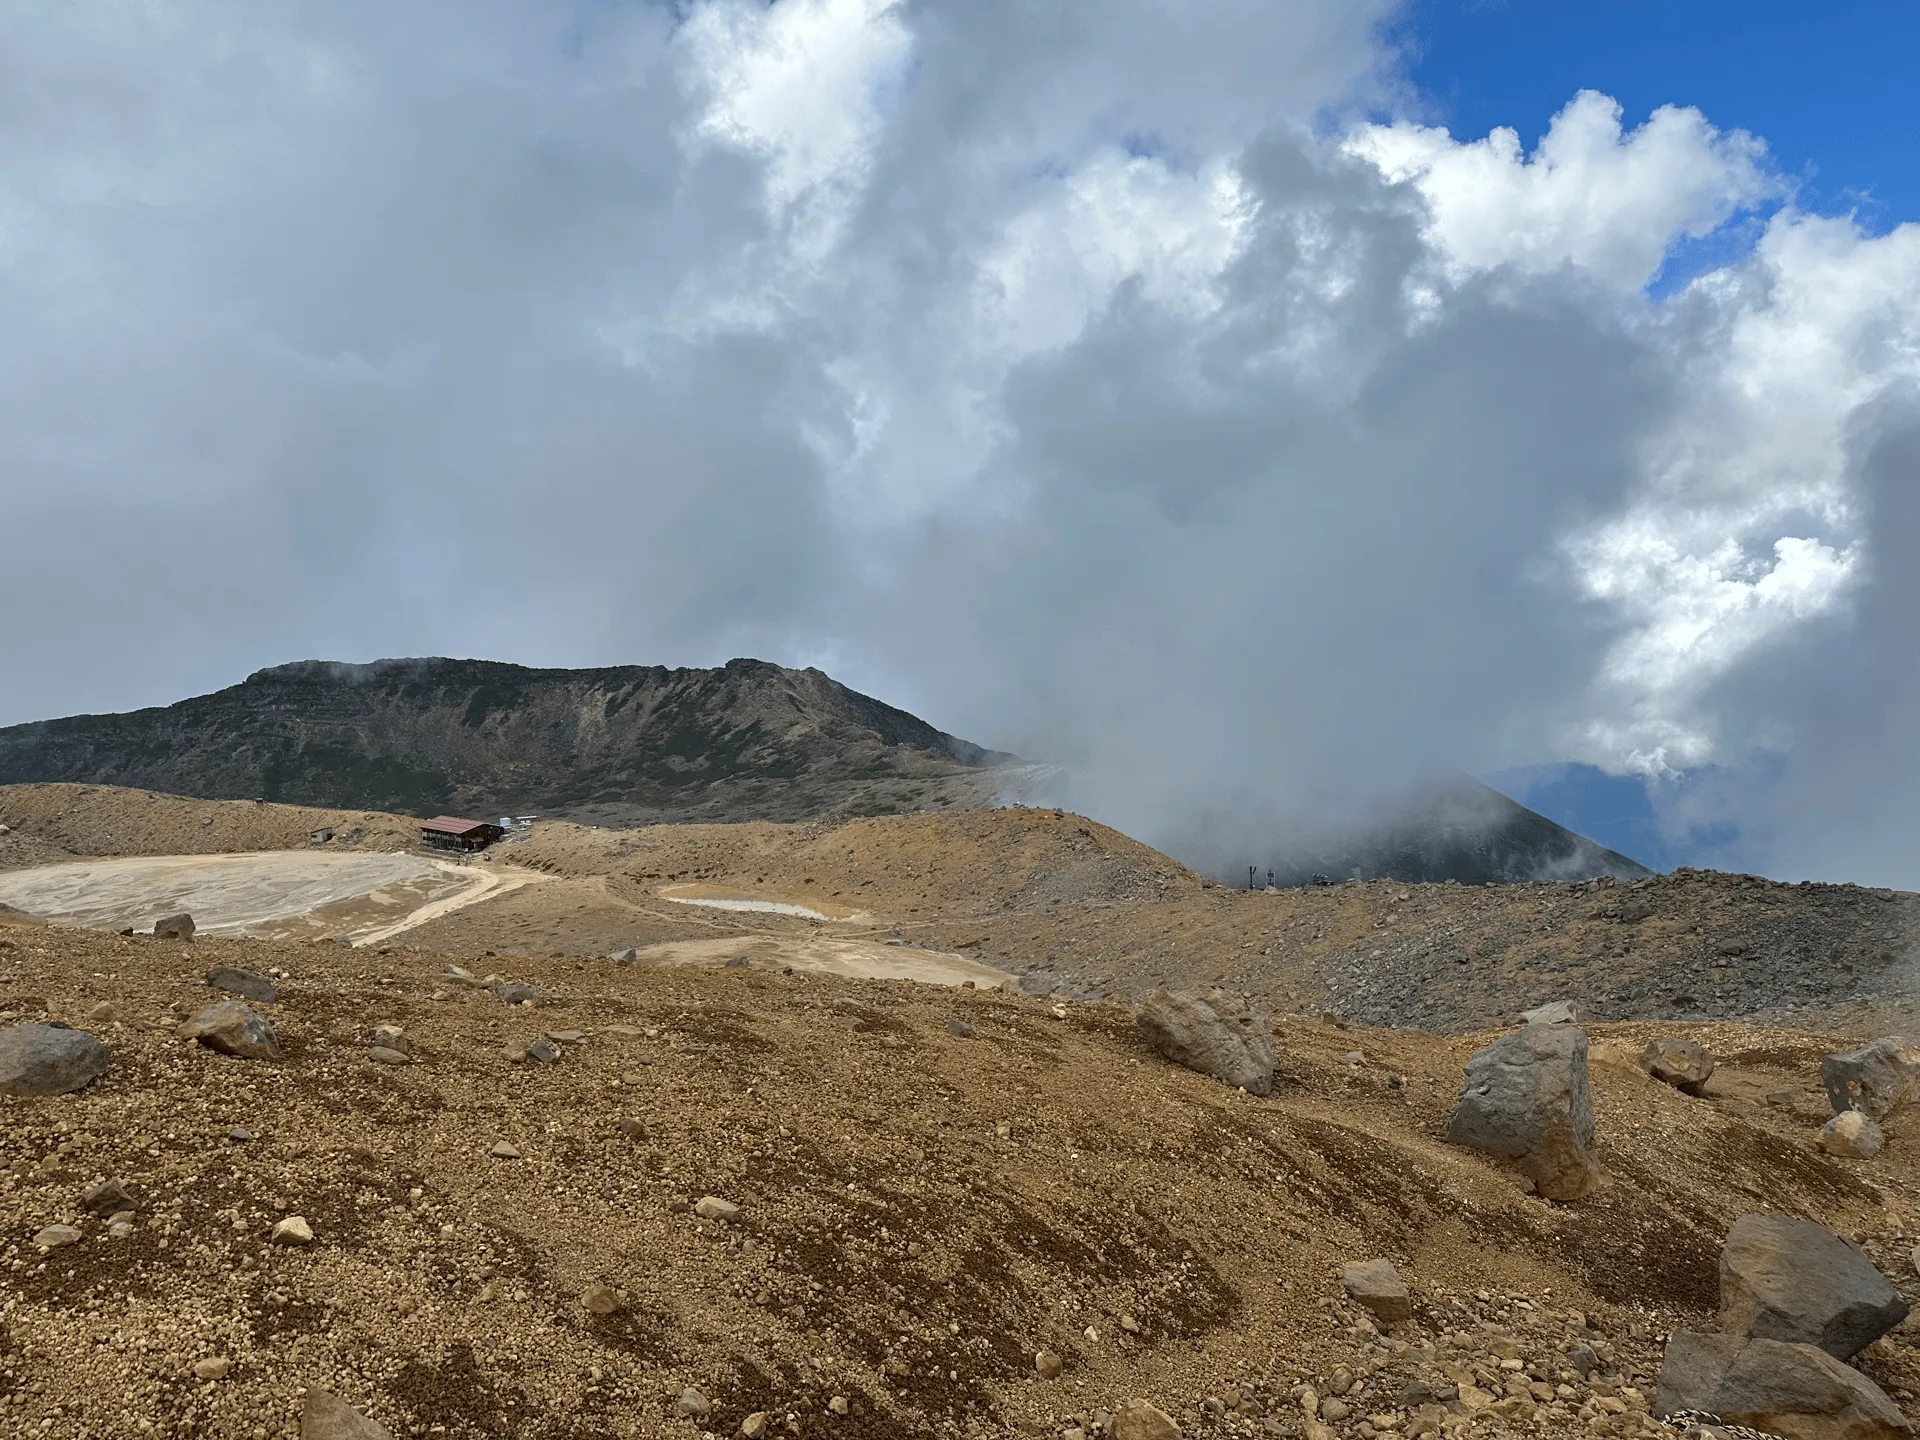
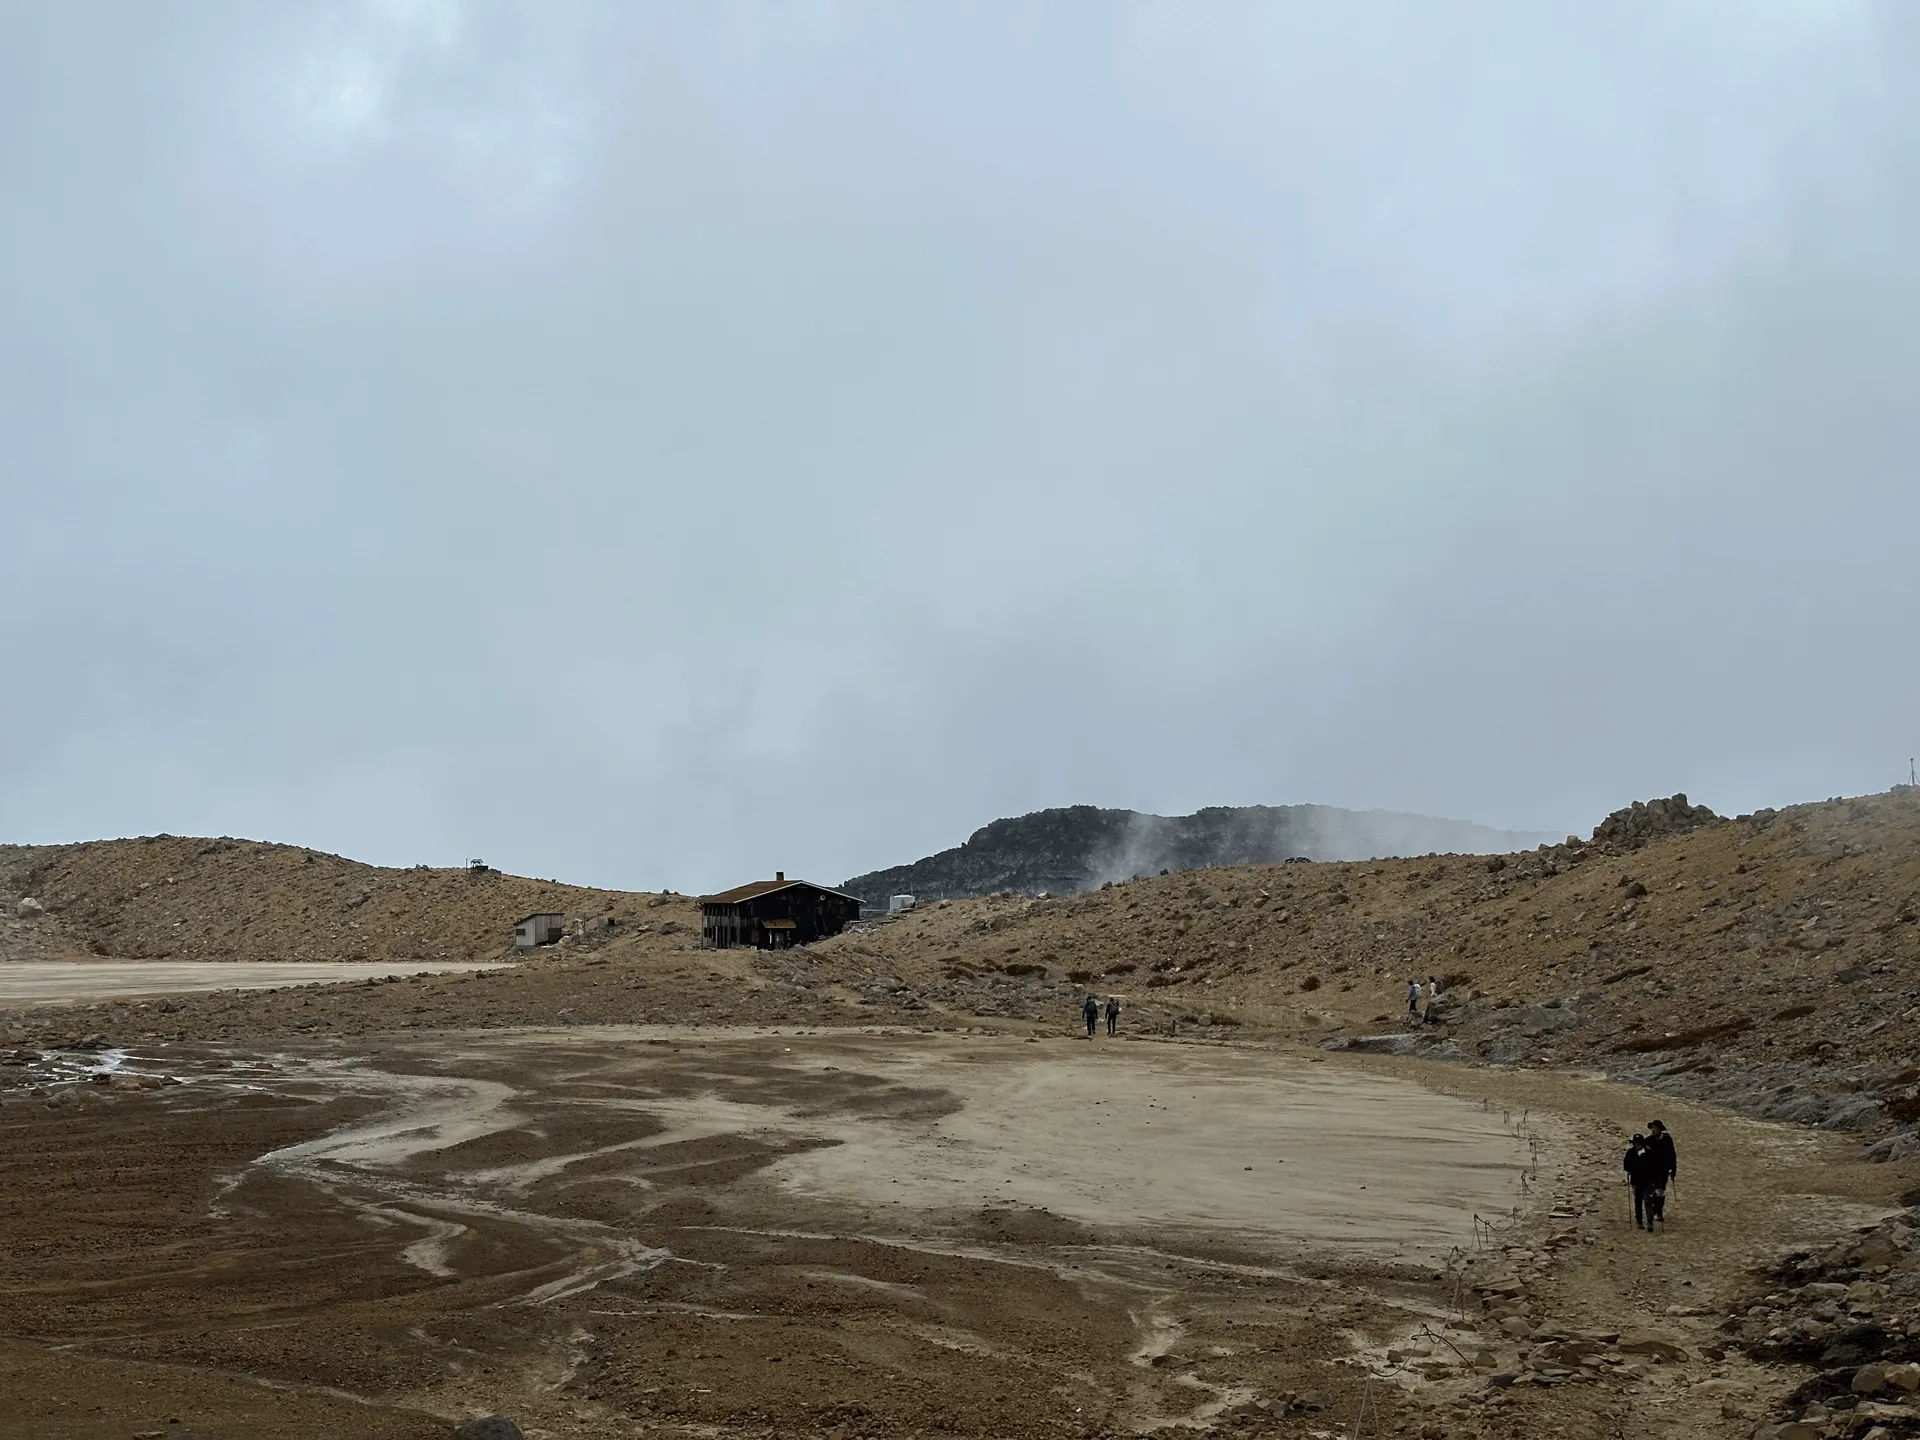
Prior to the eruption there was a different hut here called the Ninoike-honkan (二ノ池本館), which sheltered 51 people during the disaster. Afterwards, it was torn down and rebuilt as the Ninoike Sansou you can see today. If you are looking to stay overnight on the mountain, this hut is probably your best bet.
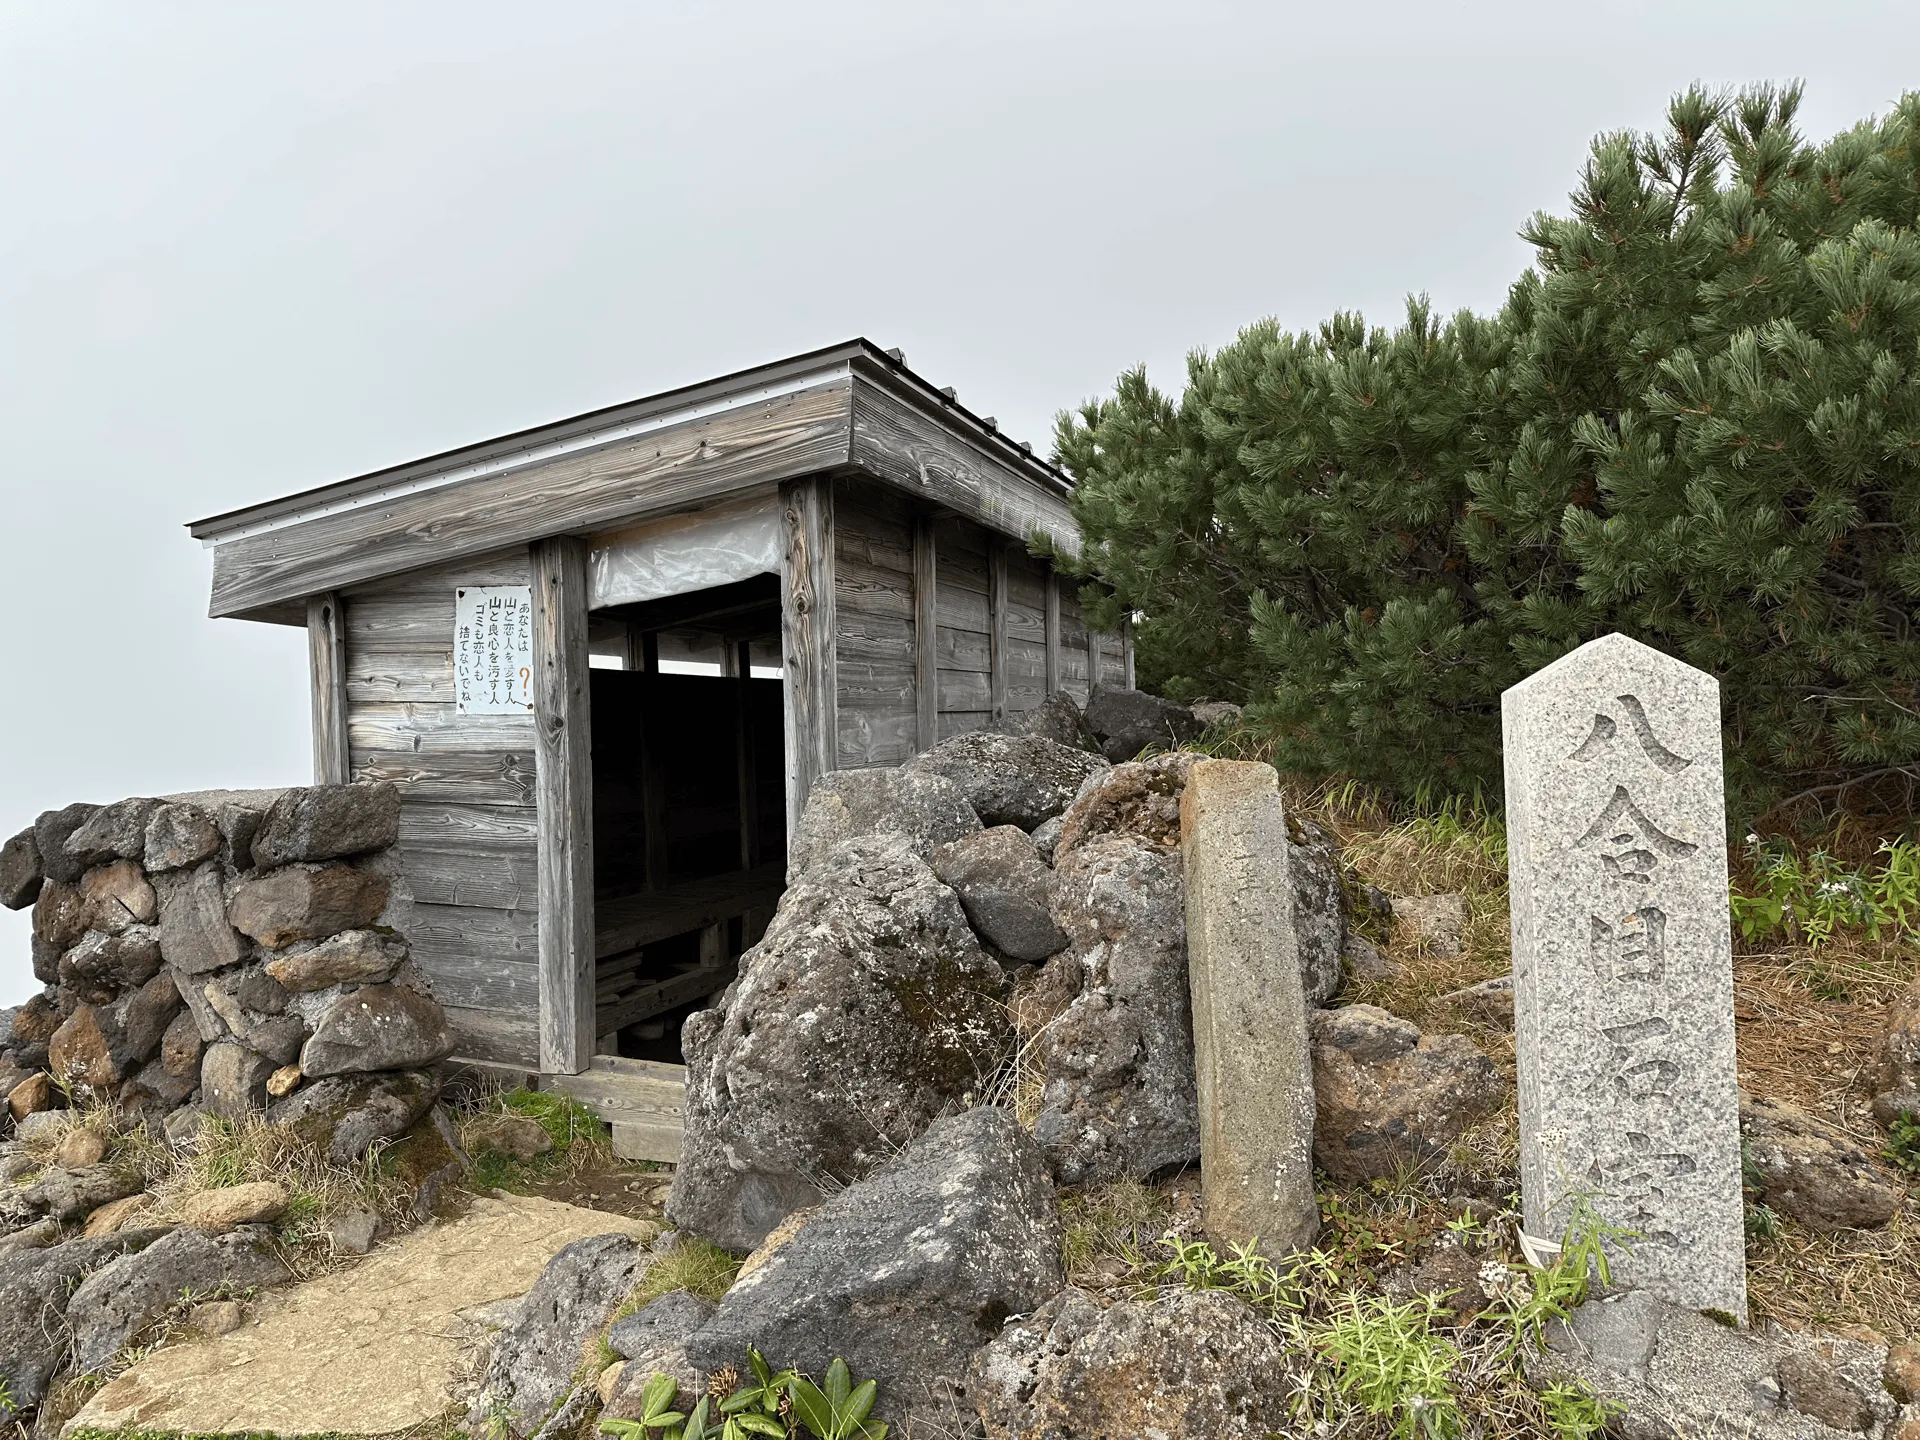
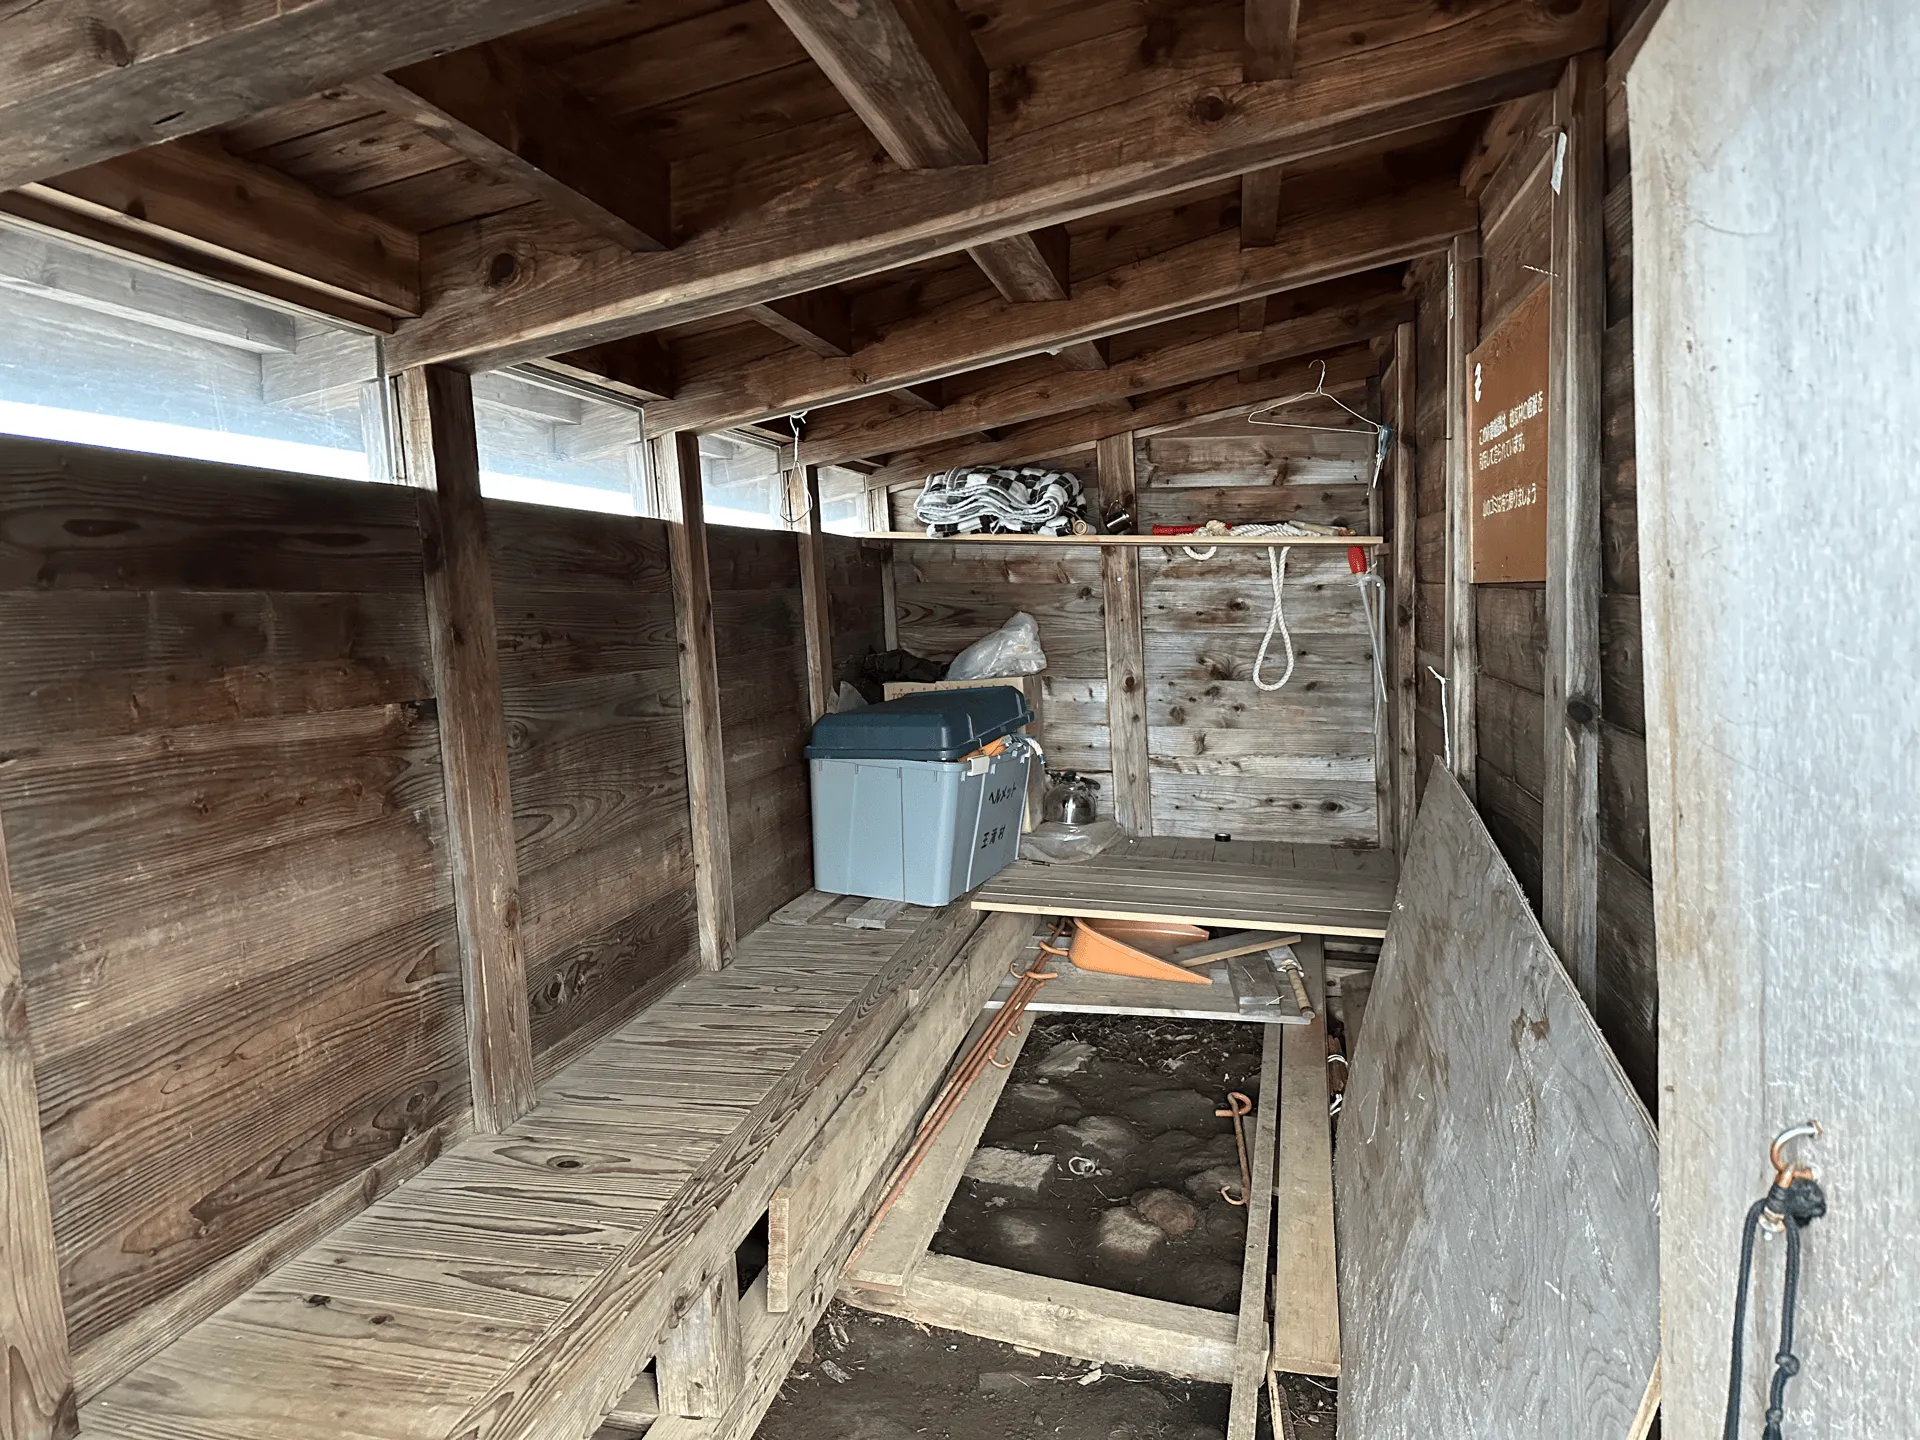
Once we did our small exploratory loop, it was back down the same route to the trailhead. We passed by one of the open emergency shelters on the way back down. In the corner there was a box full of safety gear.
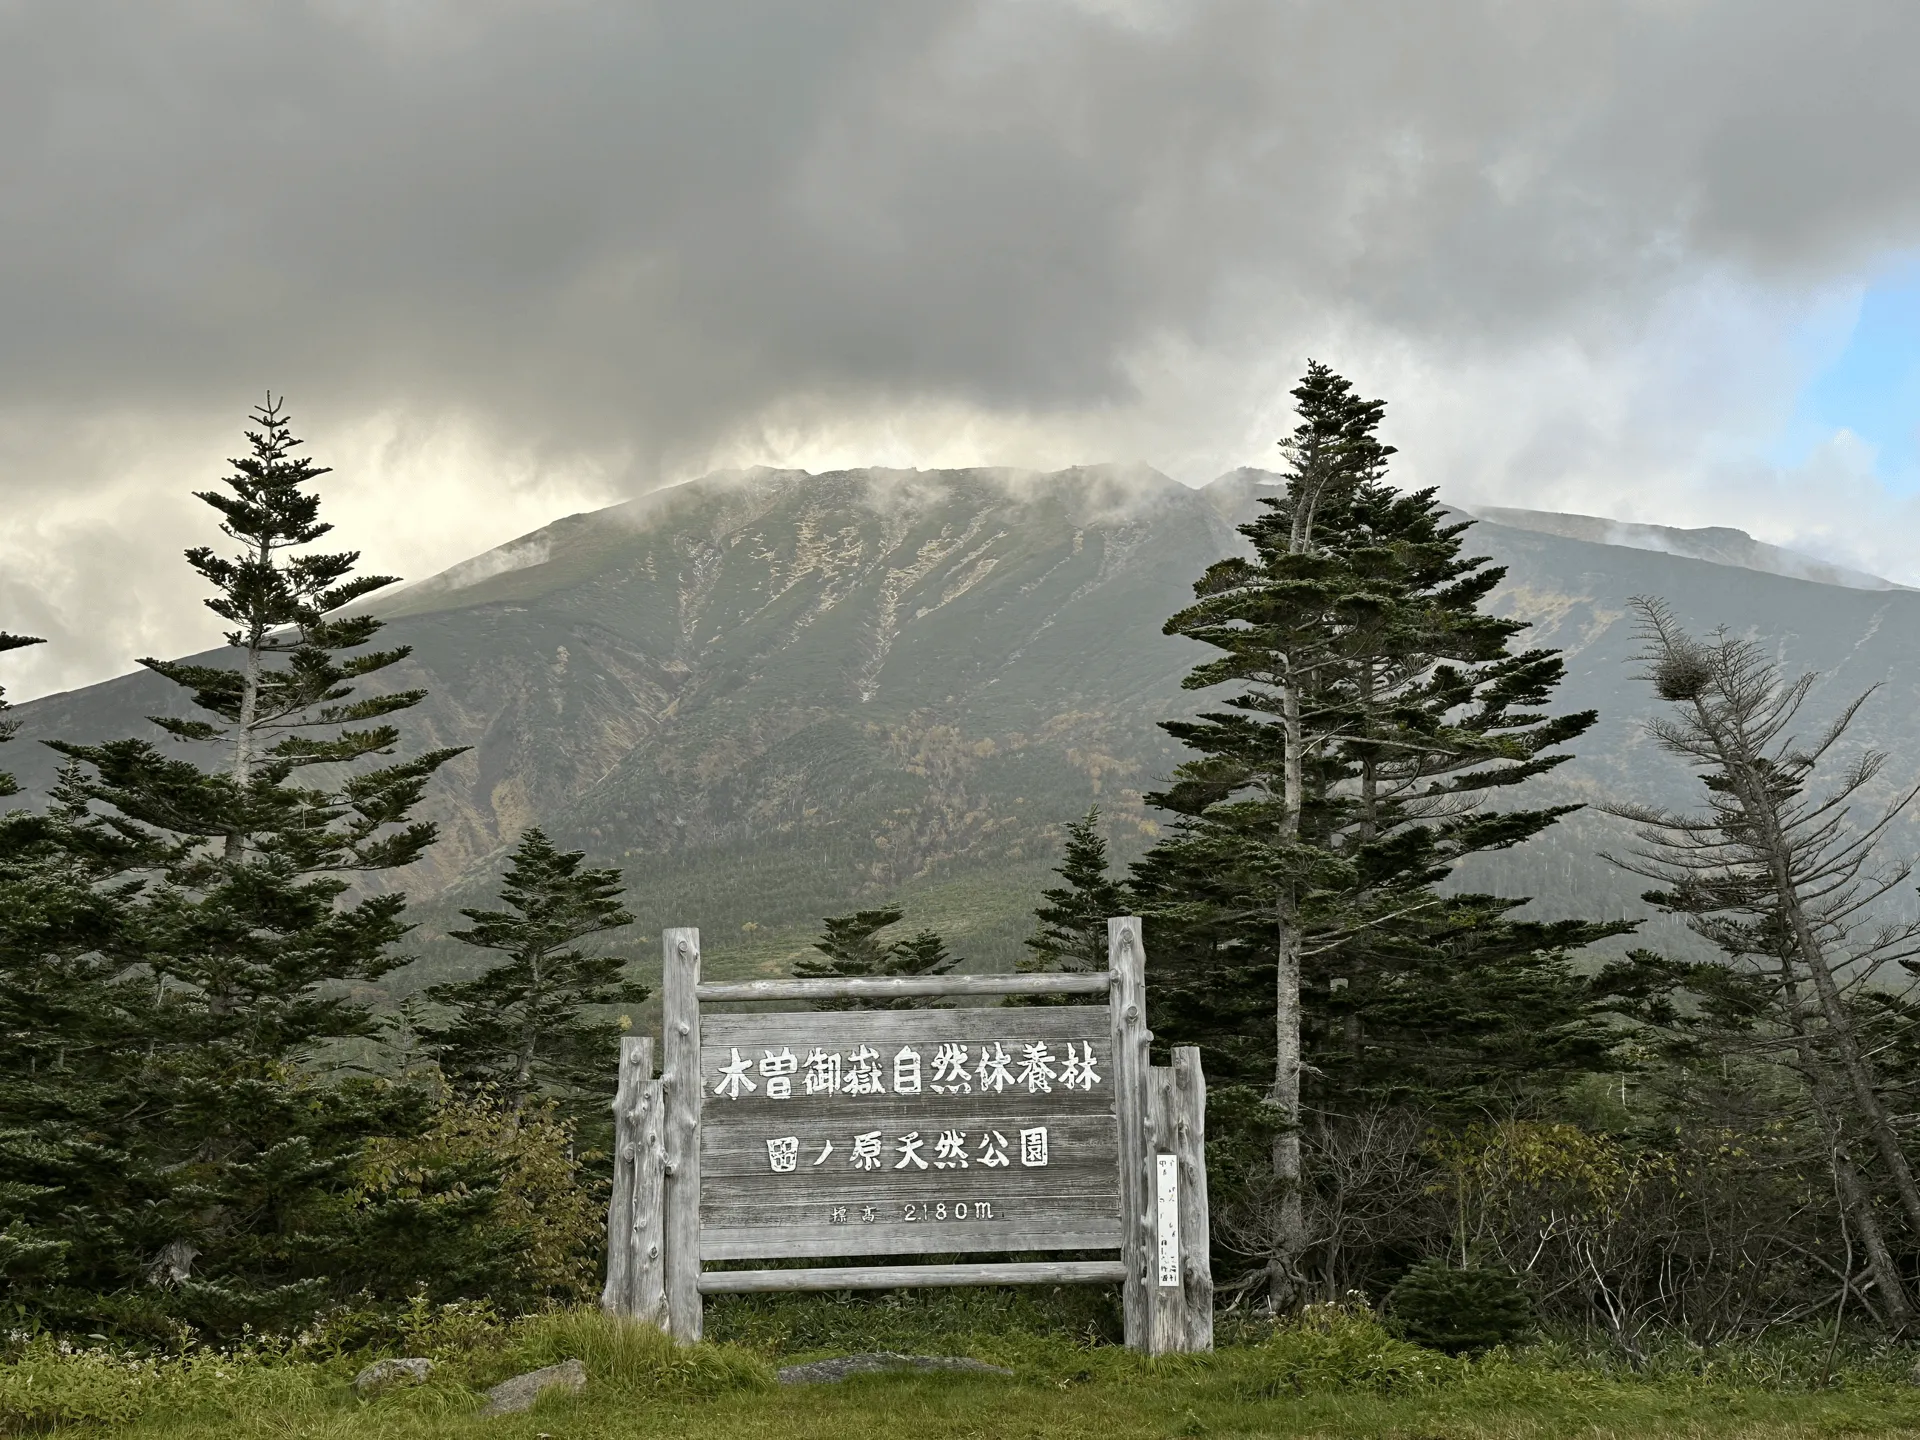
As we finished our hike, it had begun raining (and even hailing a tiny bit too) but we managed to get a glimpse of Mt Ontake, visible underneath the clouds.
The 2014 Mt Ontake eruption
If you google the Mt Ontake eruption in Japanese, there is an endless amount of information, news articles and interviews about the topic, especially as we just passed the 10th anniversary of the disaster. However the information is not as comprehensive in English, and before the hike I had only read the English Wikipedia page, which just gave a brief overview of the eruption and the number of lives lost.
It wasn’t until after I got home and watched some of the Japanese interviews that it really sunk in for me. One father holds onto the memories of his lost 19 year old son by watching an old recording of him excitedly watching fireworks, just so he can remember what his voice sounds like. Another grieves the fact that his daughter, who died together with her boyfriend, had dreams of getting married but now will never get the opportunity to.
Some of the survivors of the eruption worry that with time, the disaster will become forgotten, and people won’t be ready if the mountain does erupt again. I didn’t bring a helmet on this hike, since it hadn’t really crossed my mind to do so, but next time, I would. Not only just for safety reasons, but even just to keep the memory of the victims alive. I would recommend you do too.
With how much time I spend on the mountains, I feel so very blessed to be alive, and so sad for those that lost their lives in that eruption. May their souls rest in peace.
Hiking course details
| Date climbed | Length | Course time |
|---|---|---|
| 2024-10-12 | 6.4km | 5h (the expected time for an average hiker without breaks) |
If you’re looking to hike Mt Ontake as a day hike, there are two main courses:
- Hiking from the Otaki village side and its Tanohara trailhead (田の原登山口, tanohara-tozanguchi). This is the shortest route to the summit at 5 hours and the one we took.
- Hiking from the town of Kiso, which requires you to take the Ontake Ropeway to the start of the trail. This is a marginally longer 5.5 hour course.
If you are hiking in the autumn leaves season, the ropeway side seems to have the more stunning scenery, but distance-wise they are nearly the same. Also note that the ropeway is only in operation from the end of June to early November, although if you try and climb it outside of these periods there is probably snow anyway.
As this is an active volcano and could close if there was a chance of another eruption, I would recommend double-checking that the routes are not closed before heading off on this hike.
Public transportation access
Both trailheads are accessible via a bus from Kiso-Fukushima station (木曽福島駅).
Otaki village side / Tanohara trailhead
If you are hiking from the Tanohara trailhead, the local bus from Kiso-Fukushima to Ontake-Tanohara (御岳田の原) leaves at 8:40 (see the bus timetable) and gets you to the trailhead in 75 minutes at 09:55. This gives you just under 6 hours to get the last return bus back at 15:45, which should be okay if you are confident in meeting the course time.
The second bus leaves at 10:40 and will get you to the trailhead at 11:55, which I think is really too late to be beginning your hike, unless you are planning on staying overnight at a mountain hut.
Ontake Ropeway trailhead
The first bus to the Ontake Ropeway (御岳ロープウェイ) also leaves Kiso-Fukushima at 8:40 and will get you to the ropeway at 09:32. I struggled to find a good timetable PDF, but you can also see a timetable on Navitime. I think the timetables may be different between the summer and autumn hiking seasons, so I would double-check this. Factoring in lining up for the ropeway and taking it up, you will probably be starting your hike at or after 10am. In autumn, it seems like the last bus back to Kiso-Fukushima station leaves at 16:20.
Getting to Mt Ontake from Tokyo
The earliest train from Tokyo will get you to Kiso-Fukushima station at 09:16, after which you will have to wait for your connecting bus to the Tanohara trailhead or Ontake ropeway, both of which don’t leave until 10:40. If you were coming in a group, you could consider hiring a taxi to the trailhead to get there a bit quicker.
Otherwise, this makes it pretty dicey as a day trip from Tokyo, so I would recommend either staying the night before, or look into taking an overnight bus from Shinjuku and arriving early in the morning at Kiso-Fukushima station.
Car access details
We parked at the Tanohara trailhead, which is next to the Mt Ontake Visitor centre. It’s a 500 yen donation to use the carpark, although we arrived so late (after 10am) that the carpark was full and we ended up barely finding a spot on the side of the road instead.
However the later you arrive, the more likely you are to be able to snag a spot from someone who has already finished their hike, so I would keep that in mind if you show up and are concerned about there not being any spots!
Alternatively, the ropeway carpark can fit 700 cars, so this is probably a much better option if you are worried about finding a spot.

Taki Ryokan
Since we were planning on climbing Mt Norikura the next day, I booked a night at the Taki Ryokan (滝旅館) just a 35 minute drive from the trailhead. I’m used to staying in cheap business hotels after a hike (if not a tent like on our recent Hokkaido roadtrip) so this felt very luxurious.
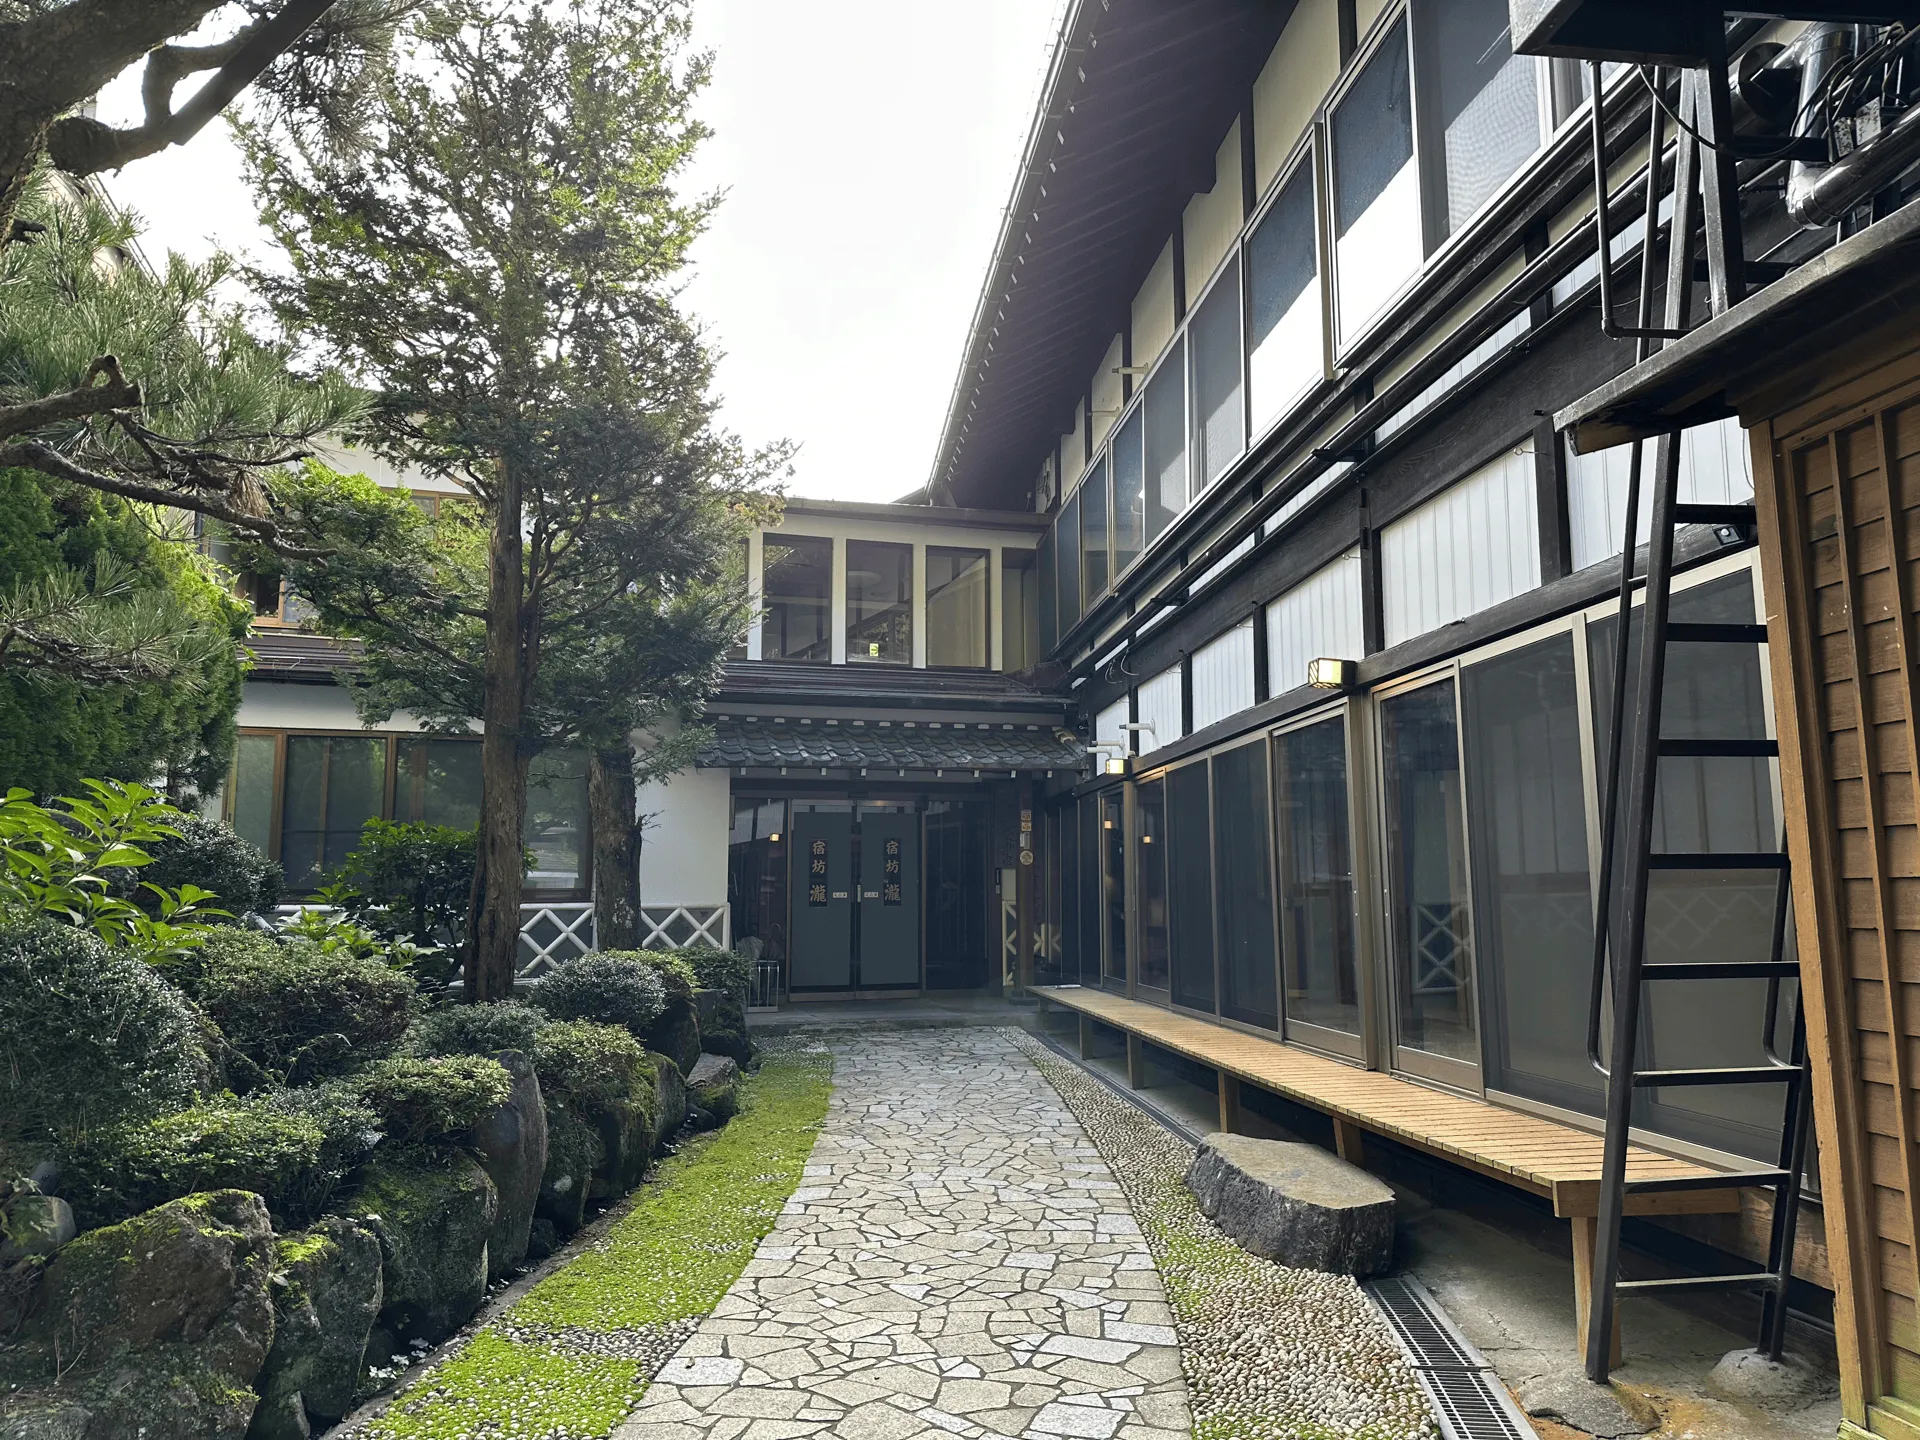
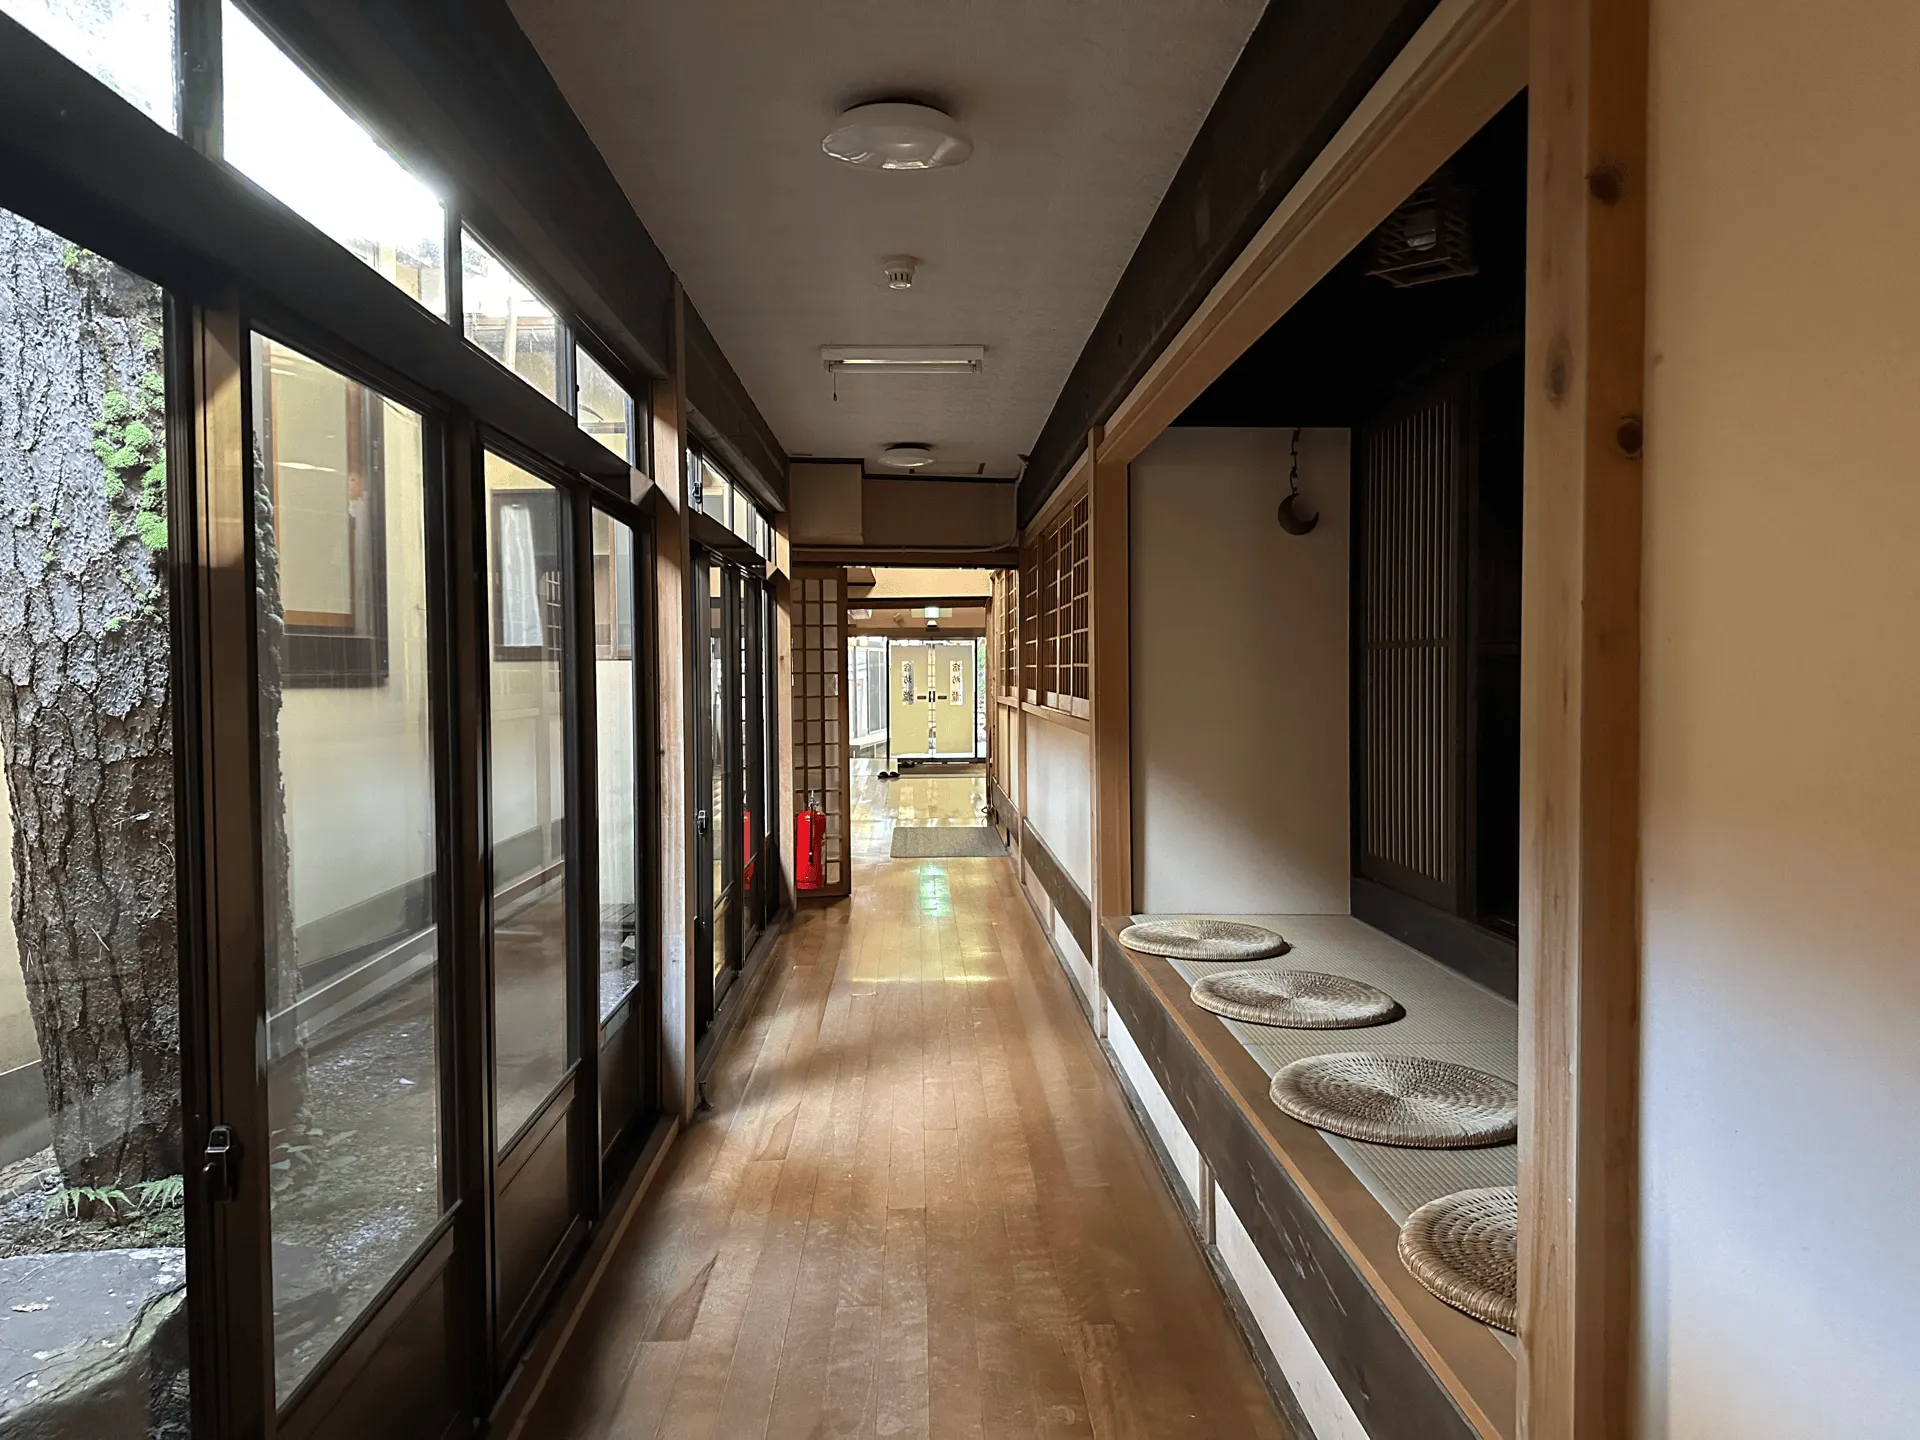
For such a large ryokan, it was also surprisingly empty, with only 2 other groups of guests staying beside us. The staff mentioned that their peak season is in summer, but it seems like it’s fairly quiet otherwise. I would recommend staying here after your hike if you are looking for something different!
Leave a comment