- Elevation 2924m
- When to climb
Mountain stats
Mt Washiba (鷲羽岳, washiba-dake) and Mt Suisho (水晶岳, suisho-dake) are two 100 Famous Mountains nestled in the Northern (or “Kita”) Alps of Japan. I climbed them as part of a 3 day, 42km hut-to-hut hike, staying for both nights at mountain huts on the trail.
Day 1: A very hot climb
After getting an overnight bus from Shinjuku, we began our hike at 6:30am from Shin-hotaka Onsen in Gifu. The first day’s course was a 12km climb from an elevation of 1100m to our mountain hut at 2500m.
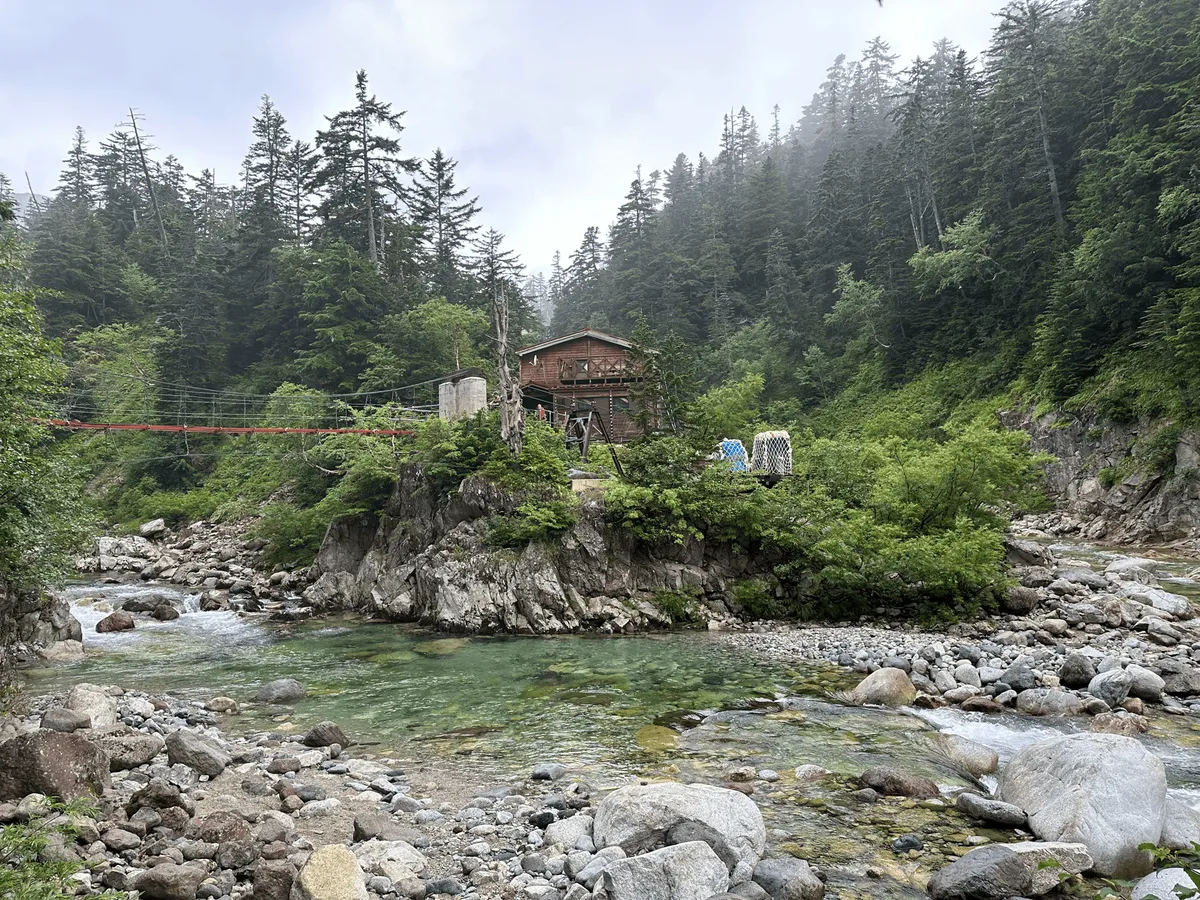
The Northern Alps contain some of the tallest mountains in Japan, and are quite popular with hikers in the summer. Compared to other mountains, there are a lot of mountain huts on the trail. Within an hour of beginning our hike, we passed the first hut, Wasabi-daira (わさび平小屋, wasabi-daira-goya).
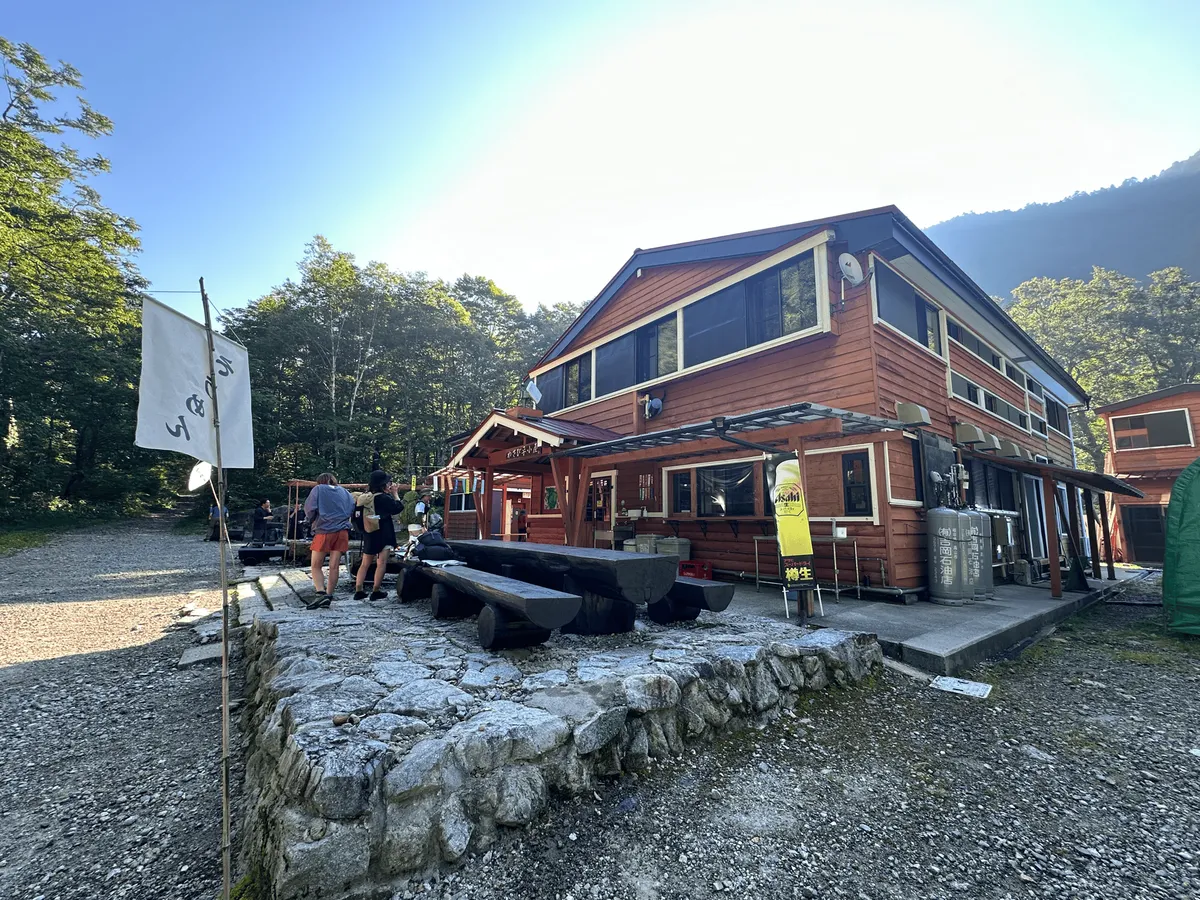
Although it’s so close to the trailhead, some people will arrive in the afternoon and stay the night so that they can have an earlier start the next morning.

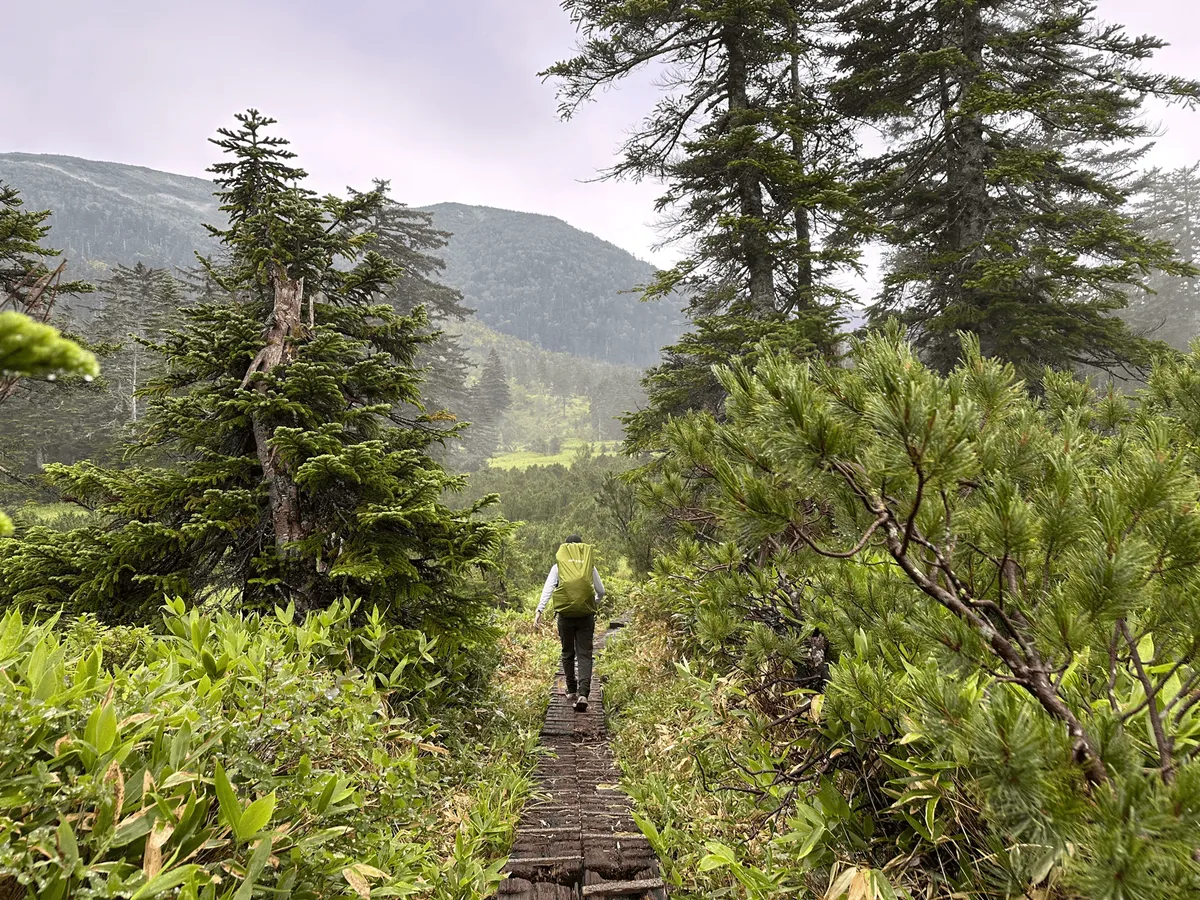
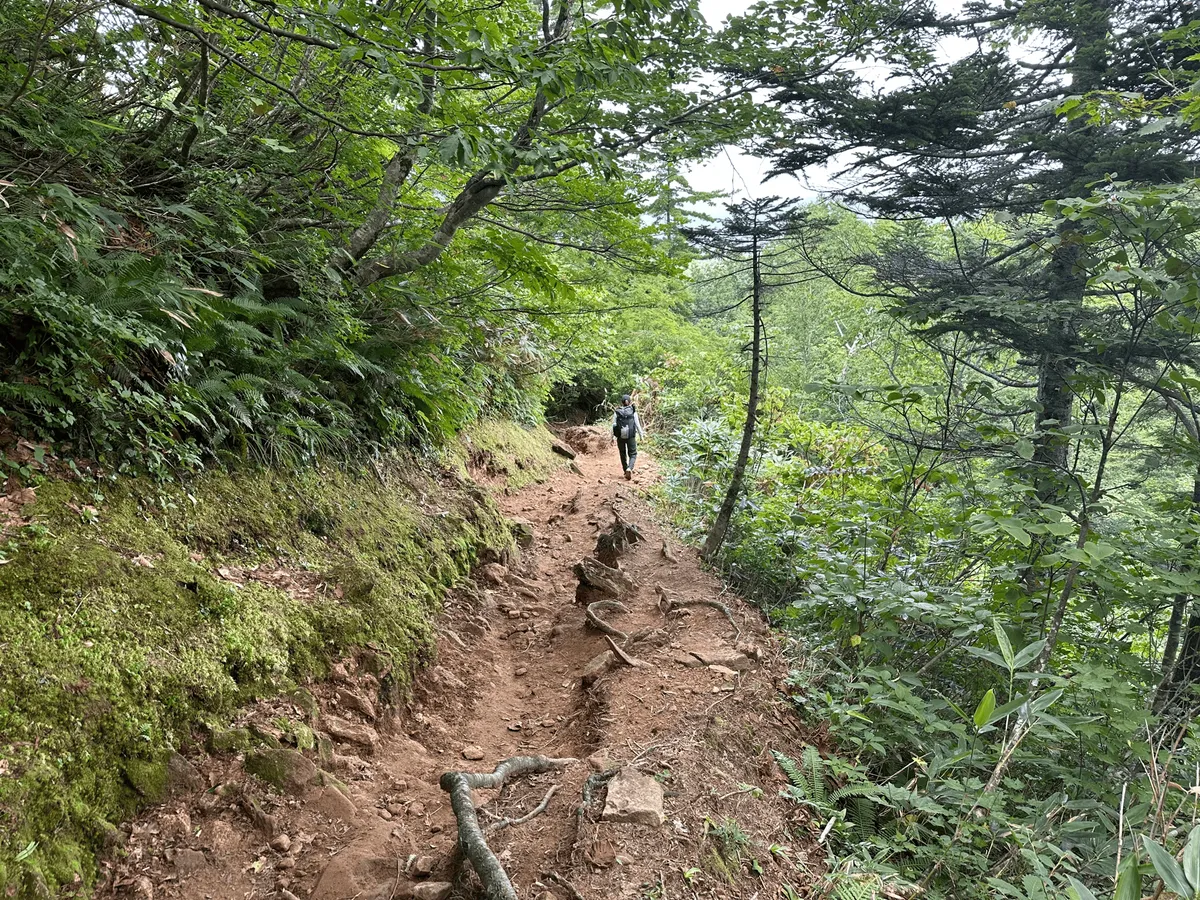
Occasionally we got some cover in the trees, but the climb up was pretty hot. Even by 8:30 I was struggling.
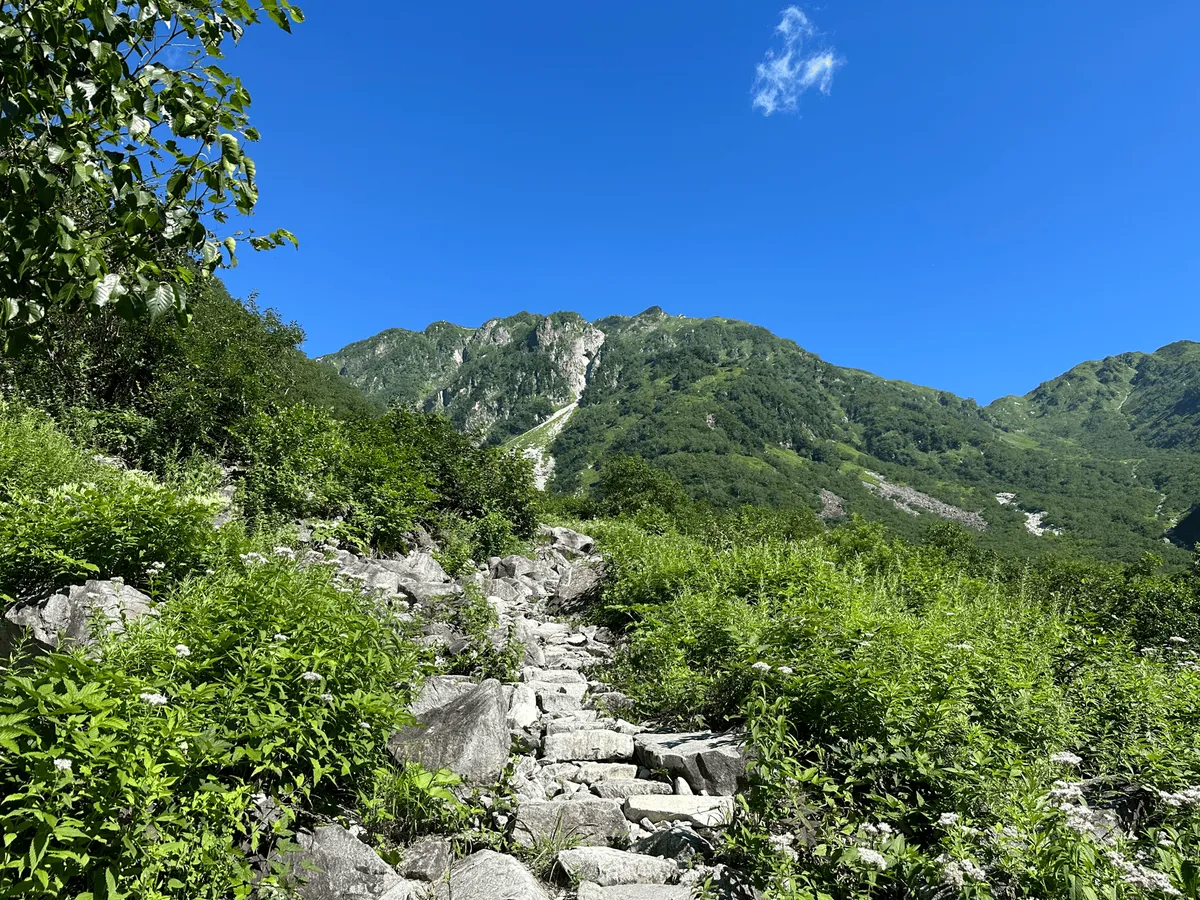
Sometimes the clouds would roll in, and there were little patches of trees that gave us some respite from the heat, but it was pretty rough going for me.
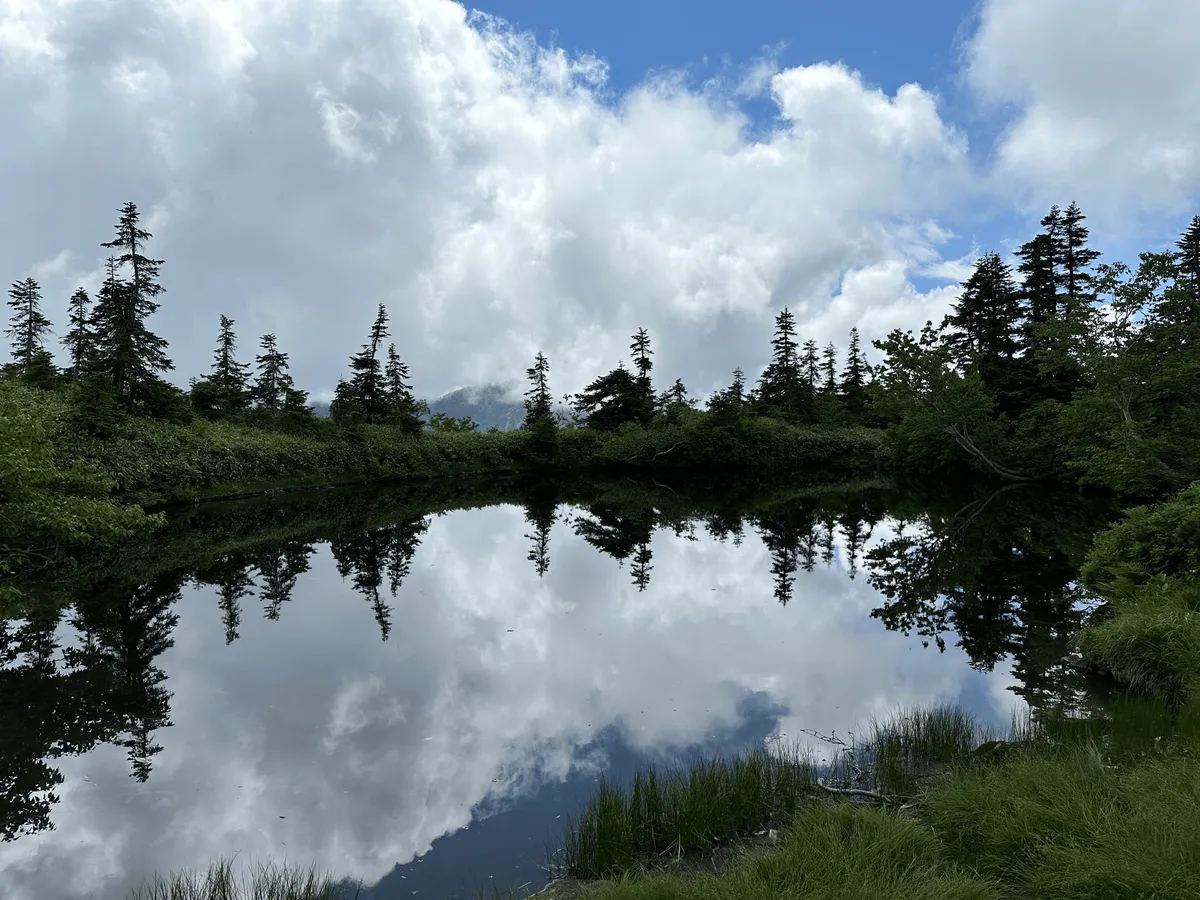
About 4 hours into the course, we passed by the next mountain hut, Kagami-daira (鏡平山荘, kagami-daira-sanso), where I cooled down by buying a shaved ice.
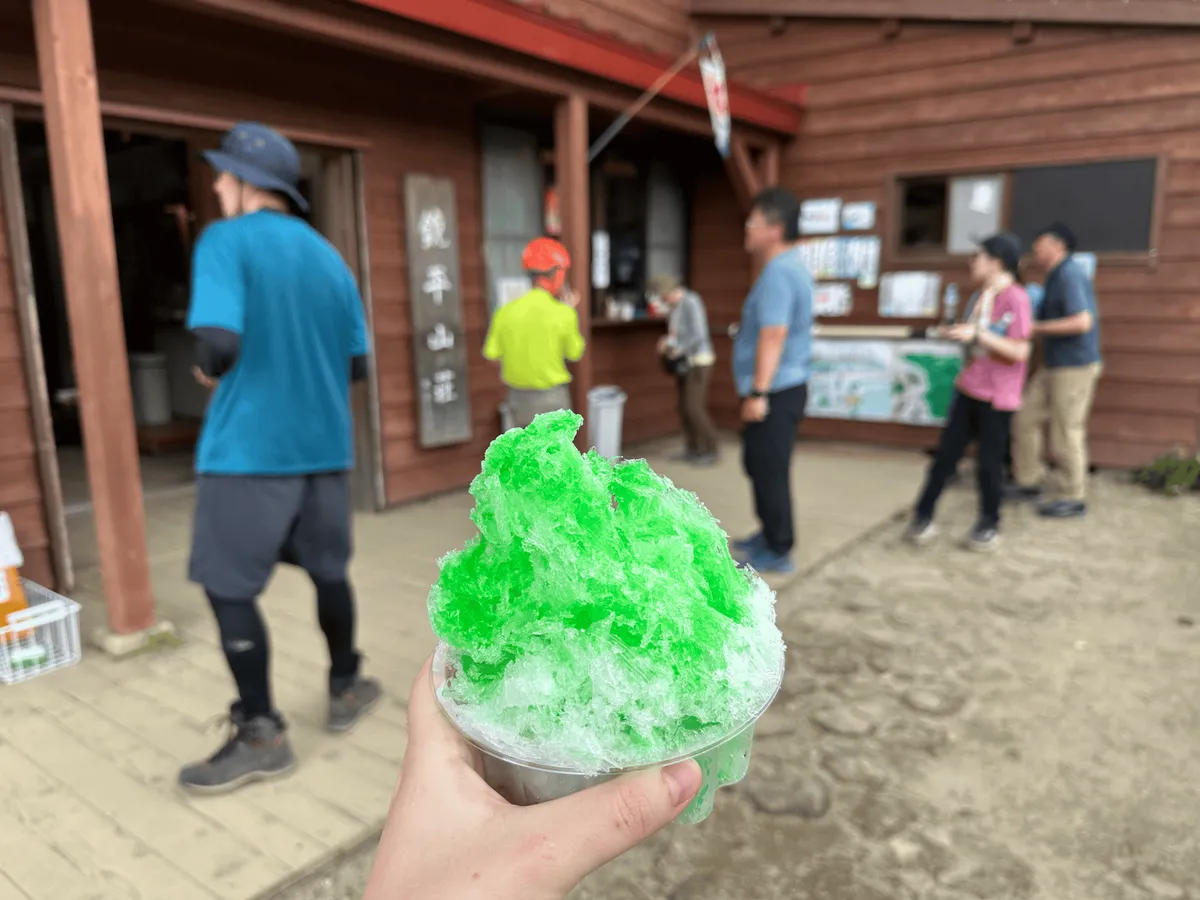
The hut gets its name from the nearby Kagami-ike (鏡池, or “mirror lake”).
At this point we had already climbed more than 1100m, and just had to push through for a couple more hours to reach our hut for the night.
From here the course was a little more comfortable, although still steep in parts, as we walked along the Yumiori ridge (弓折乗越, yumiori-nokkoshi).

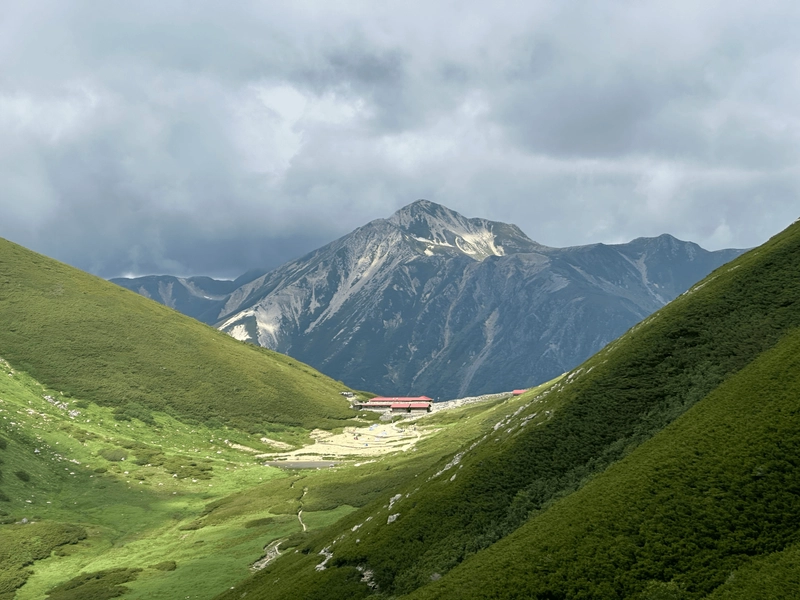
Eventually the Sugoroku hut (双六小屋, sugoroku-goya) came into view, where we’d be staying for the night.

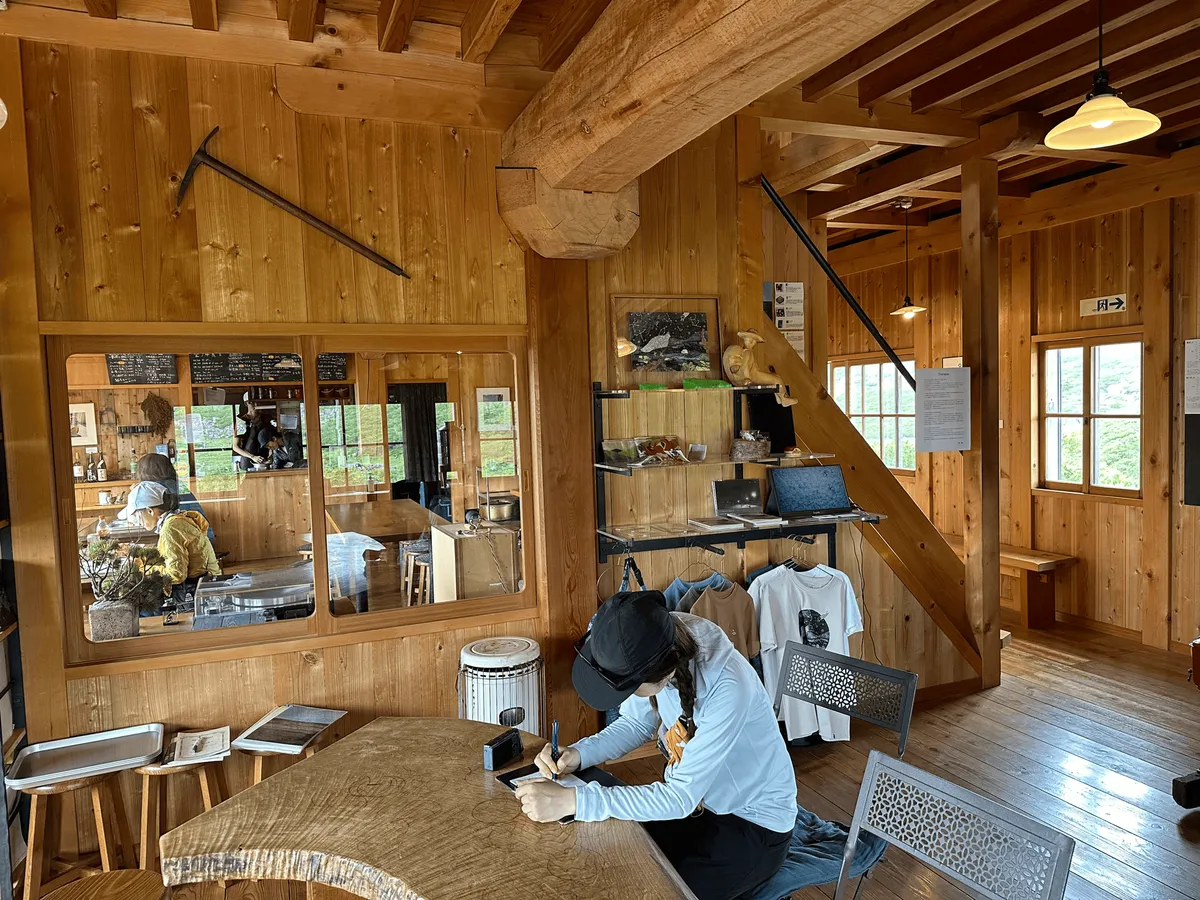
Sugoroku was my first ever mountain hut experience, and it may be very hard to top. Usually when hiking or camping you come to expect a little bit of dirtiness or smell (the toilets can be pretty horrible) but this place was as clean as any hotel.

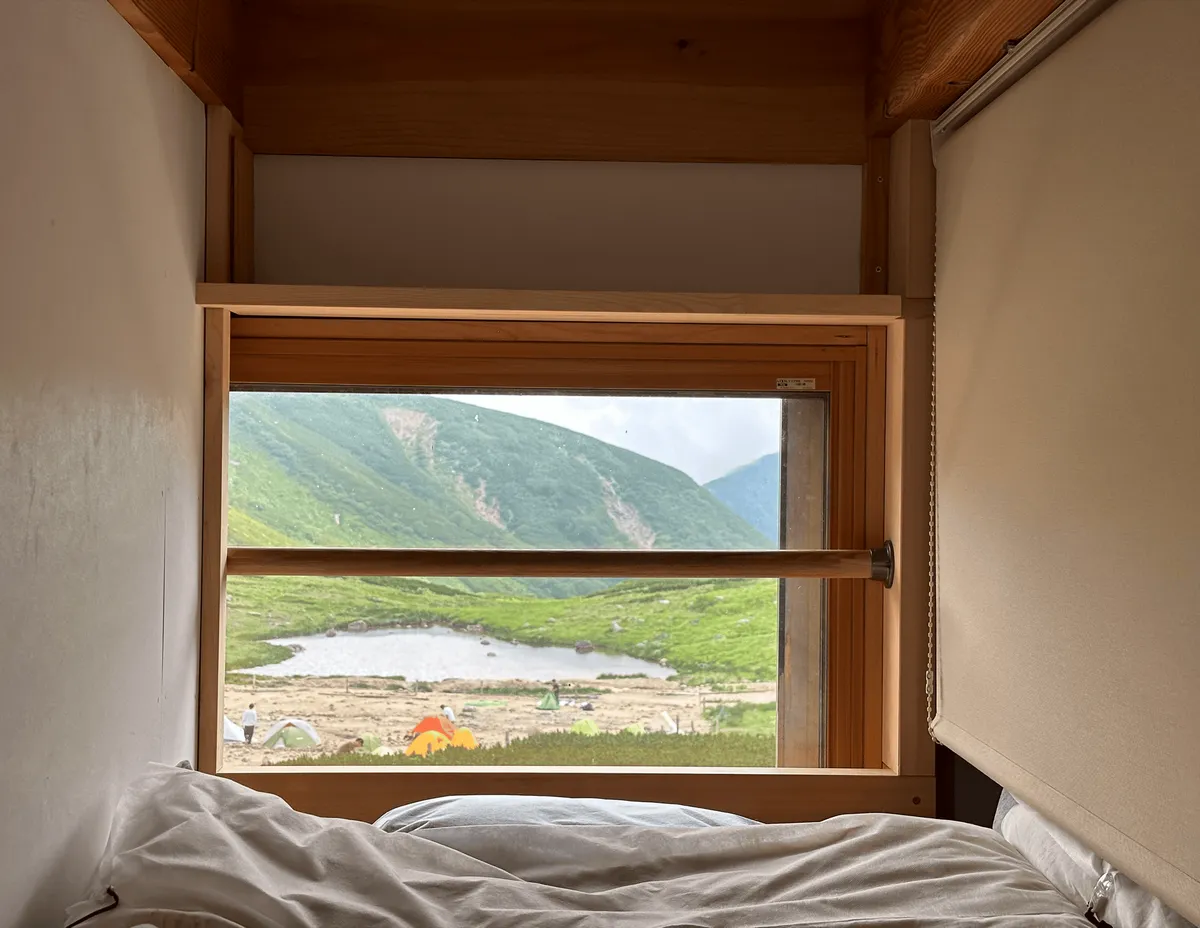
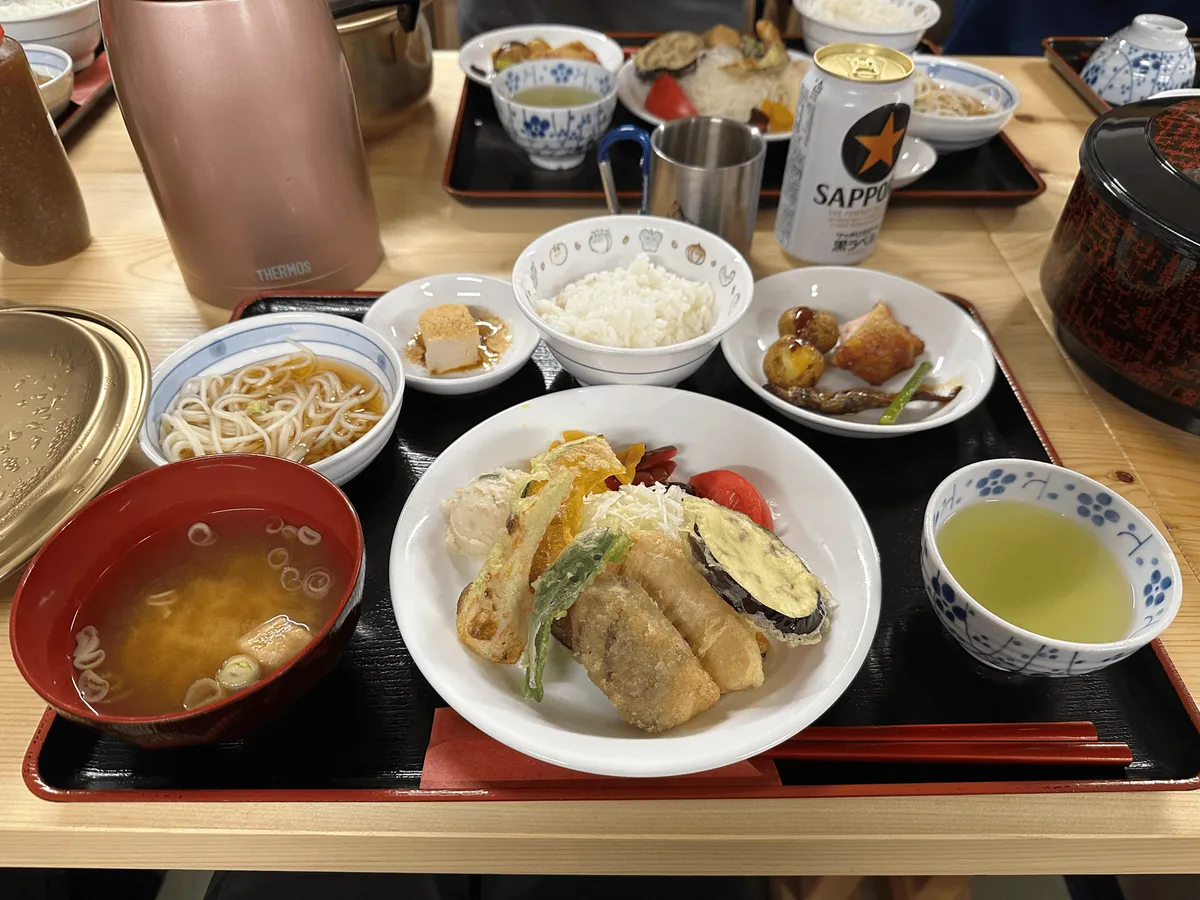
The dinner was excellent, especially considering we’re at 2500m and all supplies need to be helicoptered in.
After dinner, it was straight to bed in anticipation of an early start tomorrow.
Day 2: Summiting Mt Washiba and Mt Suisho
We started our second day of hiking in the darkness at 3:30am. This was technically the hardest day on the course, as we would climb and descend multiple mountains, but with the great scenery it was also my favourite day.
After the heat on day one I was a bit worried about how I would fare on day two, but luckily there was a nice cool breeze (actually quite cold, even) for the first couple of hours.
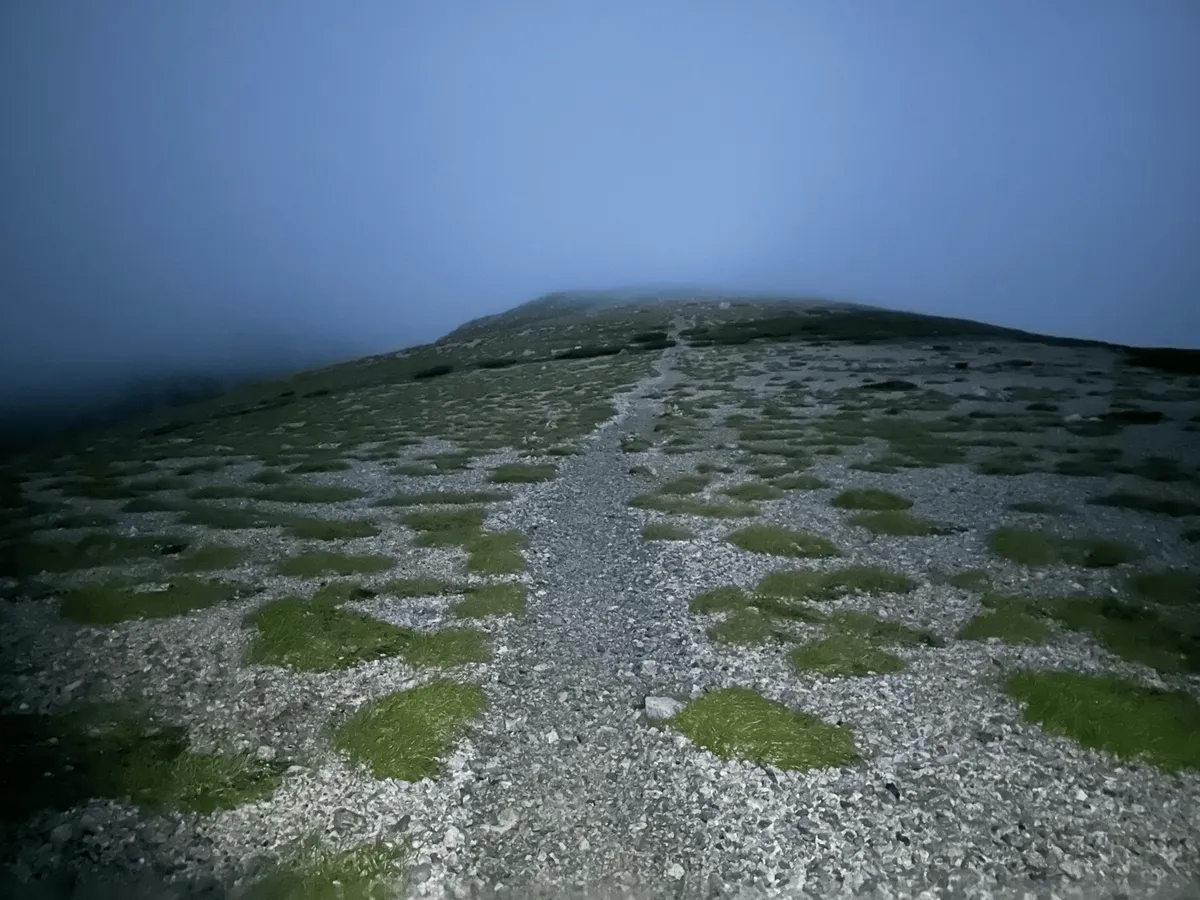
We reached our first peak of the day, Mt Sugoroku (双六岳, sugoroku-dake), just as the sun was rising. It was very foggy!

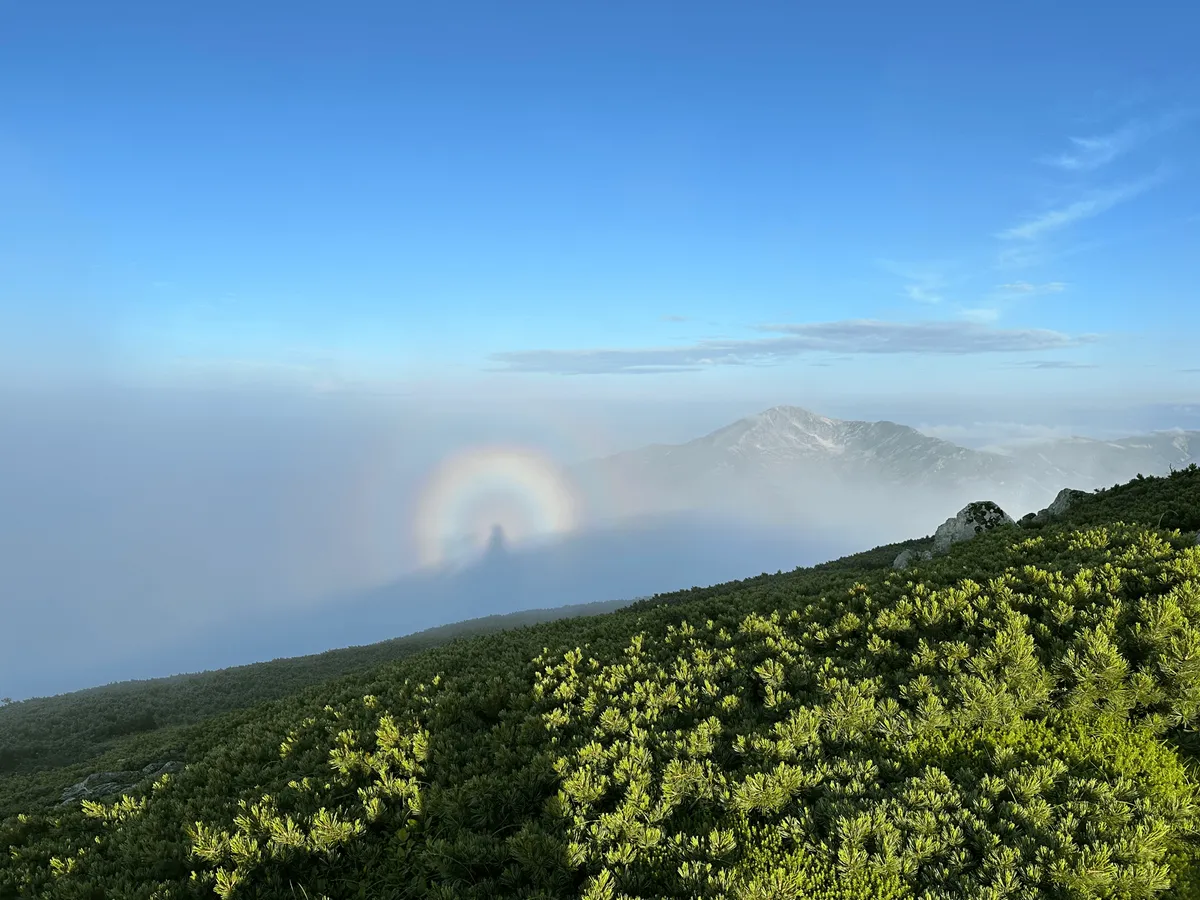
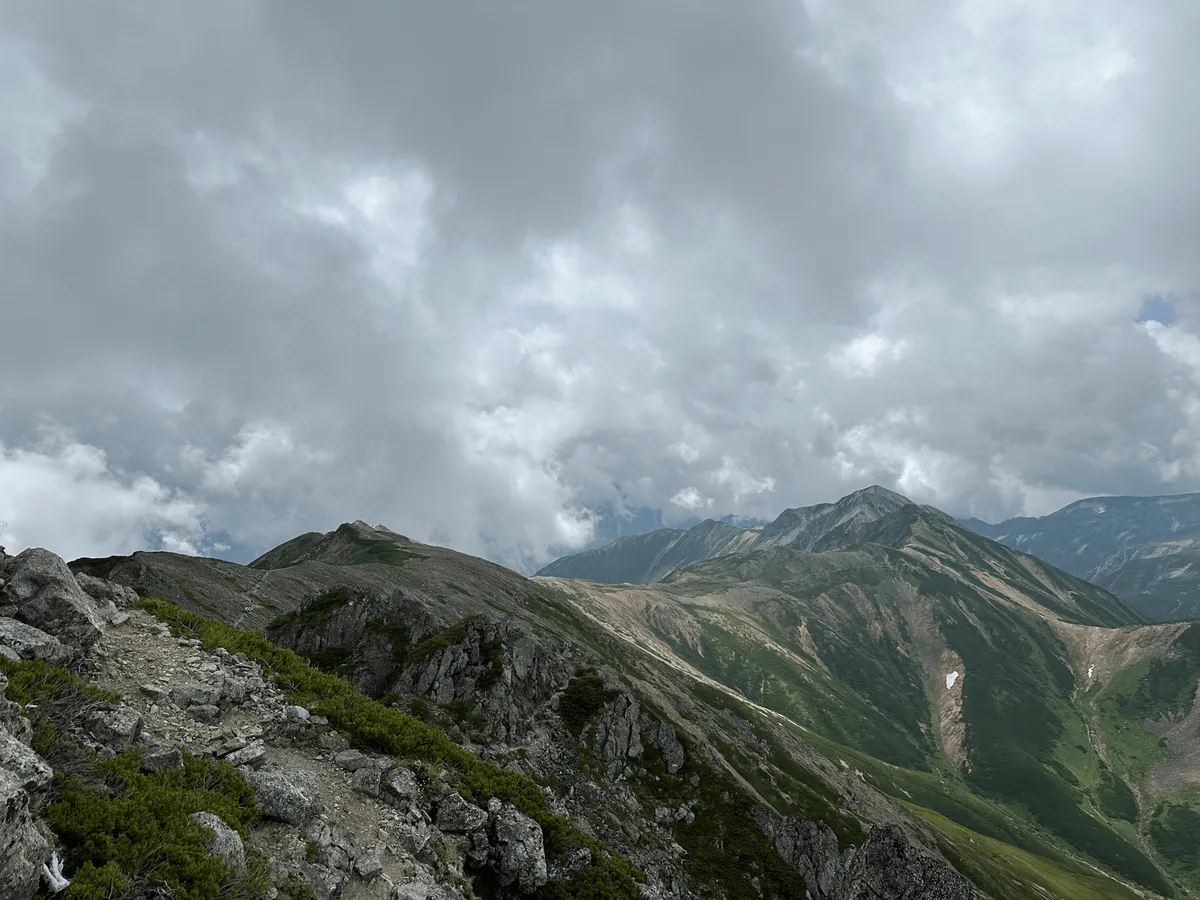
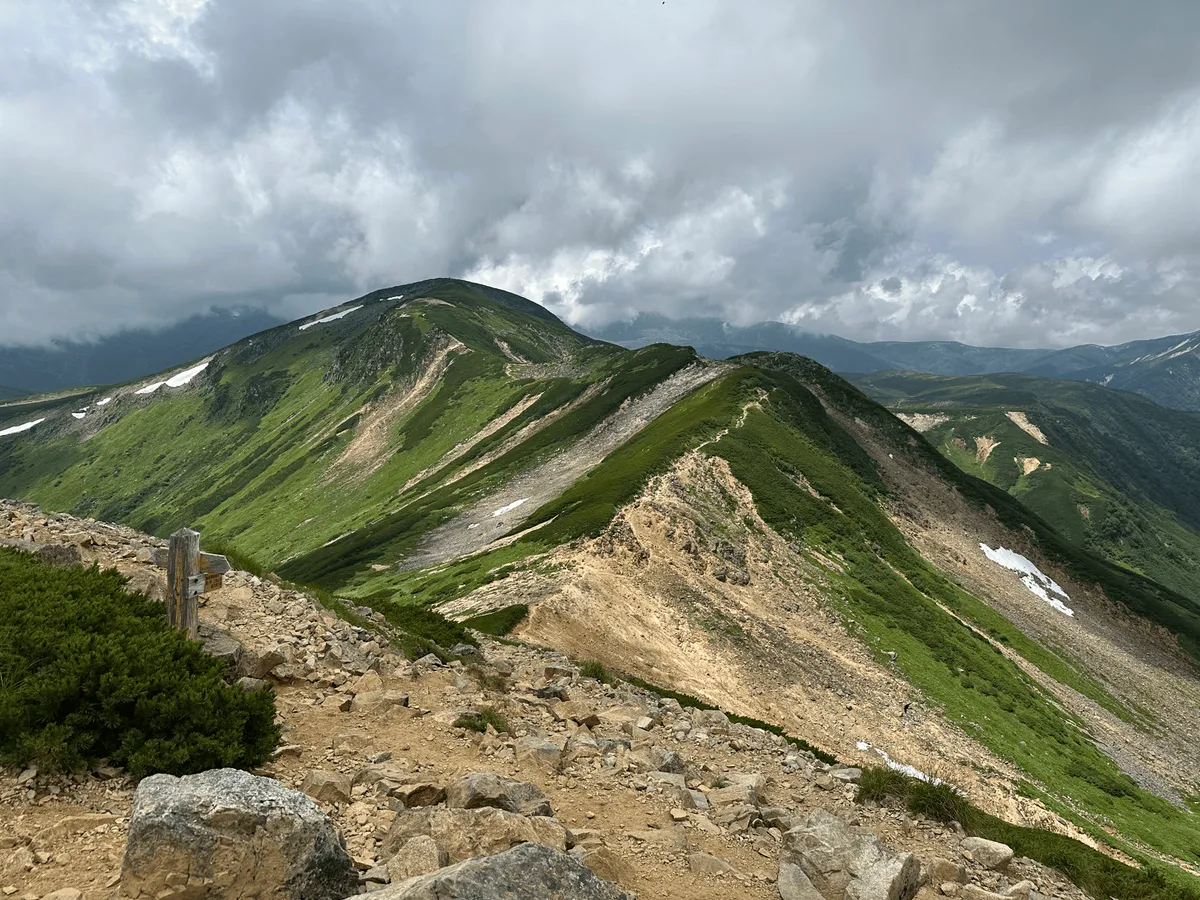
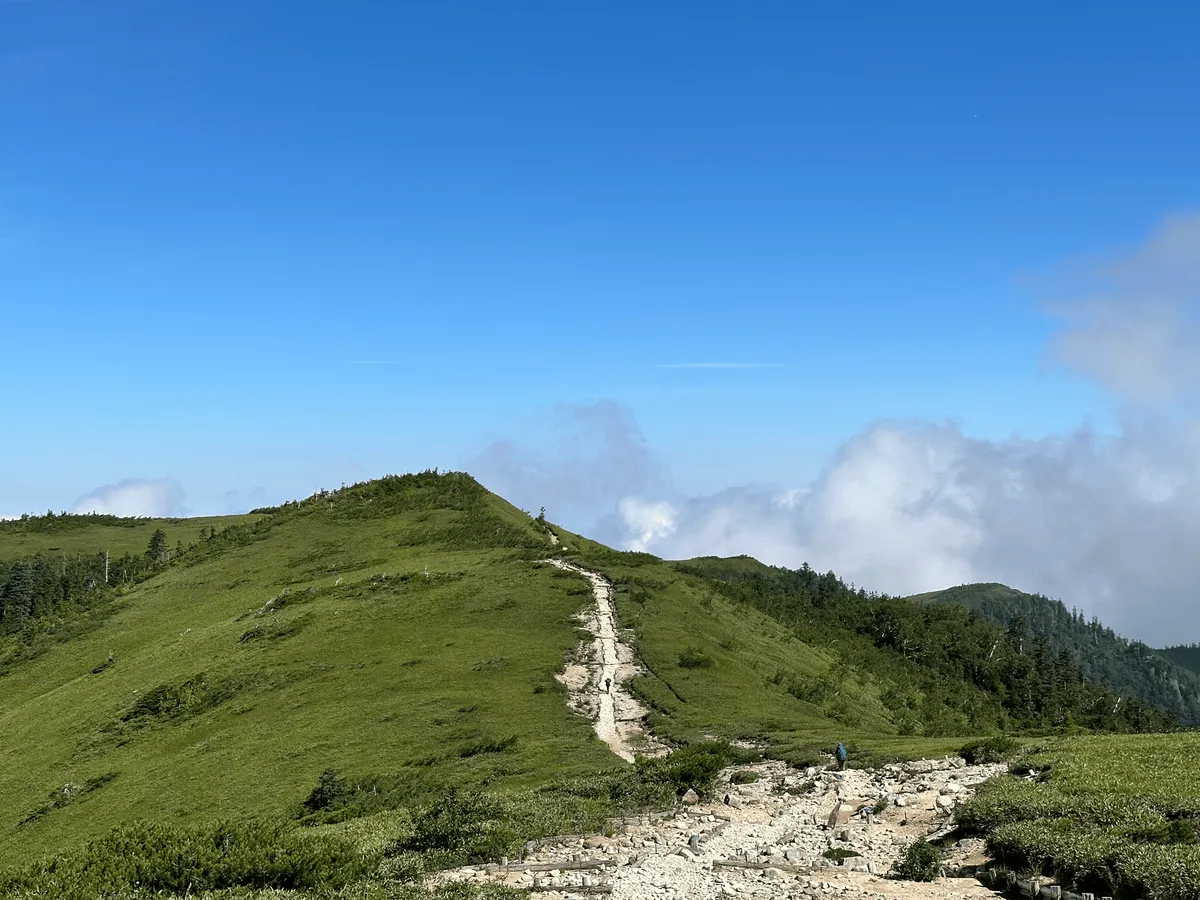
As we kept walking and the fog started to clear up, we got some amazing views of the surrounding mountains in the Northern Alps.
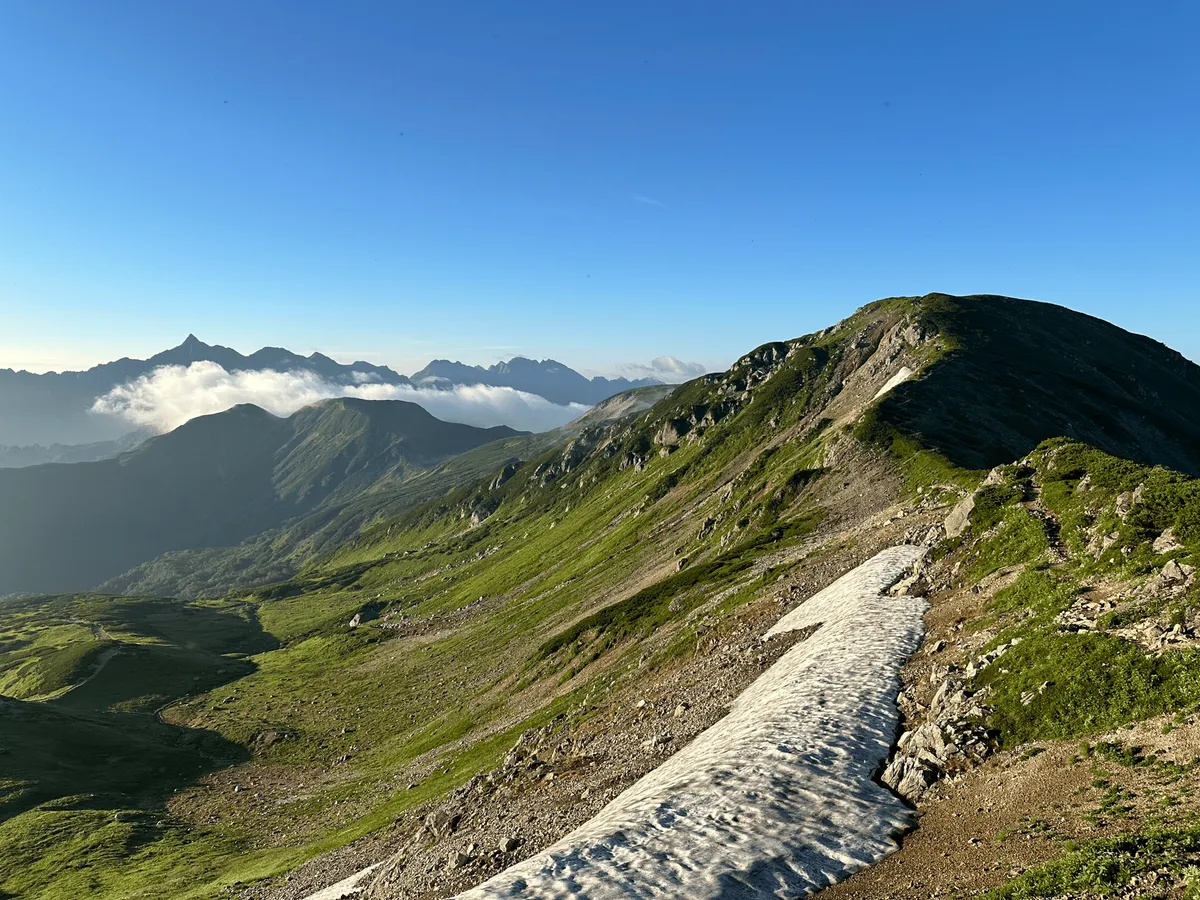
The sun reflecting off of the fog even caused some rainbows. My friend and I, and a bunch of old men who pointed out the rainbow to us, were all giddy at the sight, and started taking lots of photos.

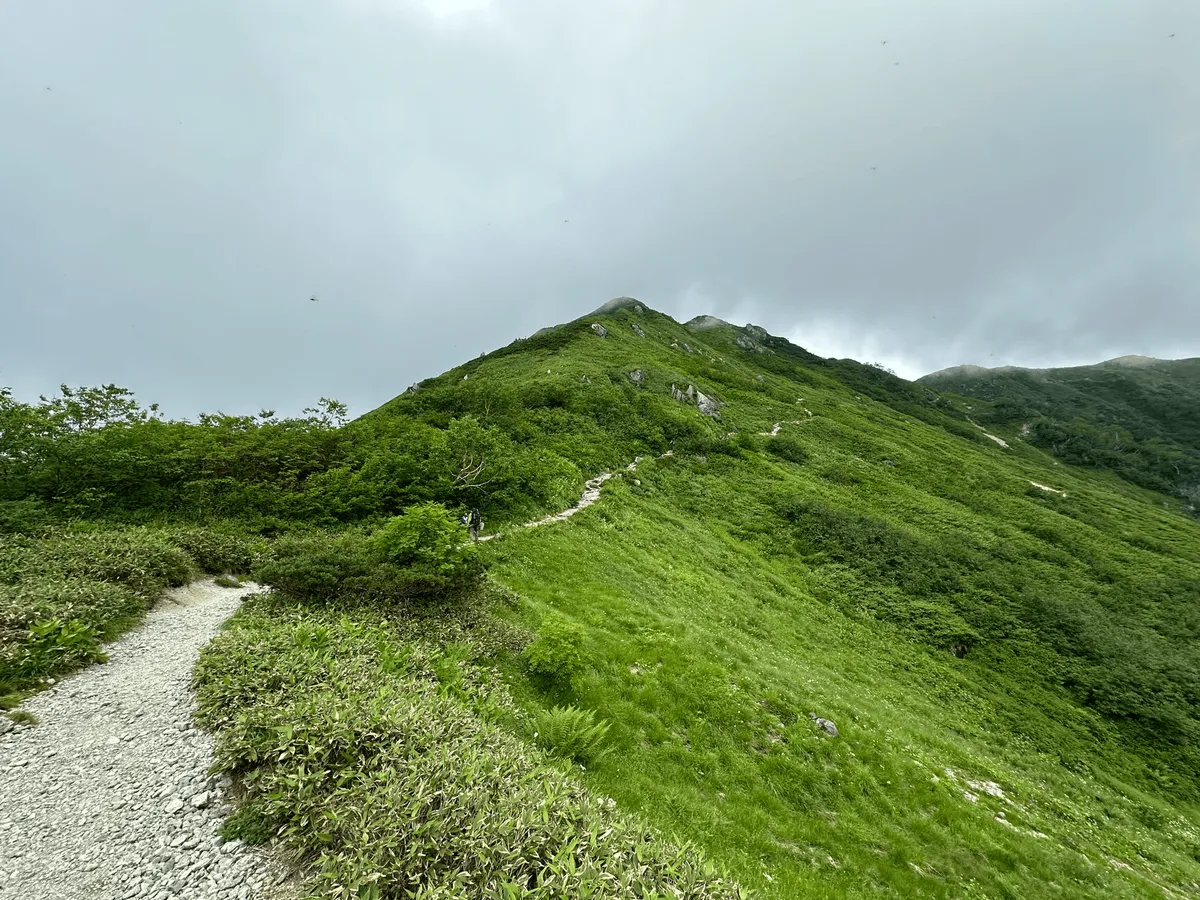
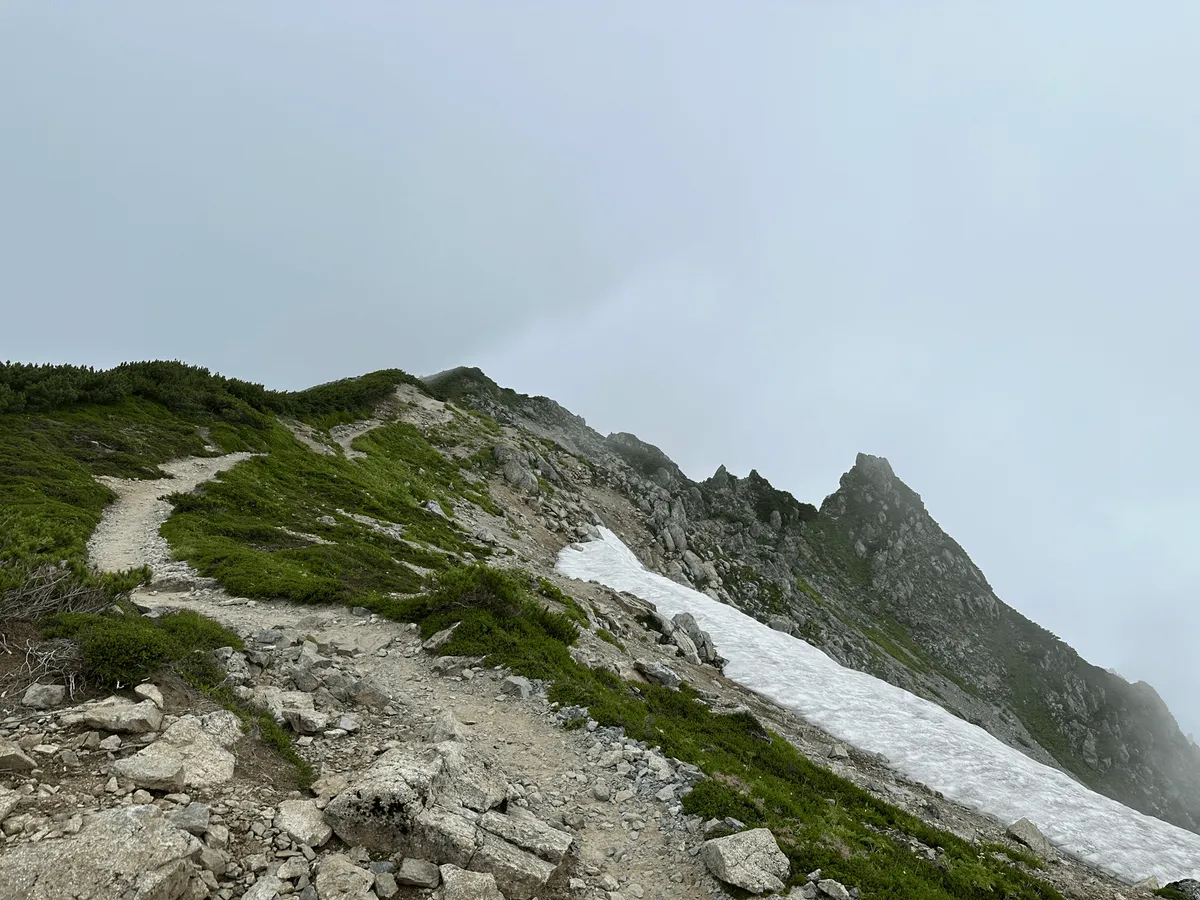
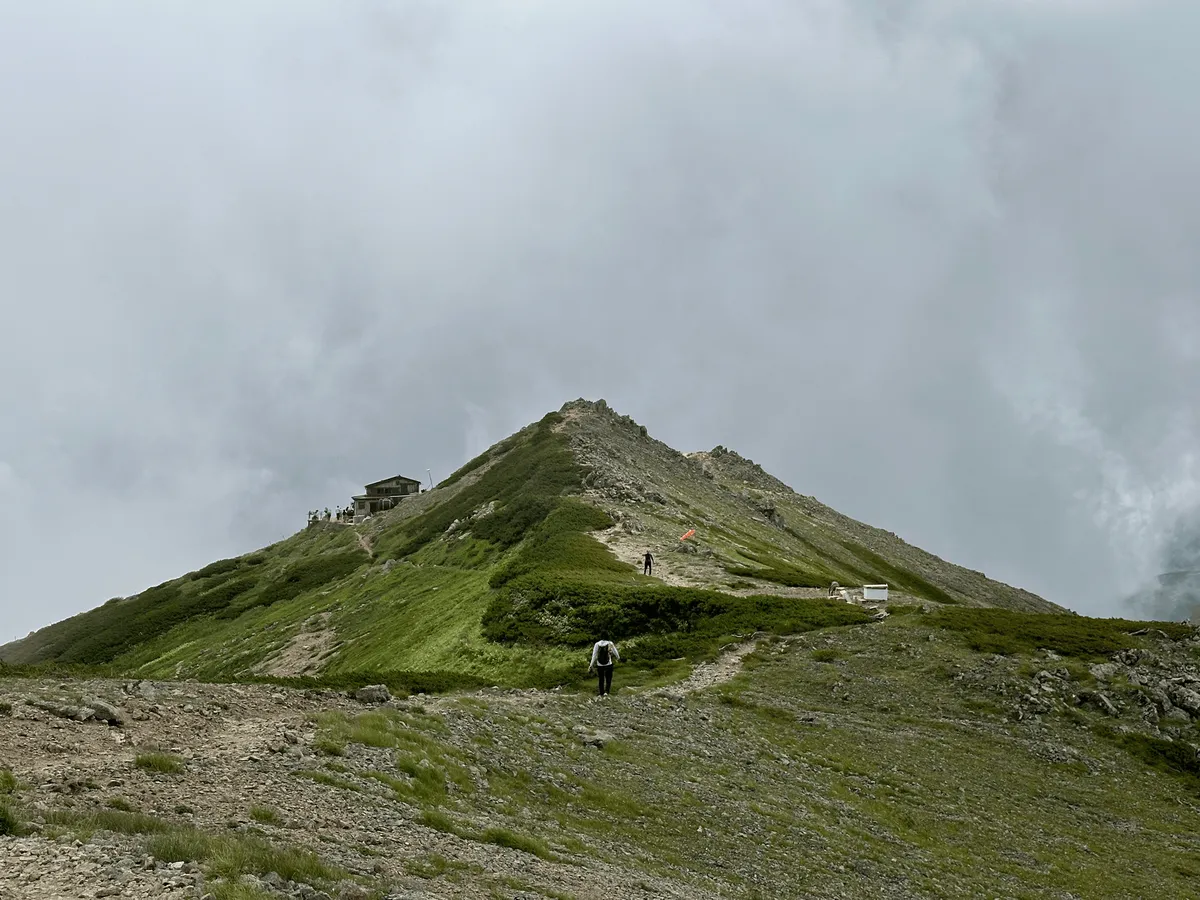
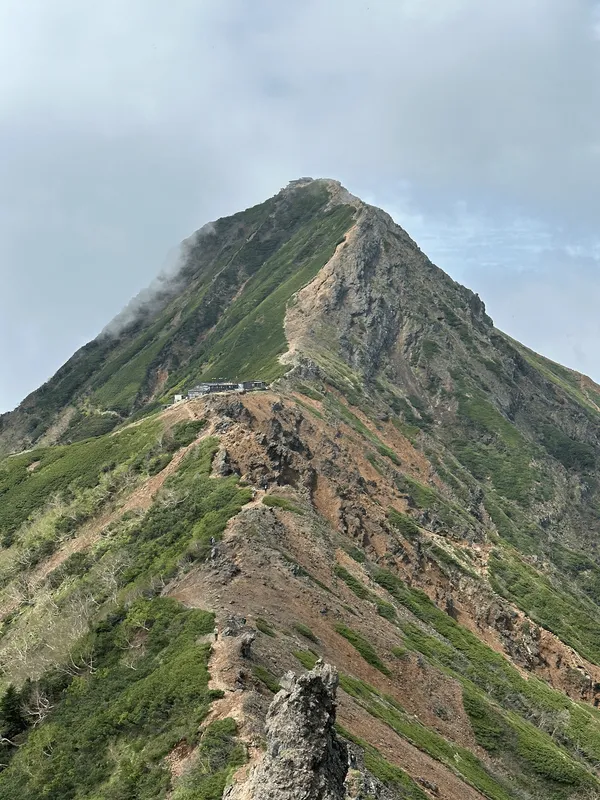
As we reached the second peak of the day, Mt Mitsumata-renge (三俣蓮華岳, mitsumata-renge), and began descending along the trail, we got our first view of Mt Washi.

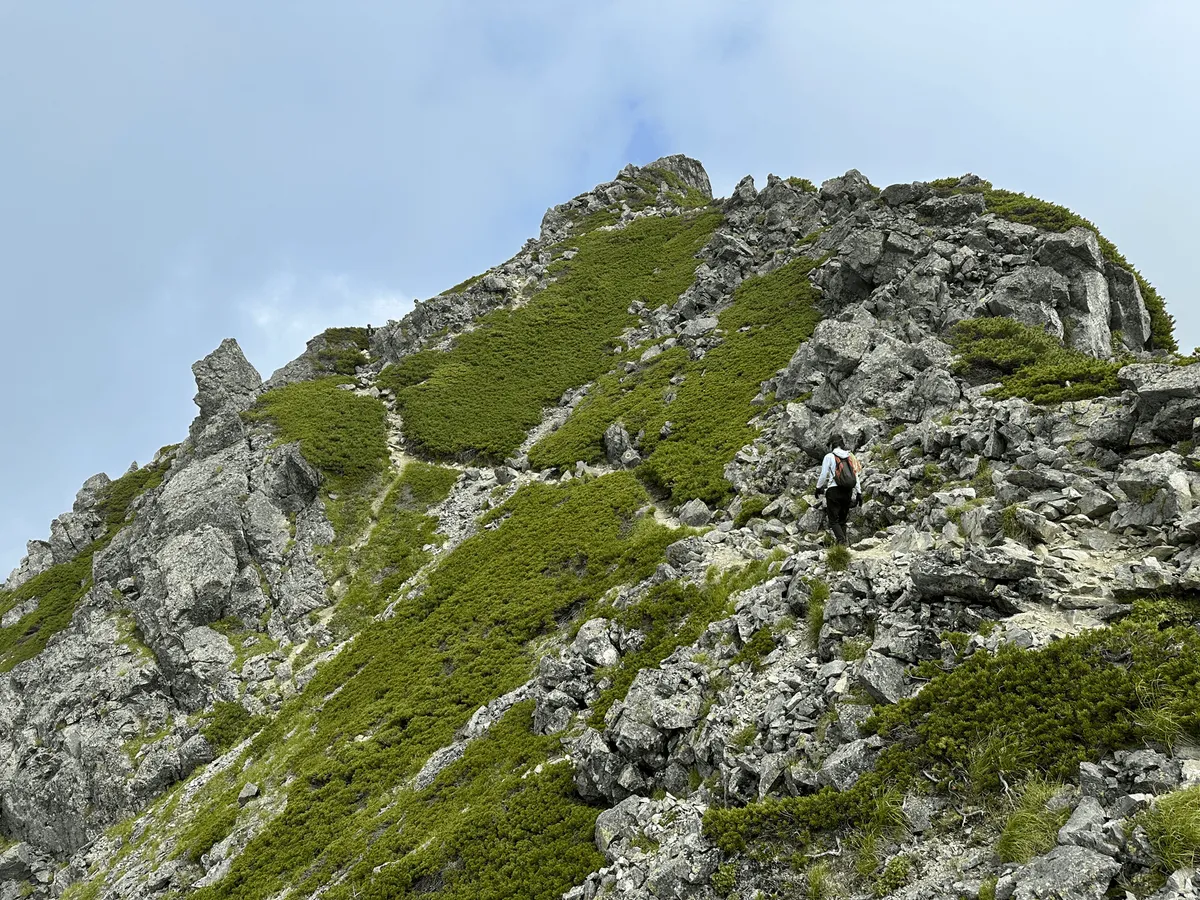
As we continued to approach it, we realised we were going to climb straight up the front of it. It looked so tall, so this was a little bit intimidating!

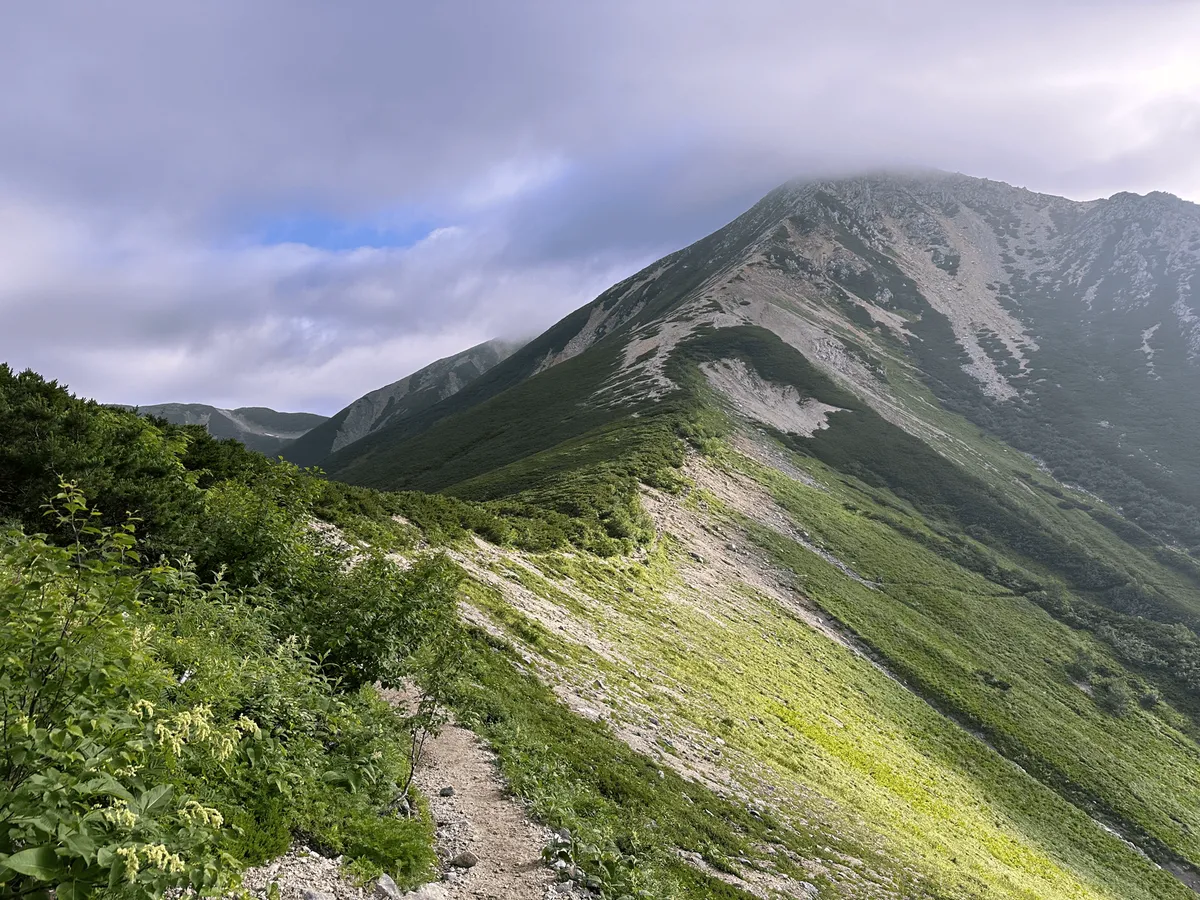
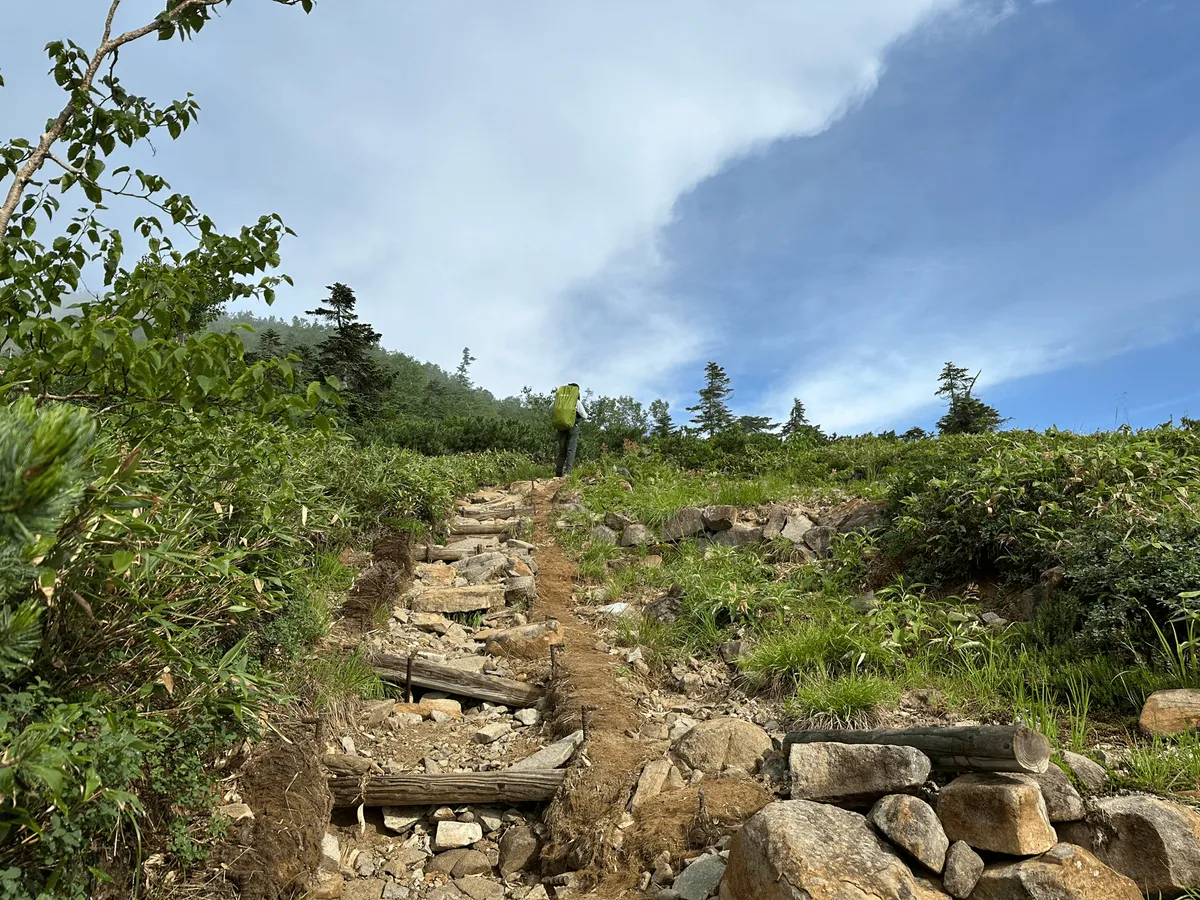
It was pretty steep, and the climb was just continuous switchbacks among rock and gravel.

After about an hour’s climb, we finally we made it to the peak! But the fun wasn’t over yet.

The next goal was our second Hundred Famous Mountain of the day, Mt Suisho. From Mt Washiba, we could see Mt Suisho visible in the distance, but there was one more peak, Mt Warimo (ワリモ岳, warimo-dake) that we needed to clear first.
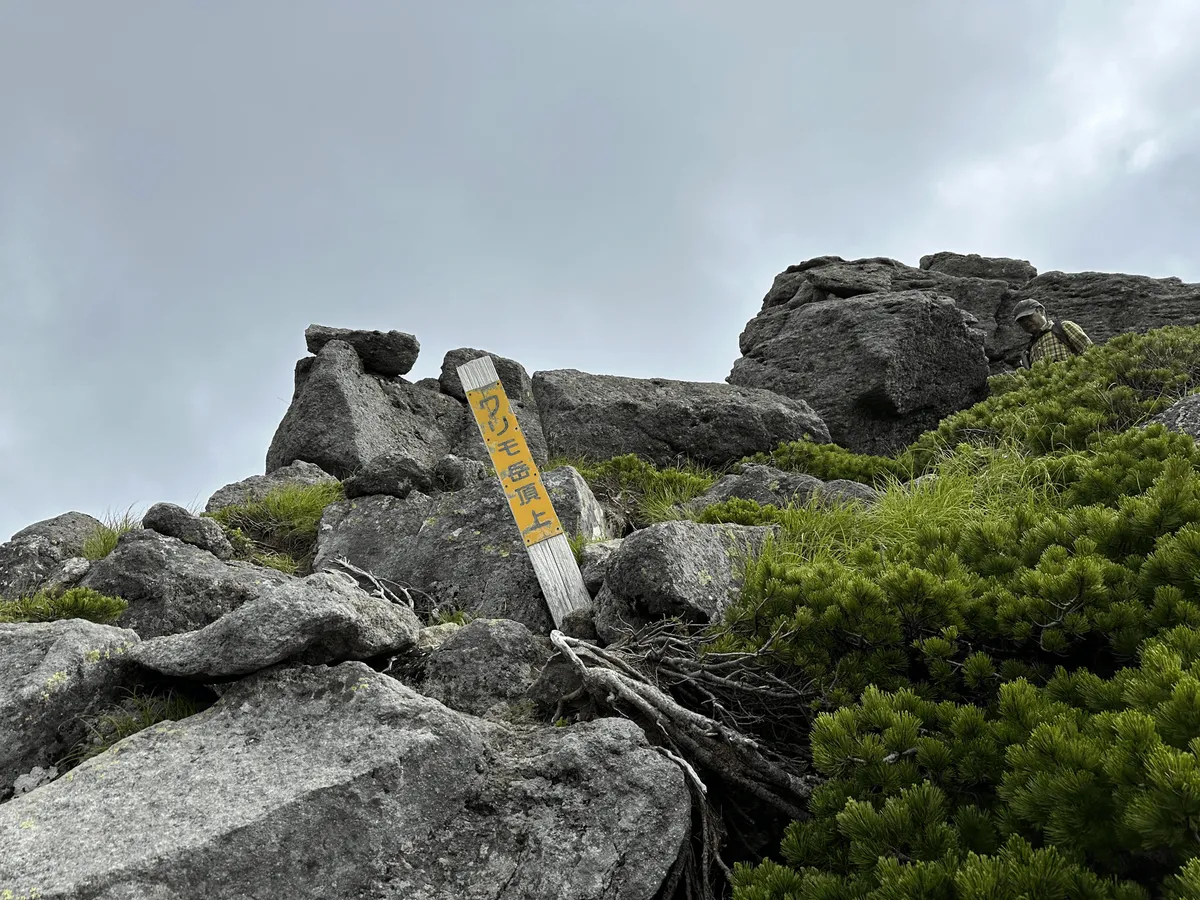
Once we’d climbed Mt Warimo, we were finally onto Mt Suisho! Since it’s a 3 hour detour from the main route, it’s an optional part of the course. But it’s quite rare for two Hundred Famous Mountains to be so close to each other, and I definitely wasn’t going to pass up the opportunity to climb a second one.
Since we would be returning to this point later, we opted to leave our packs here and just take some essentials in a smaller sling bag.

Hiking without the heavy backpack felt so freeing, and we flew along the trail.

With the hot weather yesterday, and having gone a whole month without hiking prior to this, I was worried I wouldn’t have the energy to climb Mt Suisho, but luckily the weather wasn’t as bad today and I enjoyed the climb all the way up.
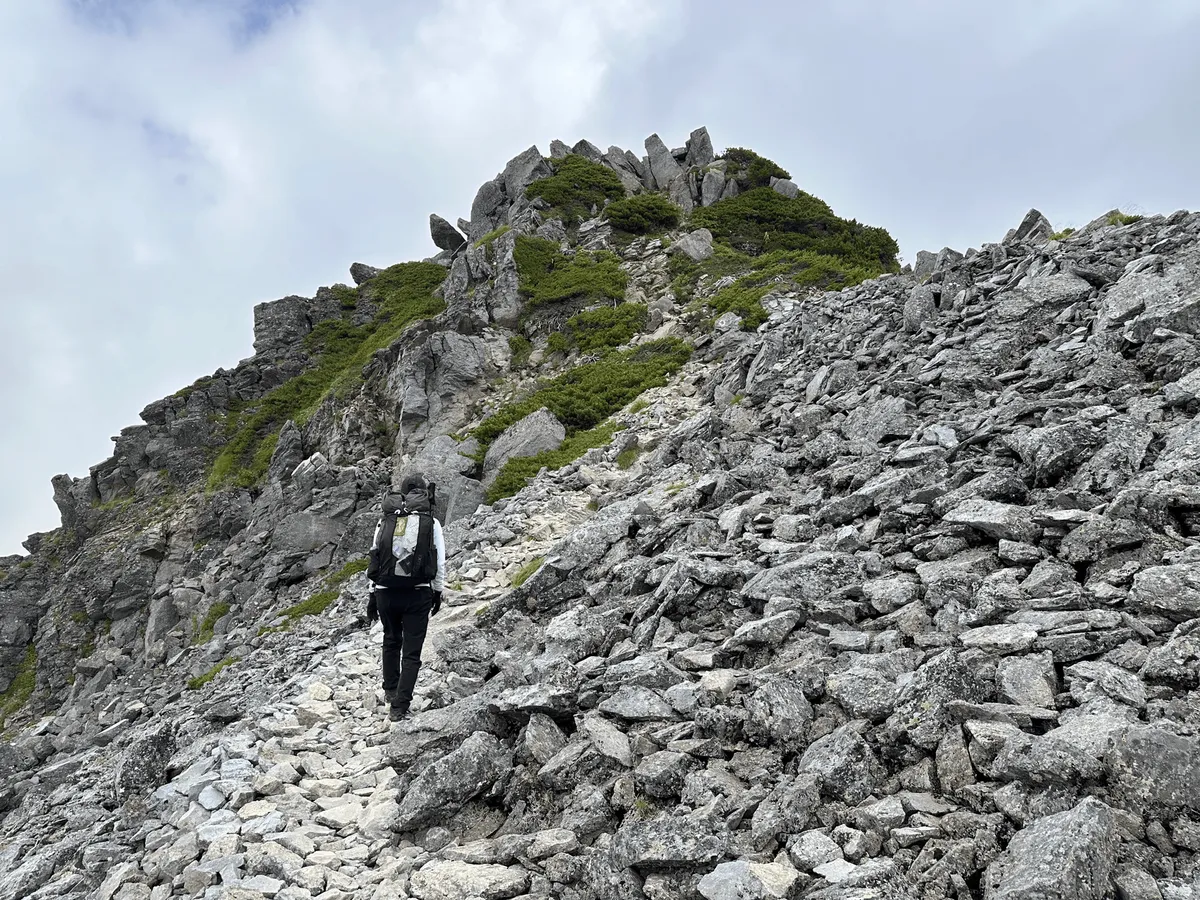
The final climb up was very narrow and rocky. I was very glad not to be carrying my pack.
As the fog started to clear, we noticed a bunch of people standing on a distant peak, and we knew it must be Mt Suisho.

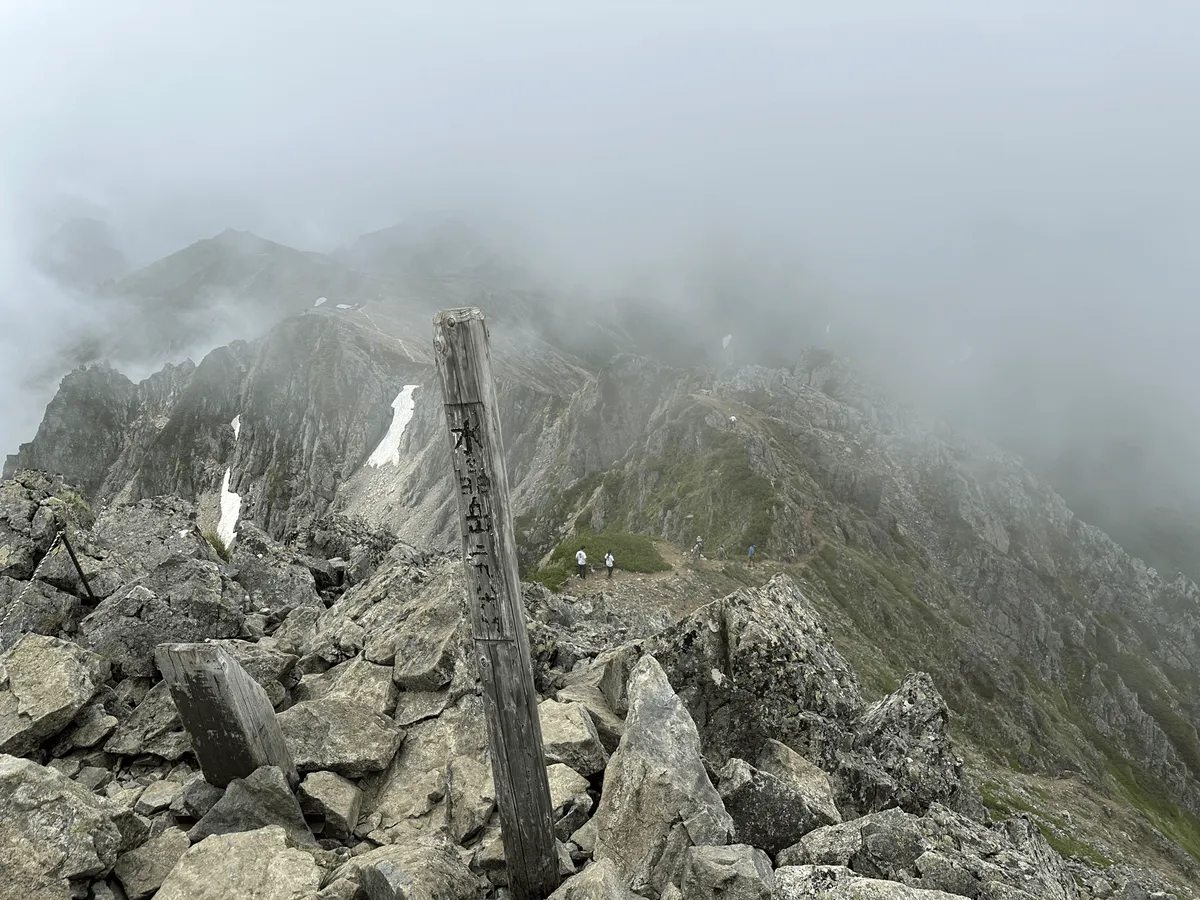
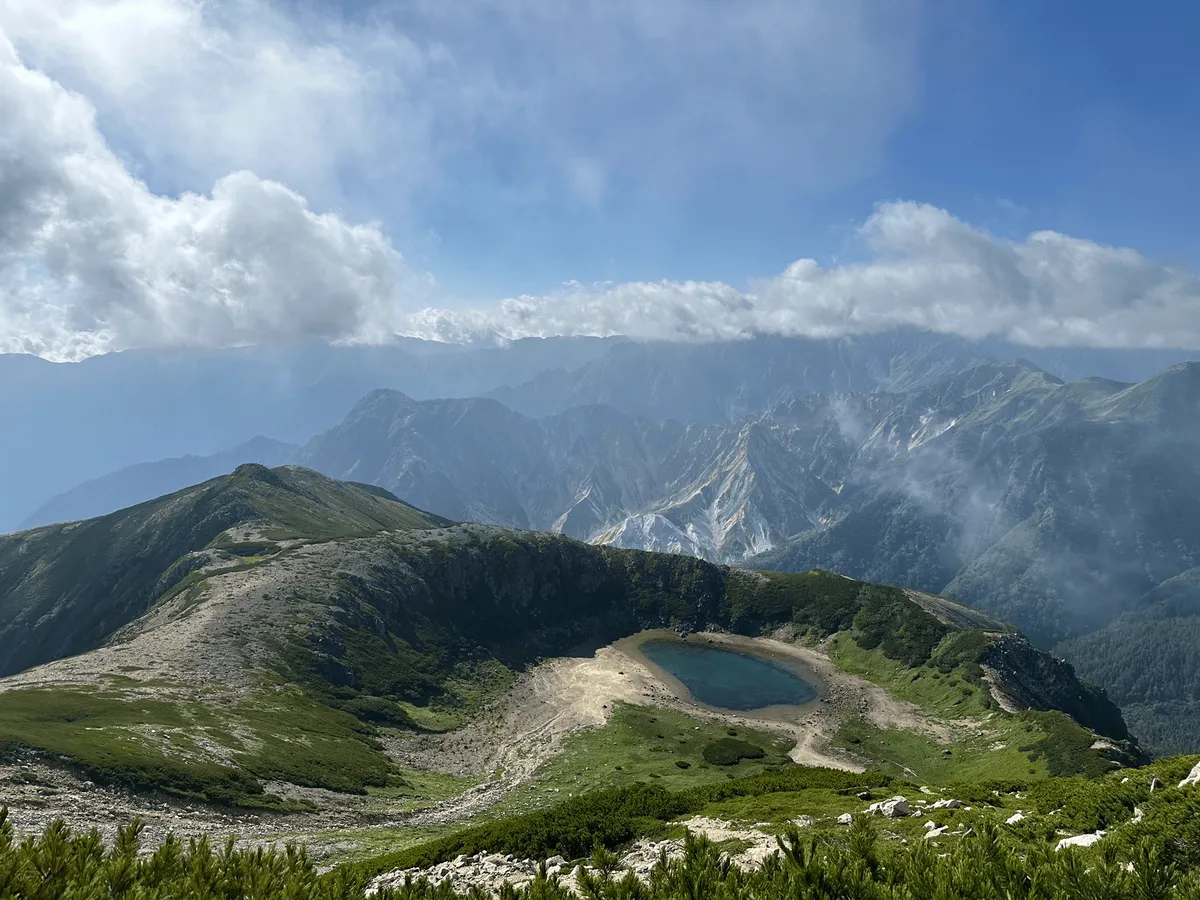
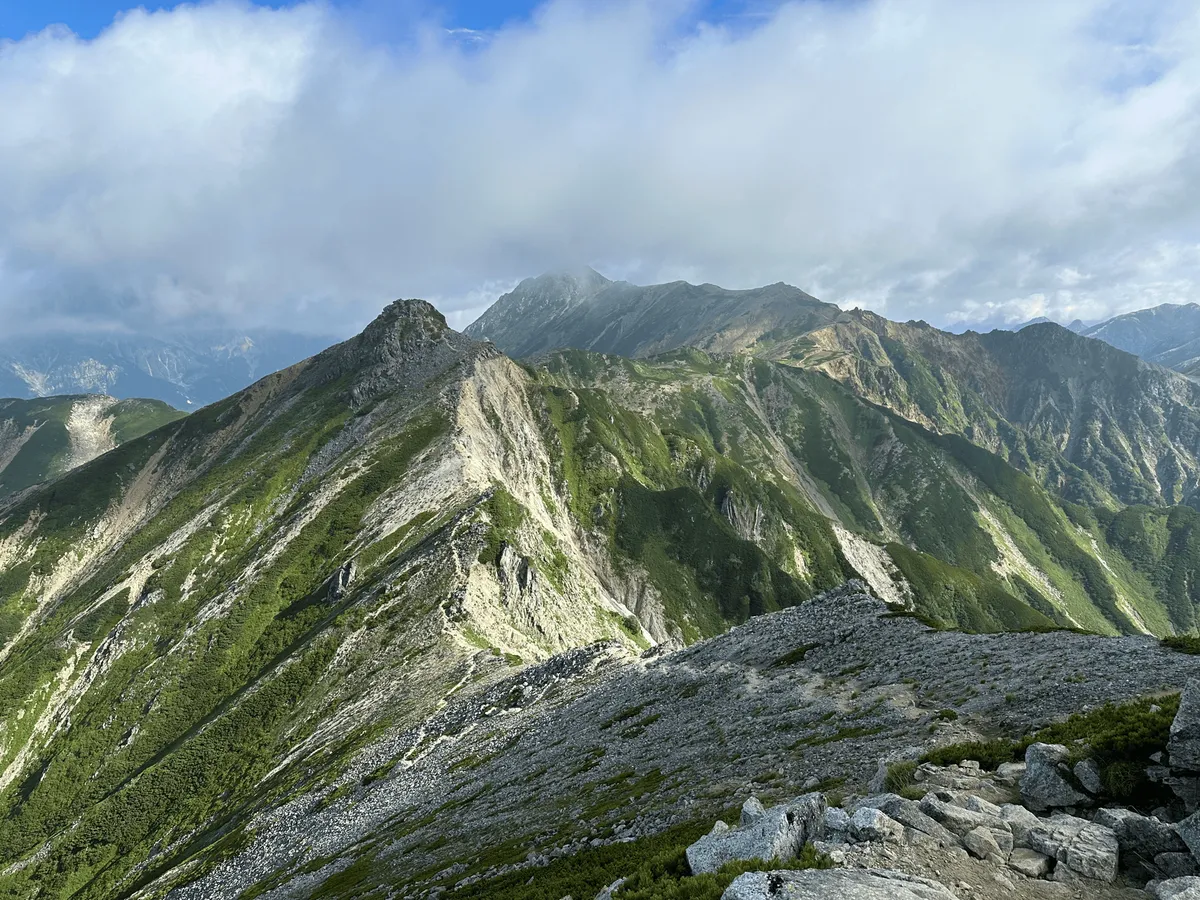
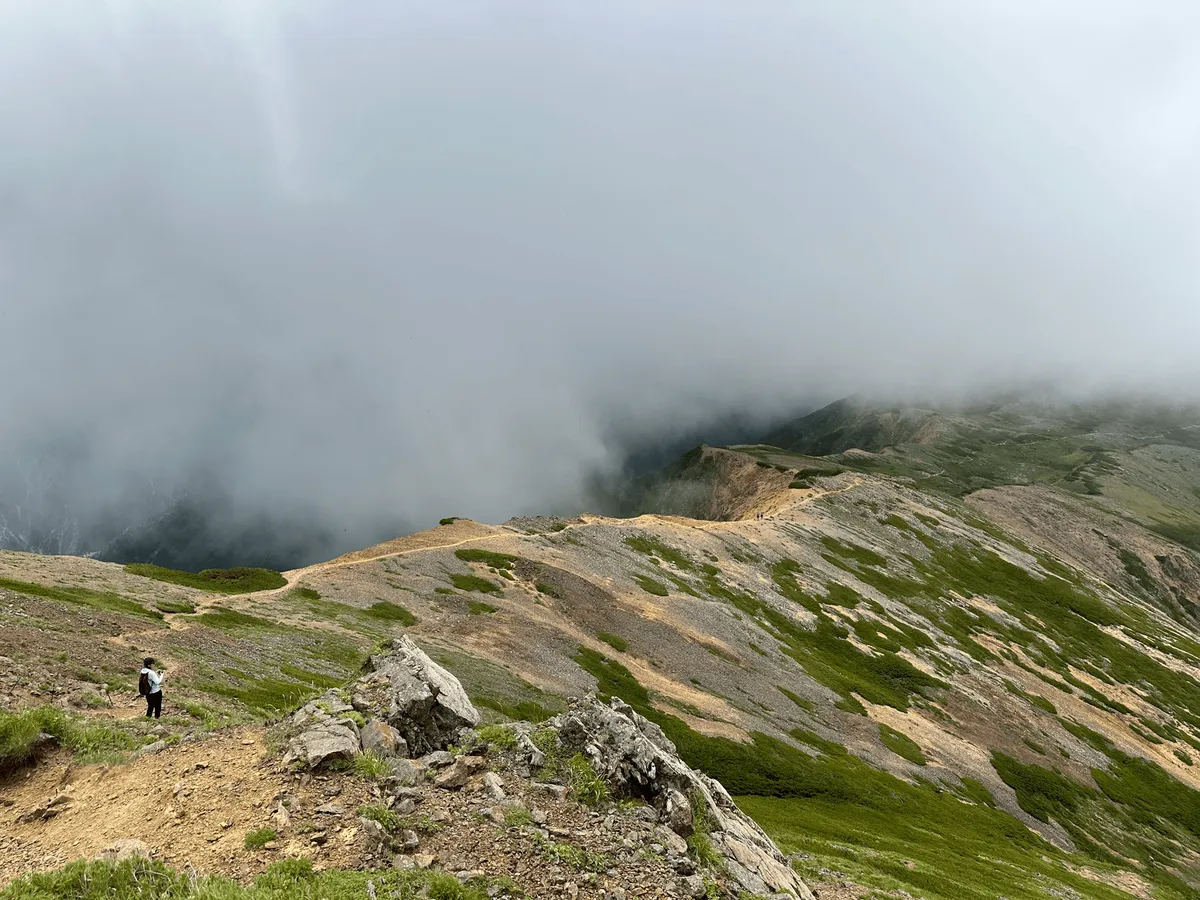
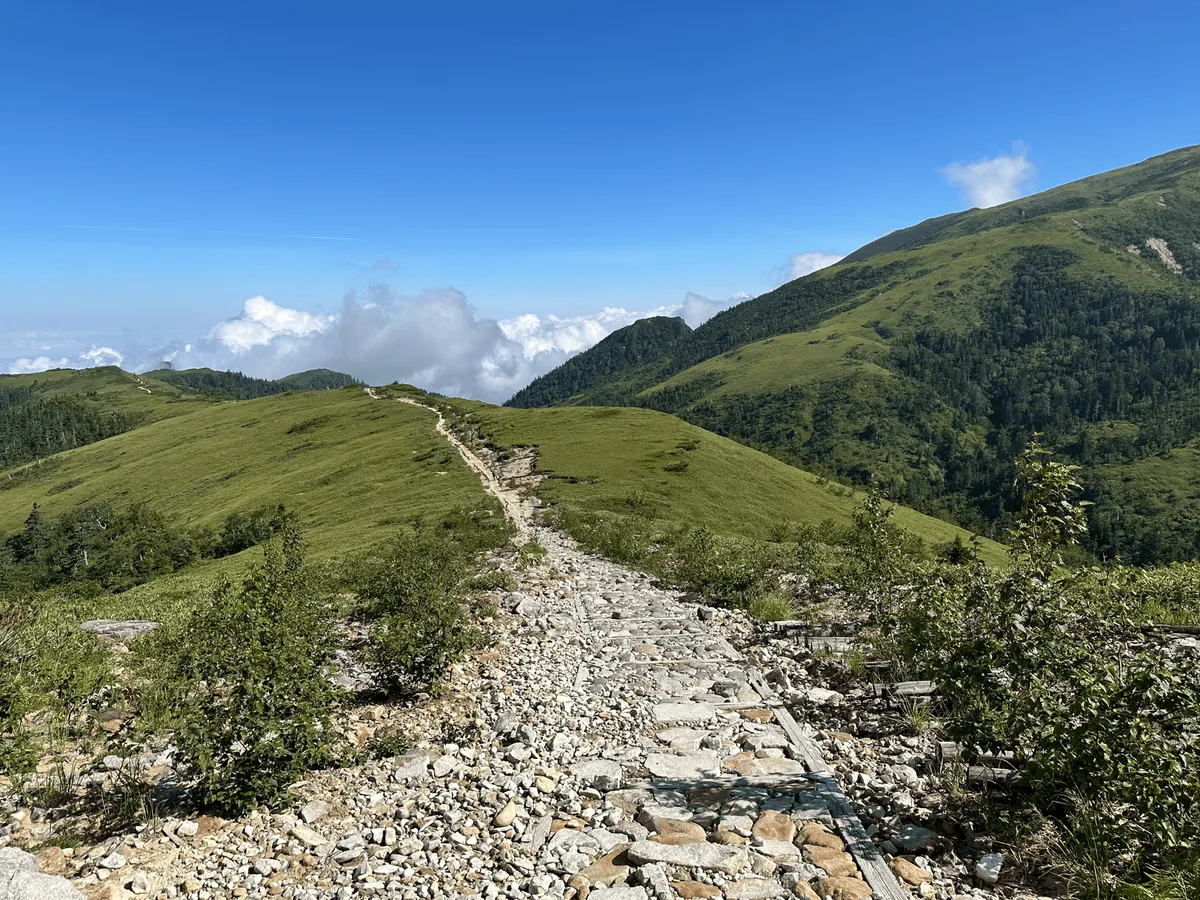
Once we reached the peak, we could see out along the ridgeline we had just crossed.
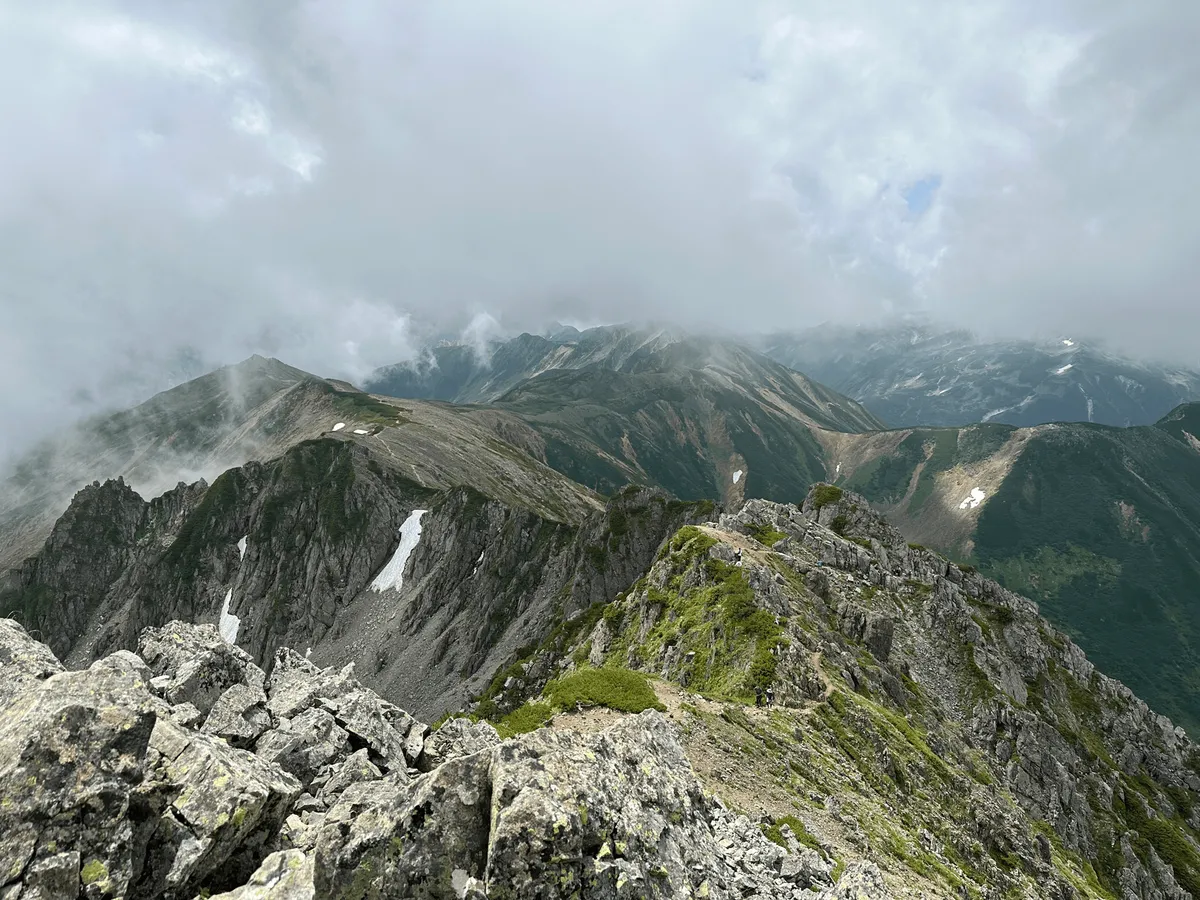
As we began to descend, we could also see out to Mt Washi!
Retracing our steps back to where we left our packs, we also passed by the Suisho mountain hut (水晶小屋, suisho-goya) peeking out on the side of a slope.
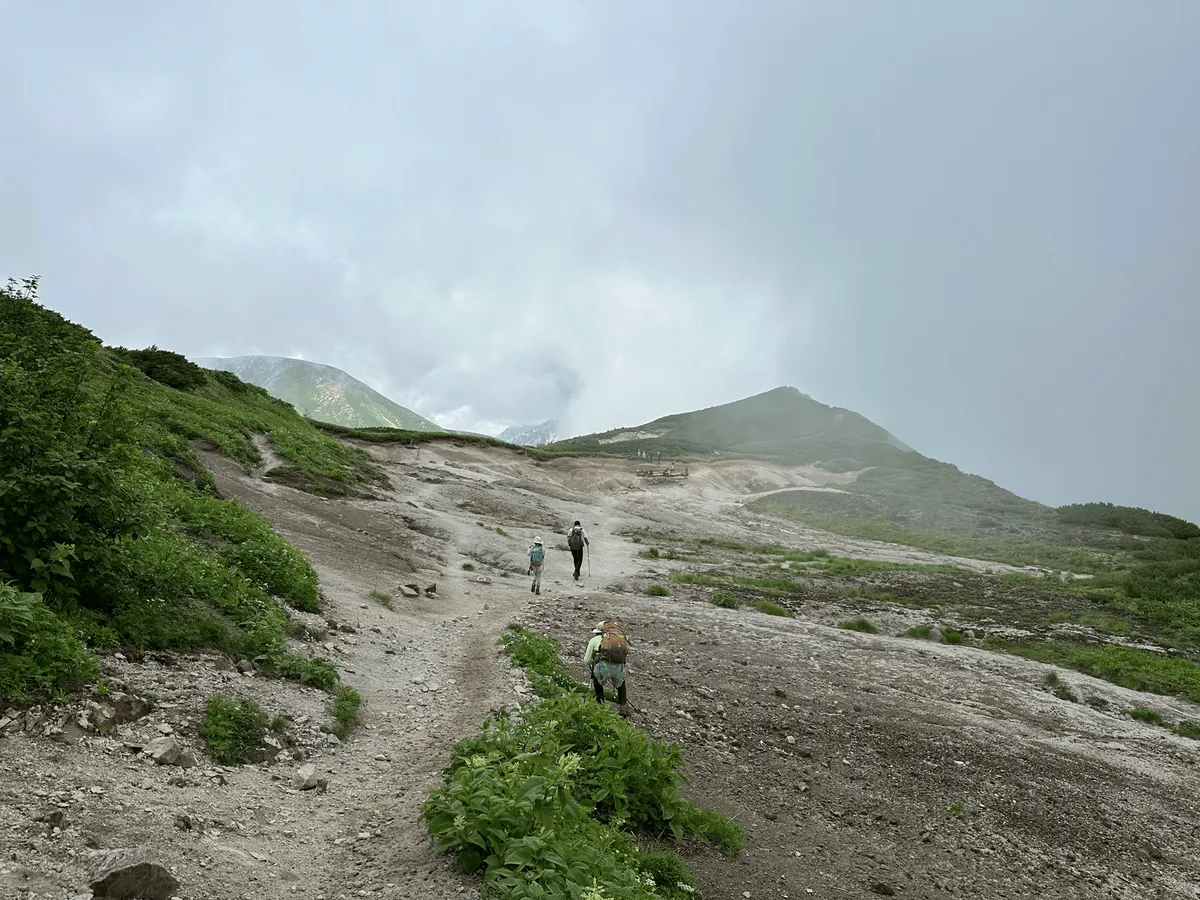
Once we were back to our packs, we started heading to our mountain hut for the night, which was still a couple of hours away.
This required one last climb of the day up to Mt Jii (祖父岳, jii-dake).

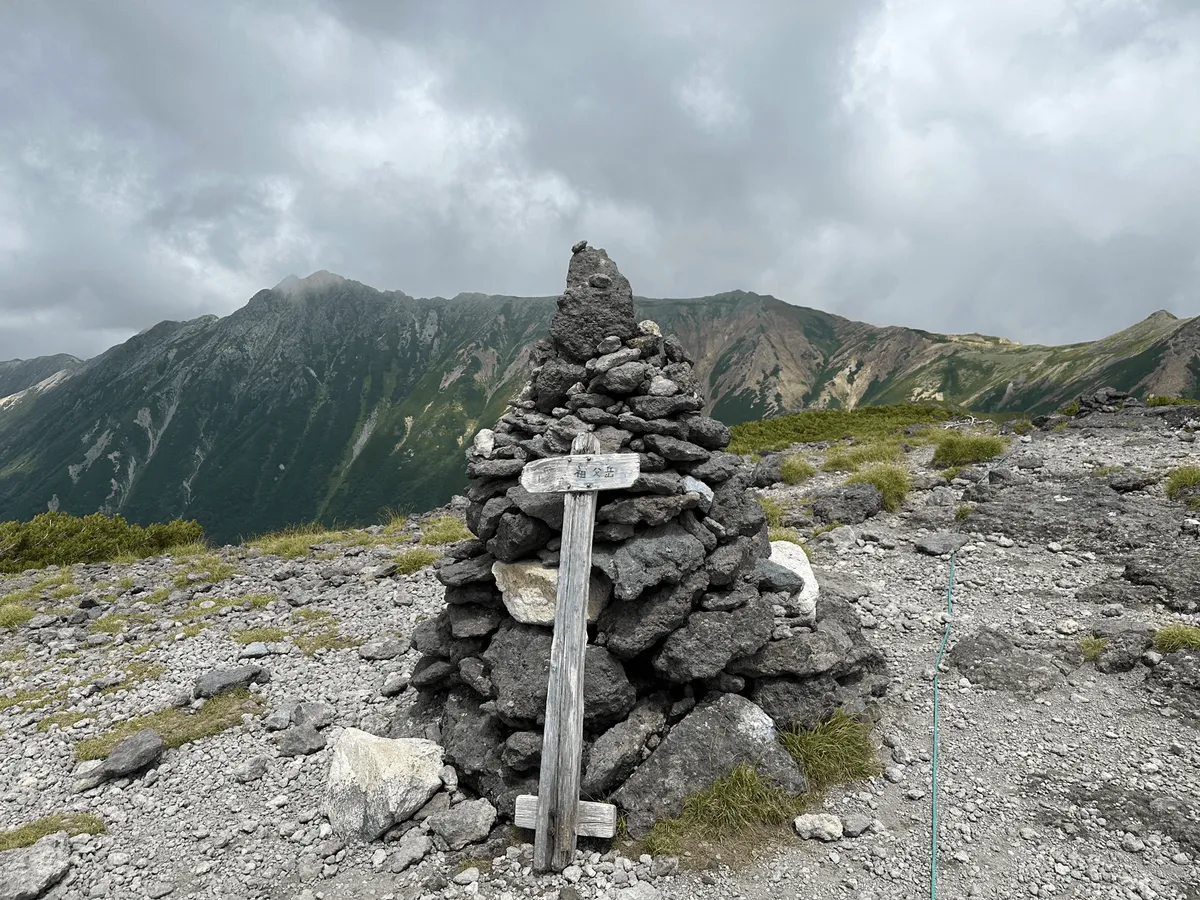
From the top of Mt Jii, we could see down below to our hut for the night.
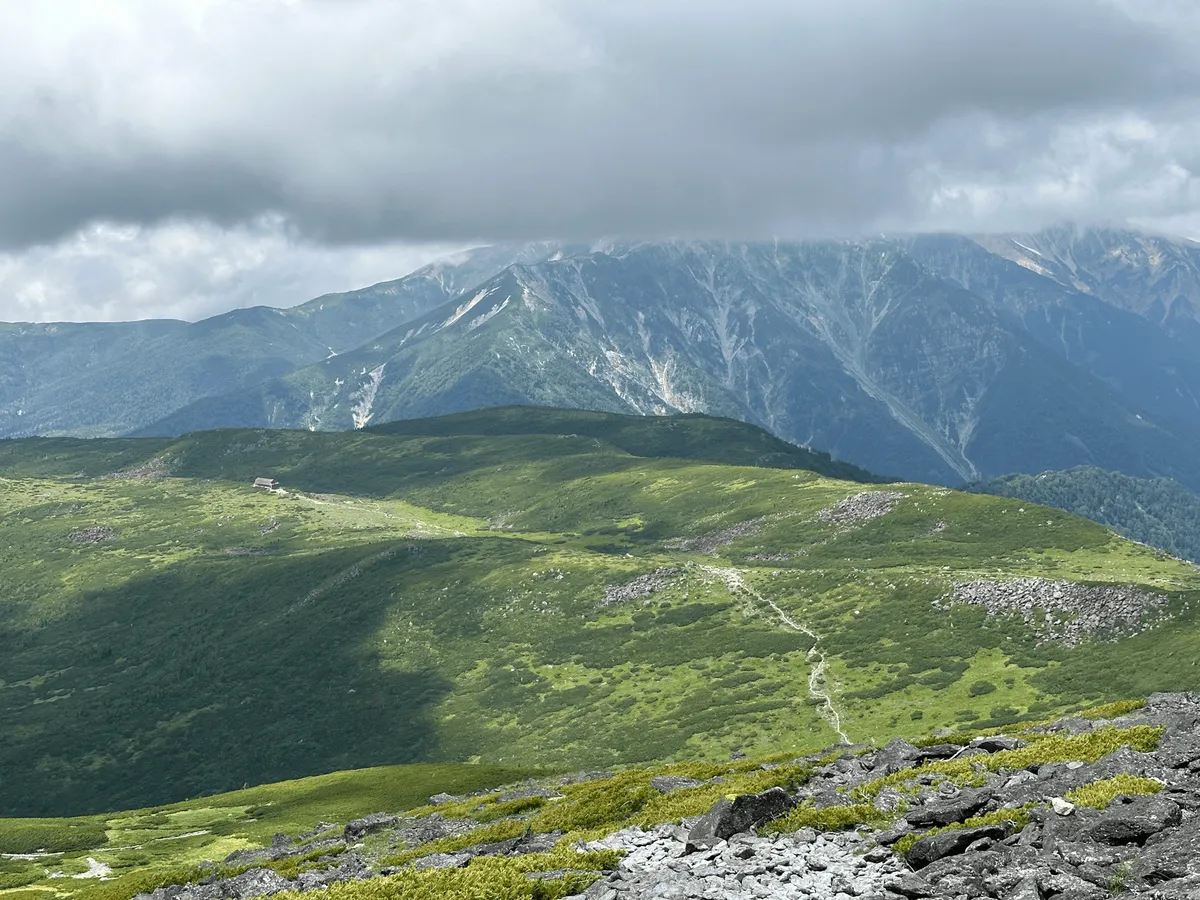
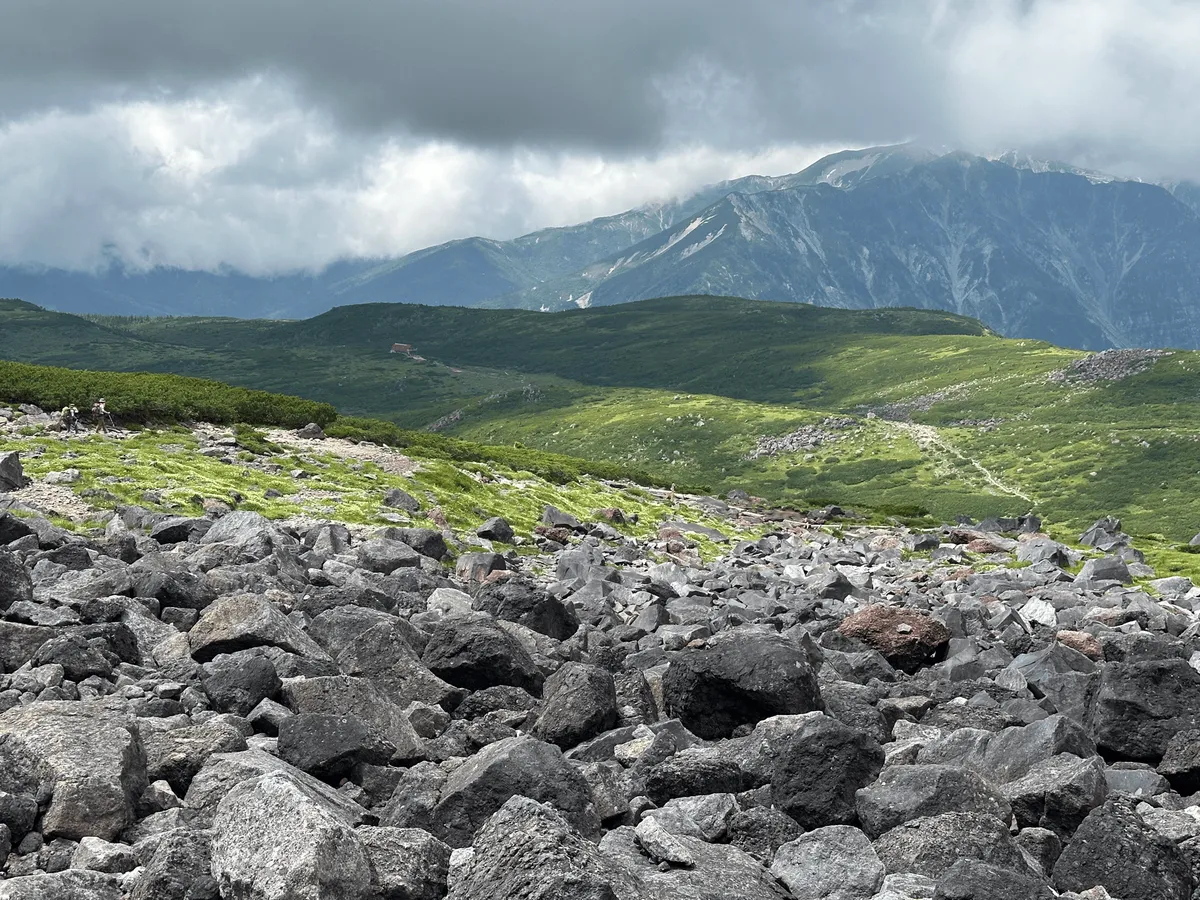
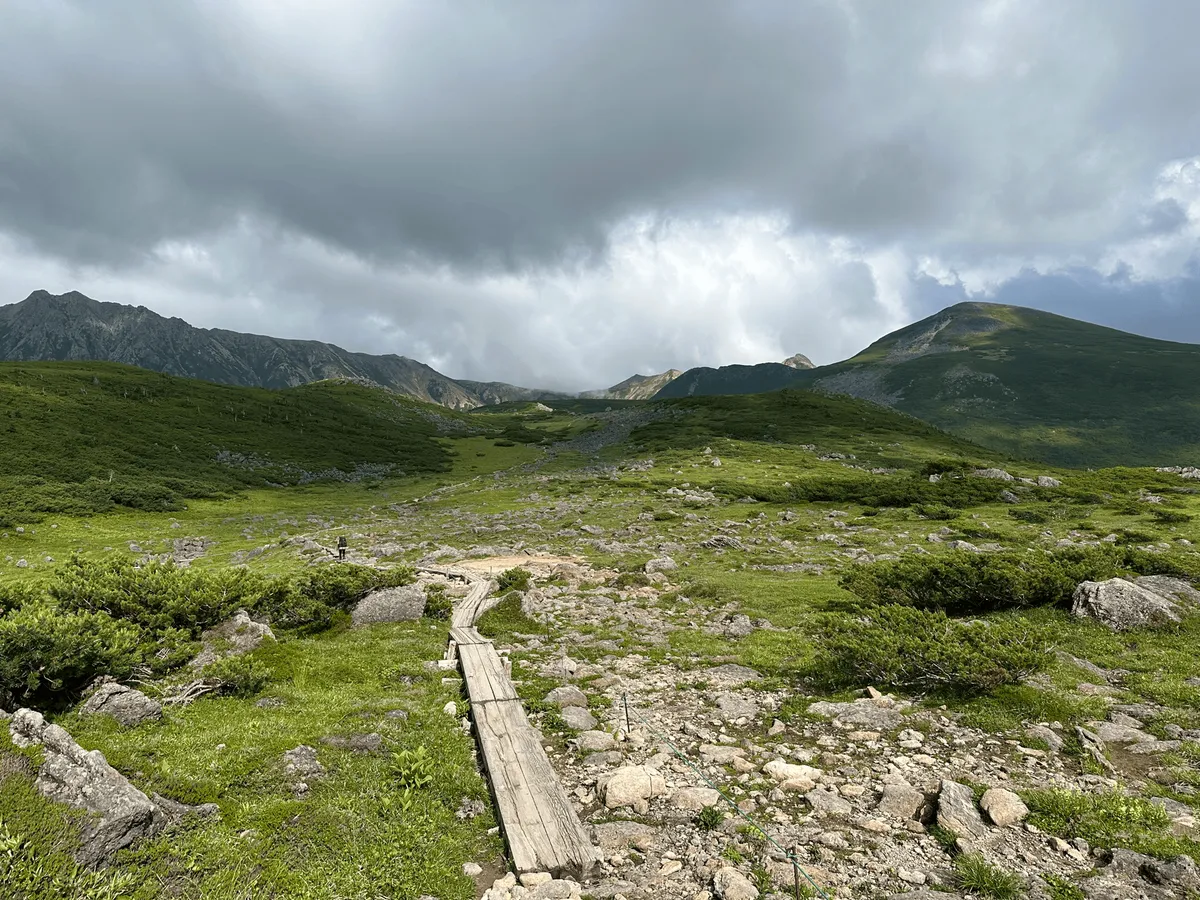
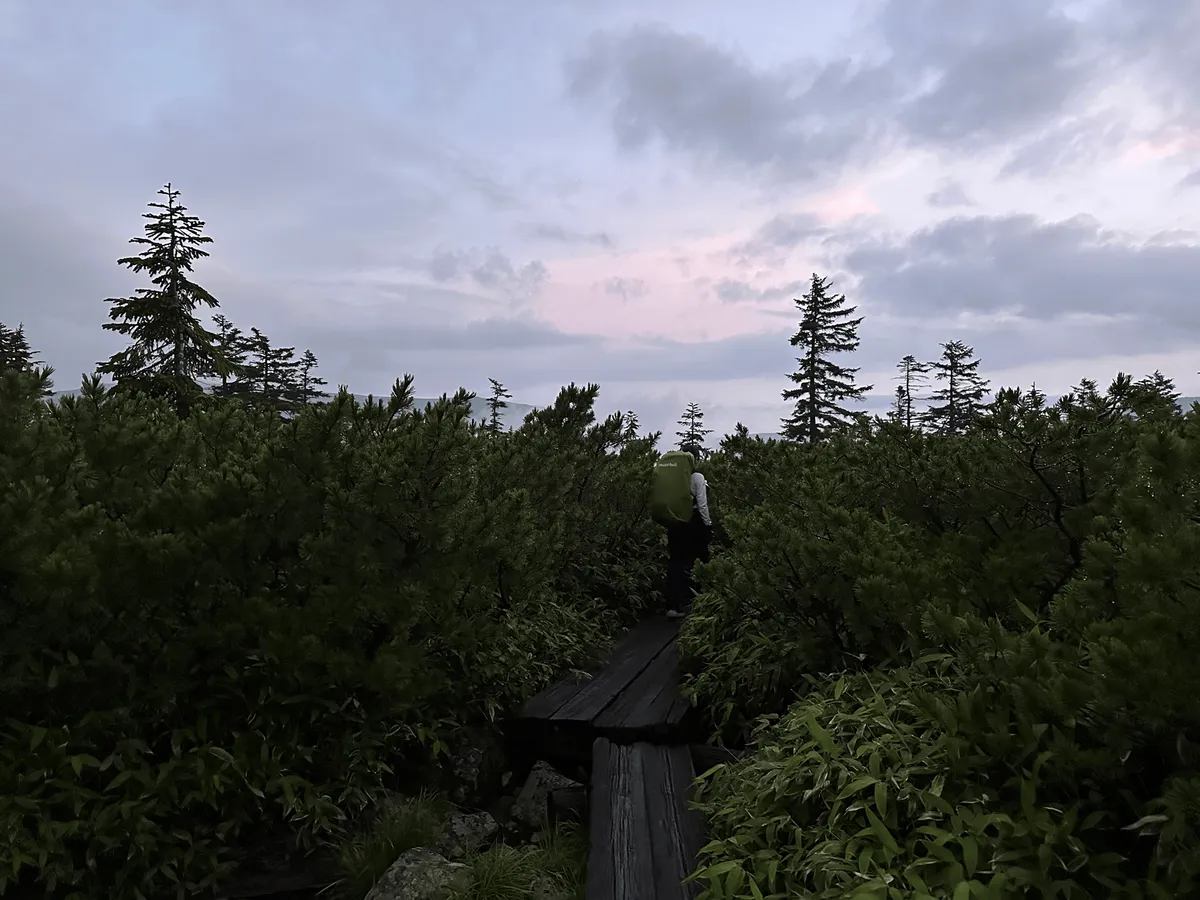
The last bit of the trail up to the hut was along a long boardwalk, which I was very grateful for, as my legs were pretty tired at this point.

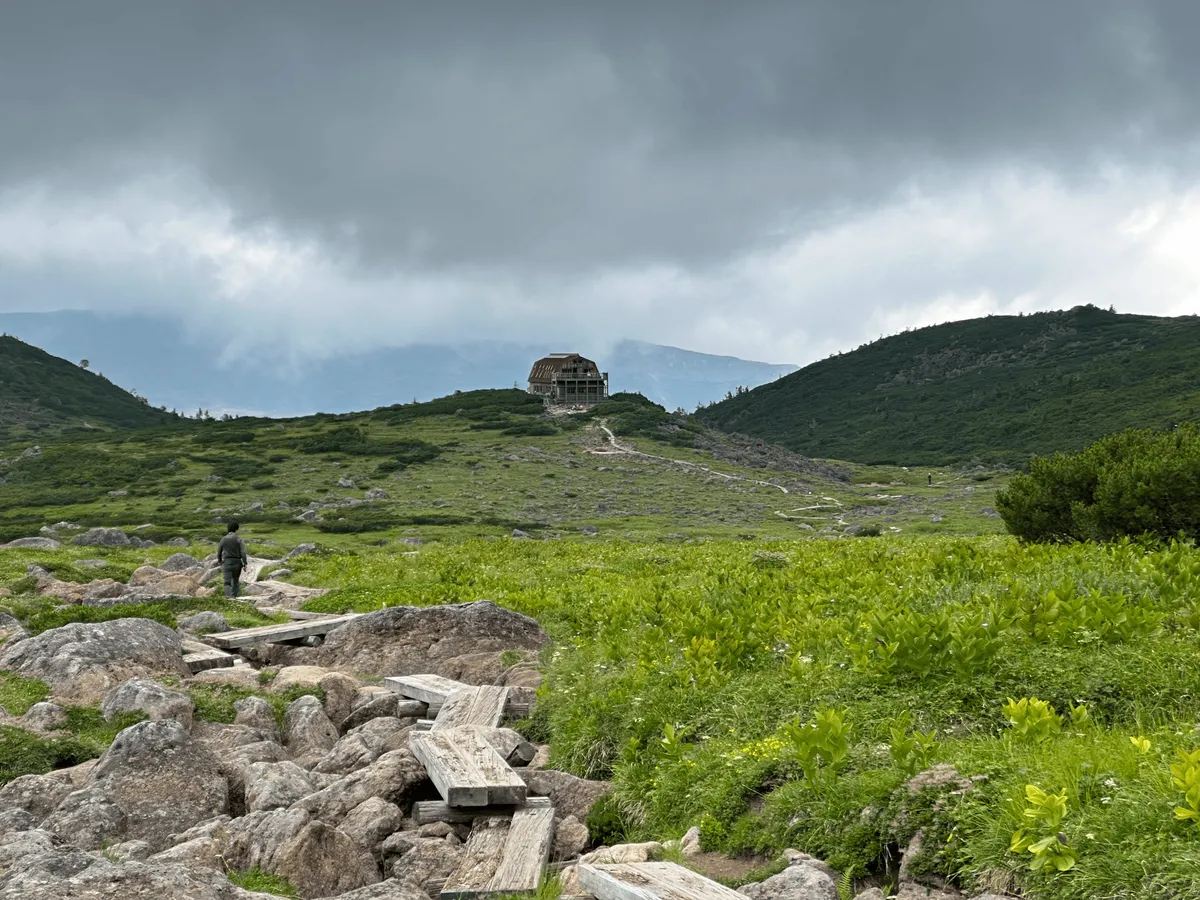
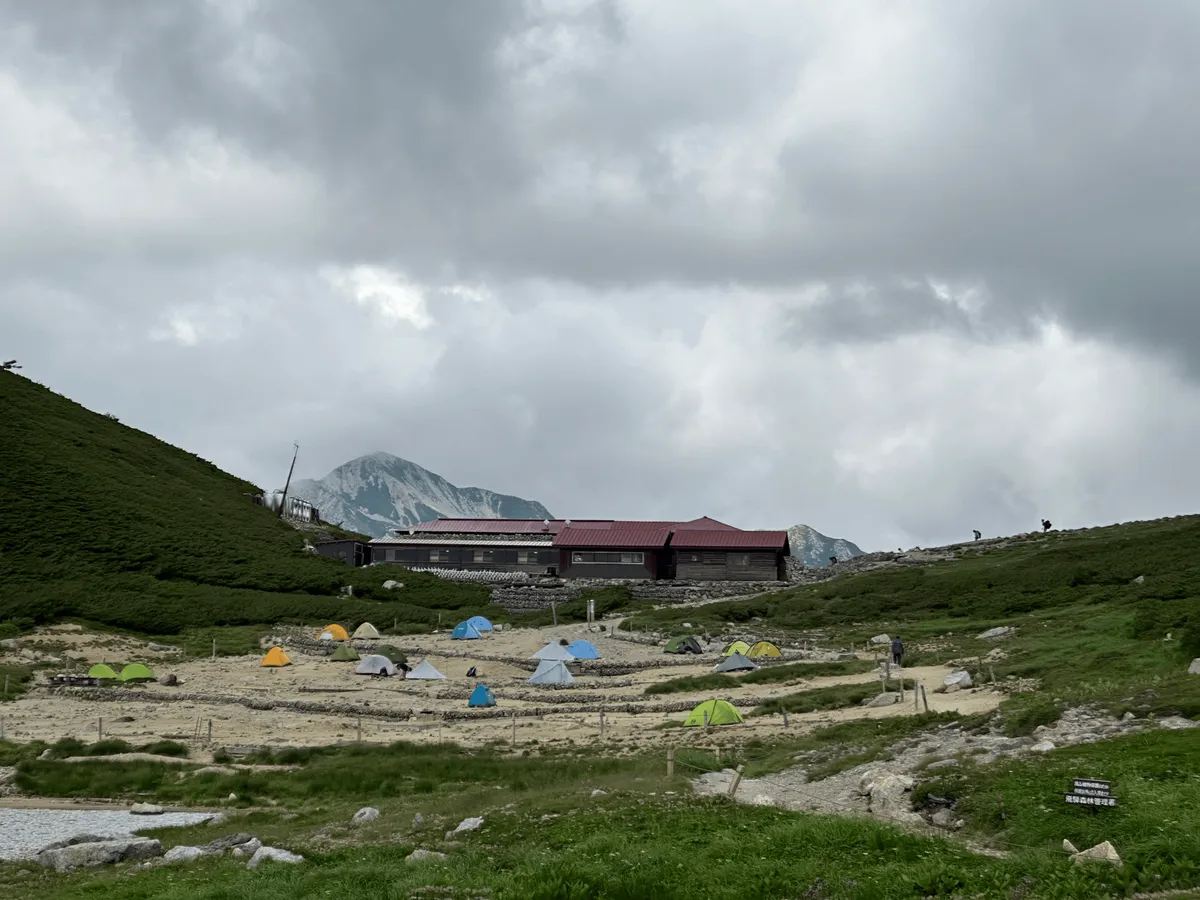
Our hut for the night was the Kumono-daira Mountain Hut (雲ノ平山荘, kumono-daira-sanso). This hut is considered to be quite a trendy one, and popular among Japanese hikers.
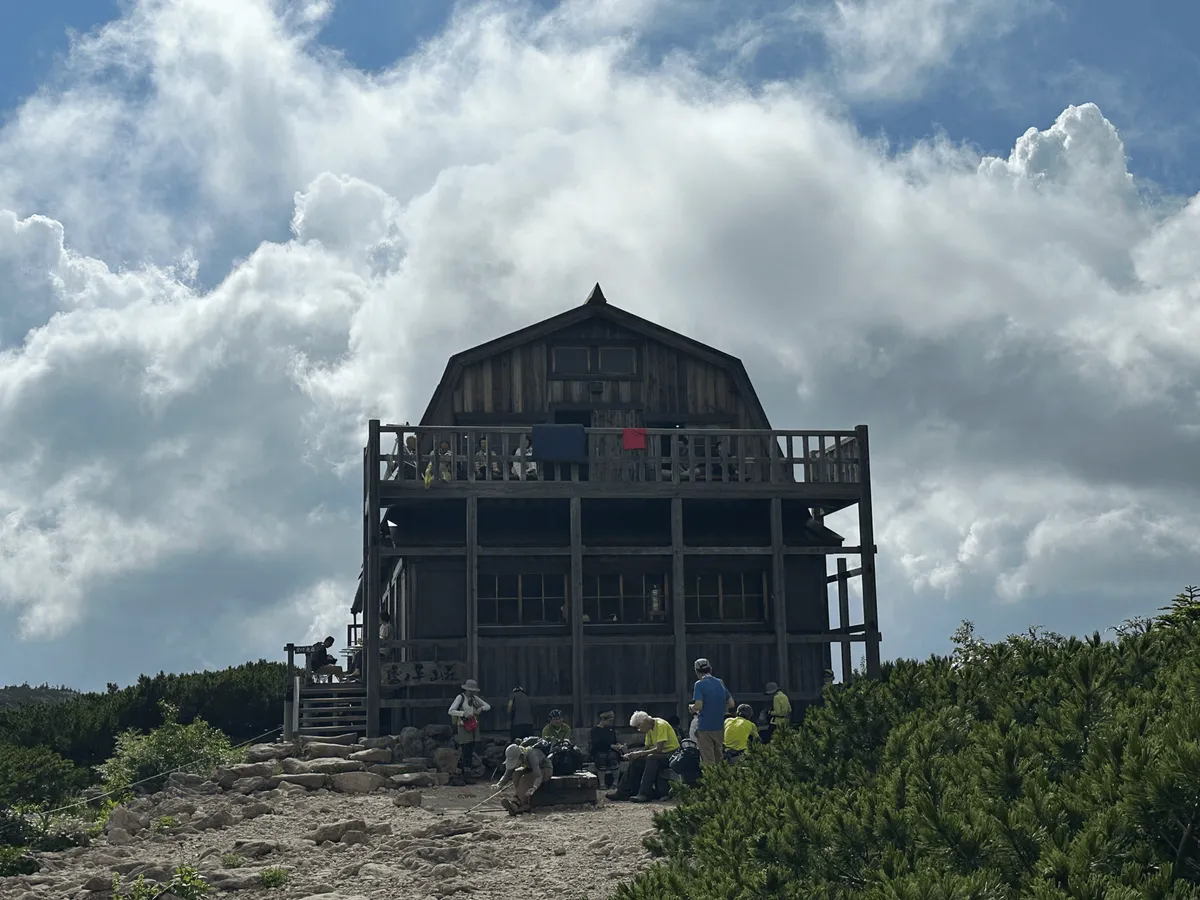
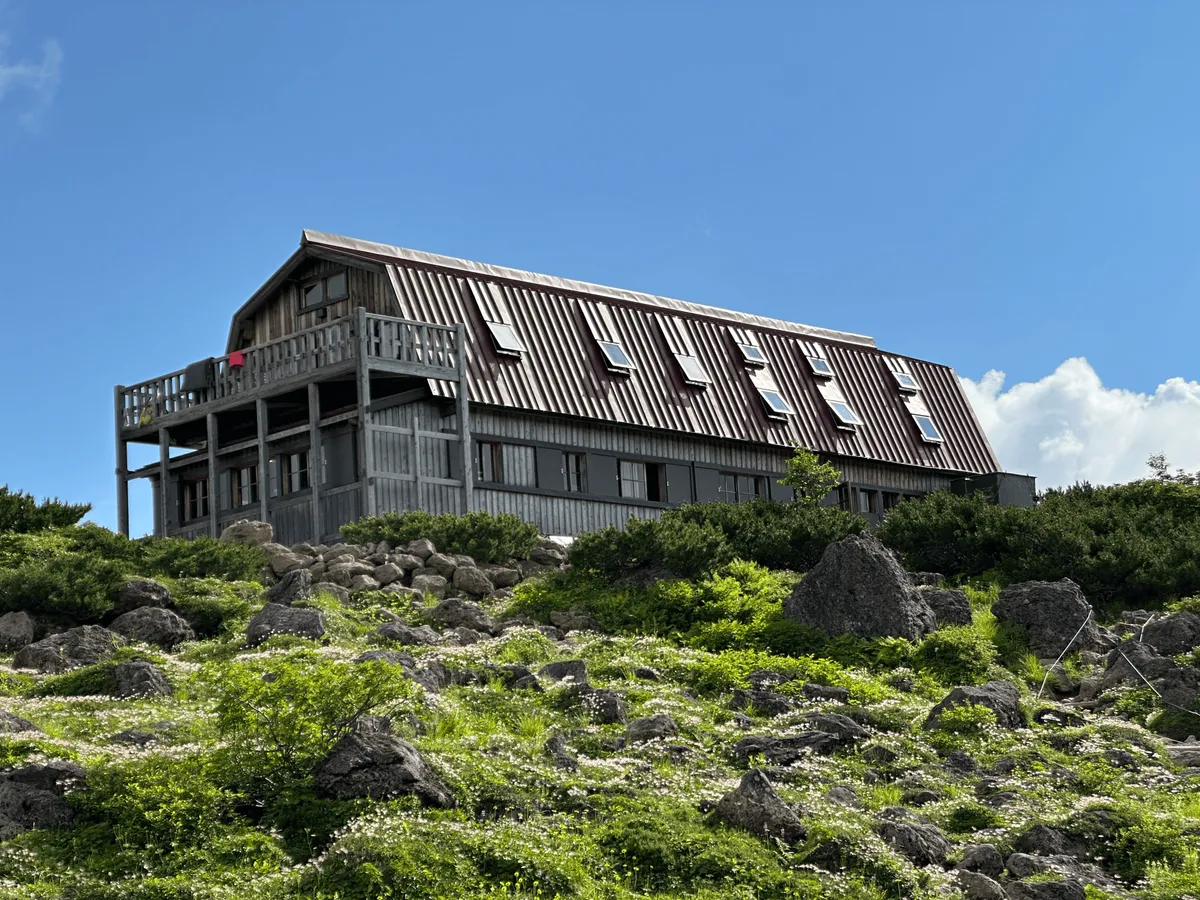
From the hut, I could see out to some of the mountains I had climbed that day.
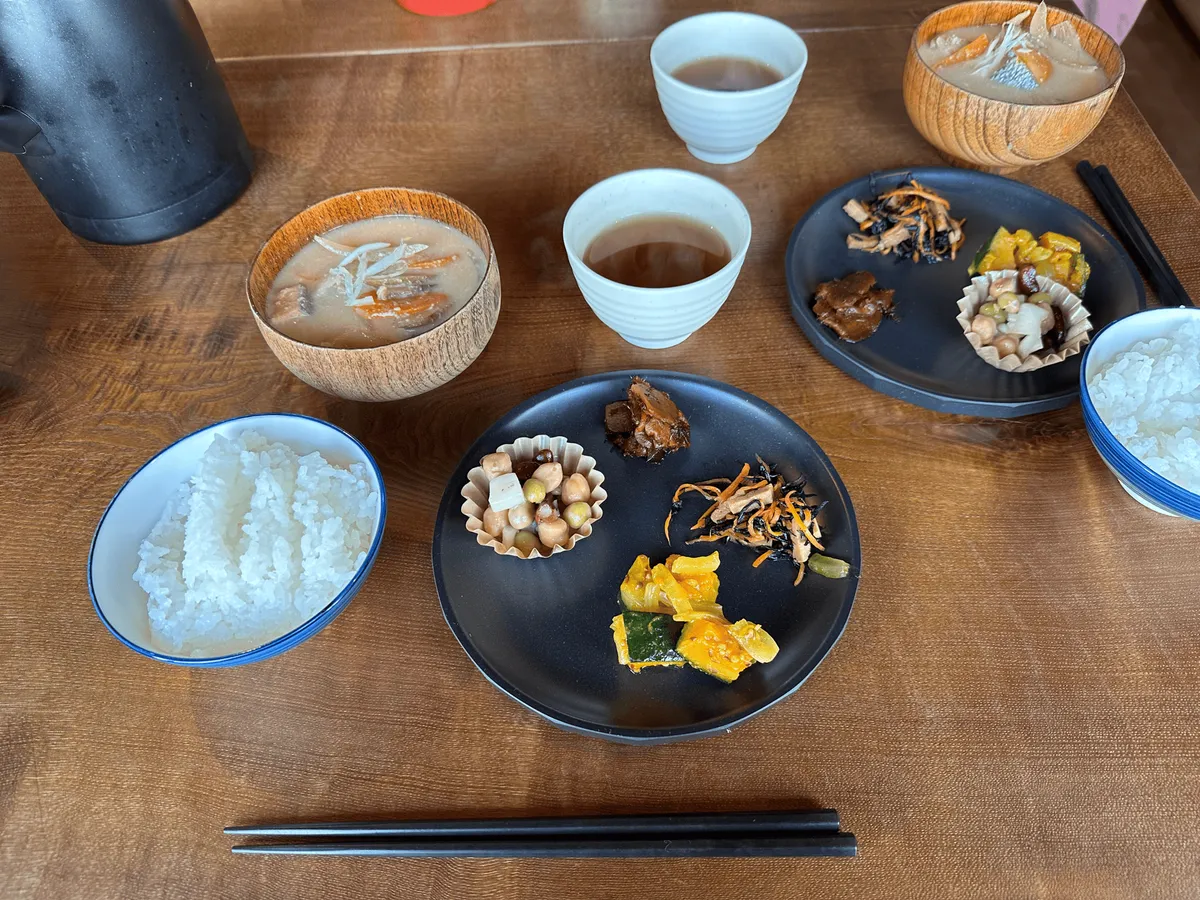
Dinner at Kumono-daira was ishikari nabe (石狩鍋), the hut’s specialty dish that they have been serving for 20 years. The portion sizes look quite small, but you can get unlimited refills of the rice and nabe.
After dinner, it was time to rest our tired muscles in preparation for the final hike on day three.
Day 3: Descent (mostly)

At this point we had descended to around 1900m in elevation, and I thought the struggle was over. But the course then cruelly makes you climb one last time back up to 2300m to reach the Taro-daira hut (太郎平小屋).


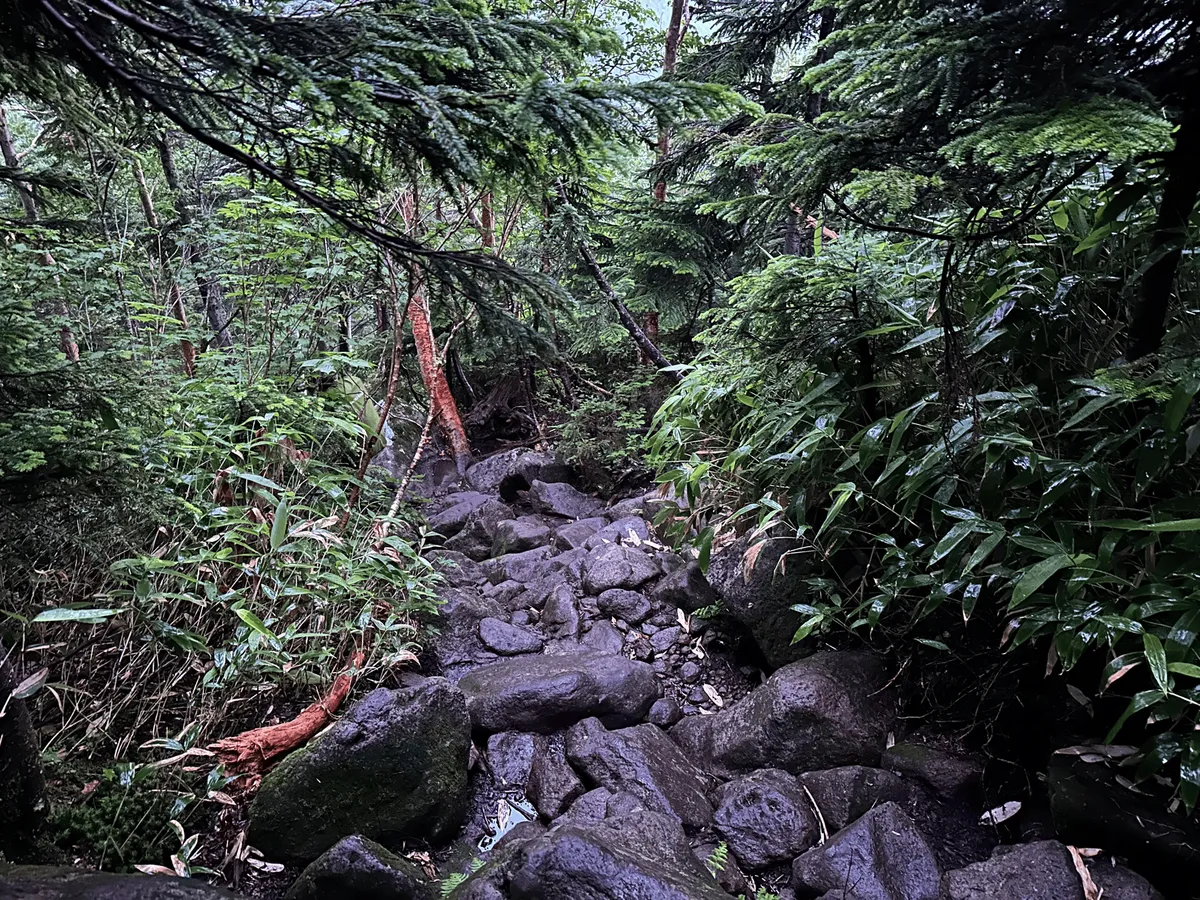
From here finally (finally!!) we got to start our descent. The trail was mostly loose rock, which is better than huge boulders, but still a bit of a pain to walk along. After 3 days of hiking, this part felt very, very long.

It was also a very hot day with no cover from the sun, and as we saw all the hikers coming up past us, I couldn’t imagine doing the same route in reverse.

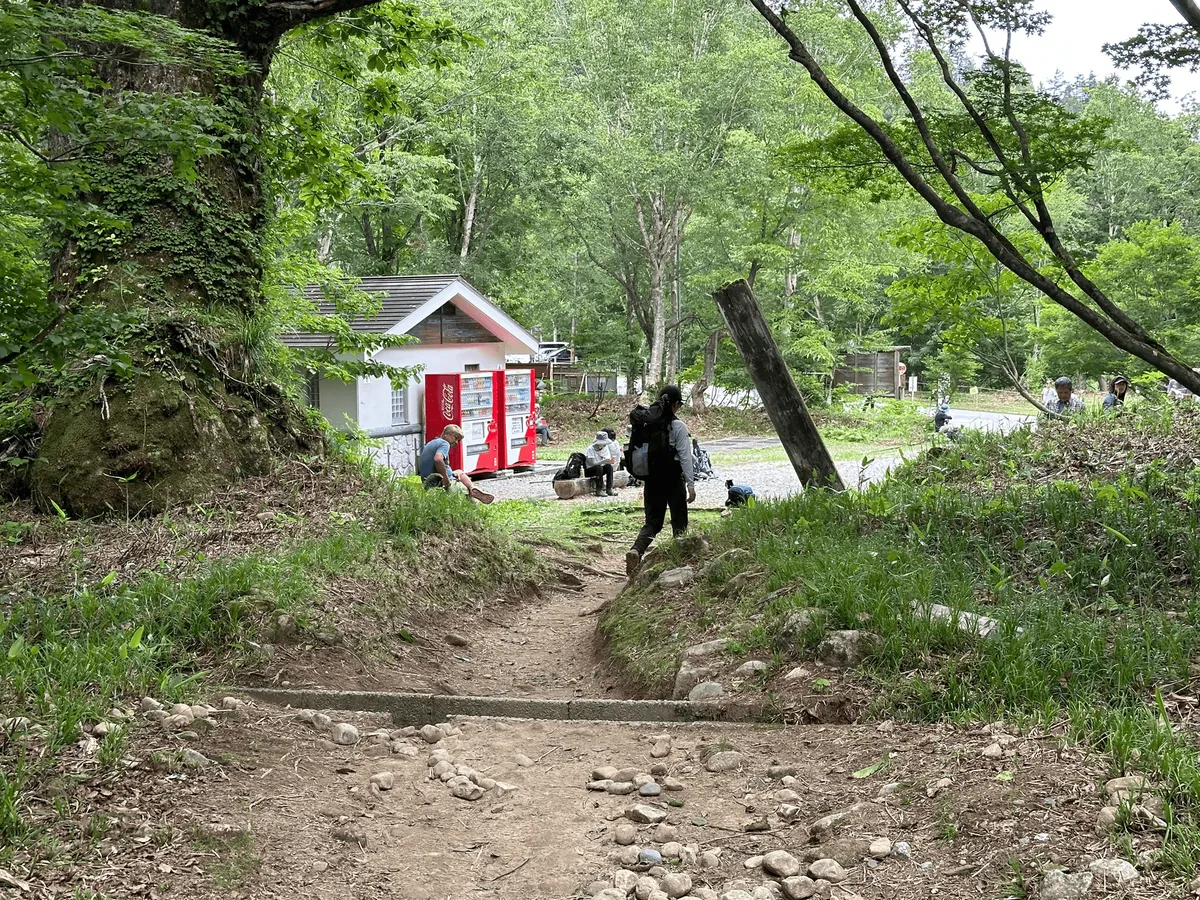
When the first glimpses of civilization came into view, I’d never been happier to see a vending machine in my life.
My feet and legs were visibly swollen for a couple of days, and I had one bruised toenail, but otherwise I came out of this hike in pretty good condition. I feel like 3 days might be my limit, though!
Hiking course details
| Date climbed | Length | Course time |
|---|---|---|
| 2024-08-04 | 42km | 24h (the expected time for an average hiker without breaks) |
This was a south-to-north traverse of the Northern Alps, starting at the Shin-hotaka onsen and ending at the Oritate trailhead. Although we did this as a hut-to-hut hike, you can also bring your tent and stay at the campsites outside the huts as well.
The detour to Mt Suisho is optional and can be skipped. You can also make this course easier by staying nearby the night before and getting an earlier start, or spending an extra night at a hut along the course.
There are toilets available at each mountain hut, which will generally cost 200 yen per use, so make sure to bring lots of 100 yen coins!
Public transportation access
We took a Maitabi (毎日アルペン号) overnight bus departing at 11pm from Shinjuku’s west exit bus terminal (新宿西口都庁大型バスP). The seats can recline a fair bit, and there’s an outlet to charge your phone. I don’t normally sleep too well on overnight buses, but the bus was practically empty (maybe because we left on a Saturday night) which let me comfortably stretch out a bit. We arrived a bit ahead of schedule at Shin-hotaka Onsen Ropeway (新穂高温泉ロープウェイ) at 6:00.
For the way home, we got 11:45 bus from the Oritate (折立) trailhead. The bus took us to a nearby onsen where we could wash off all of the dirt and have lunch, before taking us all the back to Shinjuku. The bus does take longer than taking a shinkansen from Toyama would, but it was cheaper - the round trip cost 22,000 yen.
Mountain hut info
Sugoroku hut (双六小屋)
- Costs 14,000 yen for the night, including dinner and bento box breakfast
- Free drinking water from the taps
- Wi-fi for 600 yen
- Some free power outlets, but you will have to get in early to use them
- Amazingly clean, the toilets didn’t have any smell at all
- Takes online reservations on their website
Kumono-daira Mountain Hut (雲ノ平山荘)
- Costs 14,200 yen for the night, including dinner and bento box breakfast
- For under-30s, this gets discounted to 11,500!
- Drinking water is available a 20 min walk away from a stream near the campsite, but at the hut itself it costs 200 yen per 500mL
- If you are descending down towards the Yakushizawa mountain hut, this has free water so you don’t need to fully stock up when leaving in the morning
- Some power outlets available, costs 100 yen to use
- Toilets were squat-style, and to be honest smelled quite a bit, but it’s what you’d normally expect from a mountain hut
- Takes online reservations on their website
Both huts did not have any phone reception, although generally along the trail there were plenty of points with strong signal, so if you needed to send out a message I would recommend doing it when you get the chance, rather than waiting for the end of the day.
I opted for bento boxes for breakfast as we left quite early, but the huts do serve a proper breakfast at around 4:30. Since they can’t serve everyone at the same time for dinner, dinner is served in 2 or 3 separate time slots, and you’ll be given a time when you check in. We generally ate at around 5:30pm.
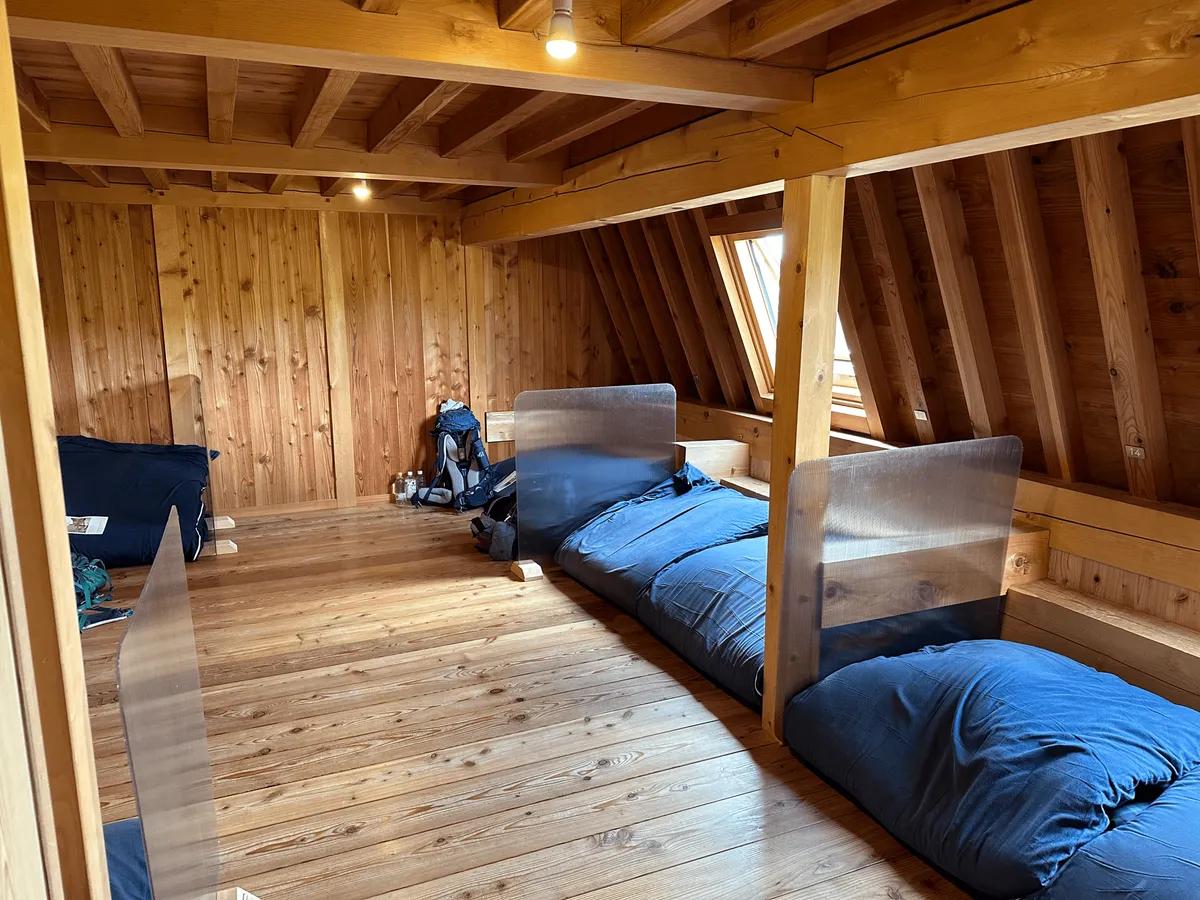
The futons and bedding probably don’t get washed very often, so if you want to feel more comfortable, you can bring along your own pillowcase and a lightweight sleeping bag liner. The Sugoroku hut’s ones did seem a bit cleaner and even had a disposable mesh sanitary cover over the pillow and top part of the blankets.
Generally, the huts will put the women together in one area (if you are coming solo or in a female-only group). I did feel this helped make sleeping a little easier, because the loud snorers (i.e. men) were further away.
Leave a comment