I rarely get nervous while solo hiking now, so it’s funny to think back on how nervous I used to be when I first started. I think some people might relate to this, and other people might not care at all - but if you feel similarly nervous and like to be prepared, this post is for you!
Hiking with friends is fun and I still do that more than 50% of the time, but if you’re hiking-obsessed, being able to hike solo opens up a lot of flexibility for when and where you can go hiking. So I think it’s worth giving it a go a couple of times to get used to it.
1. Re-visit a place you’ve been to before
One thing that makes me nervous when visiting a new mountain is navigating the public transport system (especially since Japanese isn’t my first language). Visiting a mountain you’ve already been to before reduces the number of things you have to worry about, since you’re at least confident with how to get to the mountain and back home afterwards.
If you want to be super safe, you could redo a trail you’ve already done. But doing an alternate or partially similar route is a good option too. In my case, my first solo hike was from Mt Mitake to Mt Odake. I’d been to Mt Mitake previously, but had never been to Mt Odake so it made me feel a bit more comfortable while being able to explore some place new.
2. Pick a popular mountain
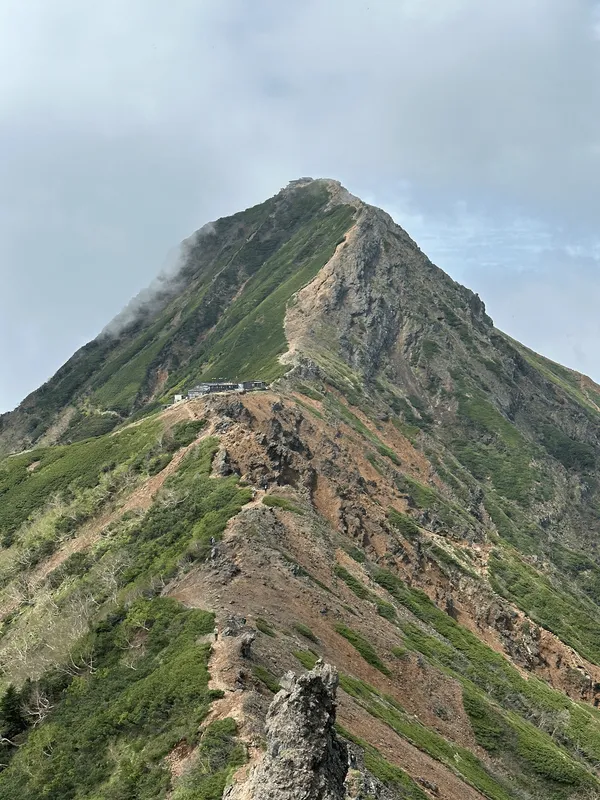
I remember on my third solo hike when I visited Mt Takanosu in Okutama. It’s not a 100 Famous Mountain, I didn’t pick a super popular route, and I went on a weekday. The result - I only passed one person on the entire 6 hour hike and I was otherwise completely alone, and pretty nervous the entire time.
I would totally be fine with it now, of course! But as a beginner hiker I would recommend going on a weekend and picking a popular mountain. If it has a ropeway, a shop or mountain hut on the top, or it’s a 100 Famous Mountain, it’s bound to have people on it.
After picking the mountain and course, I also like to double-check in YAMAP whether someone has walked the same course the day before, as that makes me feel a bit more secure that I’m not going anywhere dangerous.
It’s also helpful if you’re heading into the colder months to check the recent photos on YAMAP to see if there’s snow or not (since you probably don’t want snow as a beginner hiker!)
3. Note down how to read place names
Sometimes when I look at the names of bus stops or mountains in Japanese I can’t remember how to read them, so I like to note down the pronunciation in hiragana as well.
This makes it easier if I need to ask for directions, or if hikers strike up a conversation with me and ask which trailhead I’ve come from. It lets me actually give an answer to their question instead of shrugging and being like “I don’t know”!
4. Planning your hike: time schedules and escape points
Another fear I had as a beginner hiker was whether I’ll be able to complete the course in time. This is especially important if there’s a specific bus you need to catch to get back home, or want to finish hiking before it gets dark.
Some of the things I would keep in mind were:
- The expected times I will reach key points in the course, so I can know whether I’m on schedule or not
- Places where I could make my course shorter if required e.g. using a cablecar or skipping peaks
- Turn-back points e.g. if I can’t reach a certain point by a certain time, I should turn back so I can make the bus in time
- Aiming to finish by 3 or 4pm (depending on sunset times and time of year)
- Researching the bus timetable, and scheduling to get on at least the second-last bus back. (Just in case you miss it so you can still get on the last bus!)
5. Checking the weather
Mountain weather is quite different from weather on the ground, and winds can also play a big factor in whether a hike is enjoyable or not.
The website I usually use is one called Tenkura. Usually I google the forecast for a specific mountain e.g. “富士山 てんくら”.
The site doesn’t list weather conditions like sunny, cloudy or rainy but instead by ratings of A, B, or C. I definitely wouldn’t recommend going in C, and with a B rating 90% of the time would skip the hike, so an A is generally what you’re looking for.
6. Let someone know where you are going
Obviously you hope that you don’t get injured or lost on your hikes, but in that worst case scenario, how long would it be before someone noticed? As a solo hiker, especially if you are living alone, it’s a good idea to let someone know where you are going so that they can alert authorities if they think something has gone wrong.
If you want more safety in your hikes, you can sign up for a service like COCOHELI. It gives you a little beacon that you attach to your backpack, which lets search and rescue teams know where you are on the mountain if you get lost.
Bonus: Animals in the mountains
This is just a continuation of my story about being scared while visiting Mt Takanosu, but while there I got to see my first kamoshika (Japanese serow). It’s this funny-looking black deer, but for someone who has never seen one before, it can be mistaken for a wild boar. So when I first saw it, I really freaked out because I wasn’t sure if it was going to attack me or not.
Of course they’re quite shy of humans and will generally just run away, but it’s a good thing to know about beforehand!
I also haven’t touched upon bears at all, but as someone who usually hikes in the Tokyo area I’m not personally concerned about them. If you are worried, you can get a bear bell to attach to your bag, and I see plenty of hikers do this.
If you are hiking in Hokkaido I think you should be more careful of bears though, since they’re a different, more dangerous species compared to the bears down here. If you happen to be solo hiking up there, I would recommend doing some more research into what sort of equipment you should consider bringing e.g. bear spray.
Leave a comment